
If you wanna learn more about portrait drawing, check out my “Portrait Fundamentals Made Simple” course.
It’s a very beginner-friendly course that walks you through all the basics of portraiture, from constructing a basic head, facial proportions, drawing the features, and finally drawing a realistic portrait step-by-step.
Lesson Details
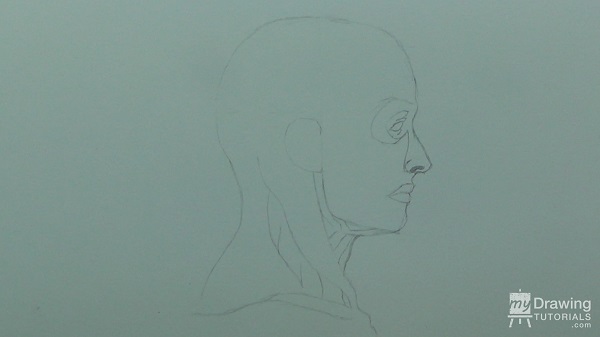
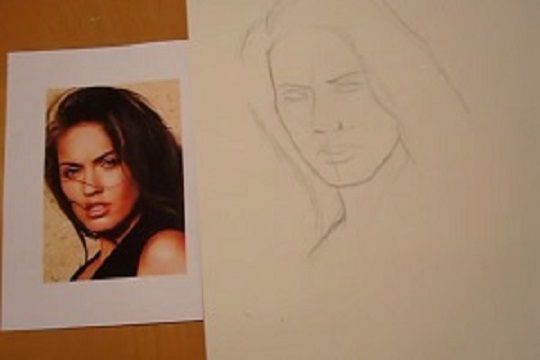
Step 1 – Drawing the Outline of the Head
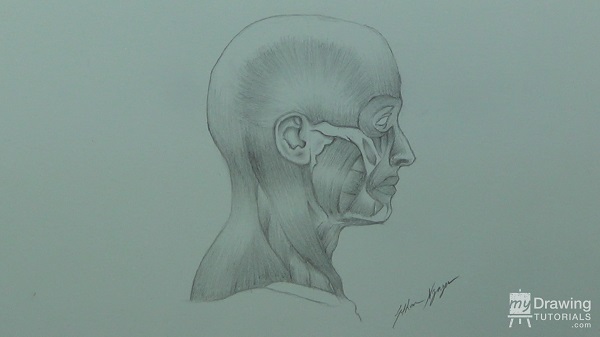
So I was going over some anatomy book in preparation for re-making my portrait drawing course and I thought it would be helpful to do a video on drawing the muscles of the head. It’s always useful to at least be somewhat familiar with human anatomy if you want to be a series portrait artist. So let’s get to it!
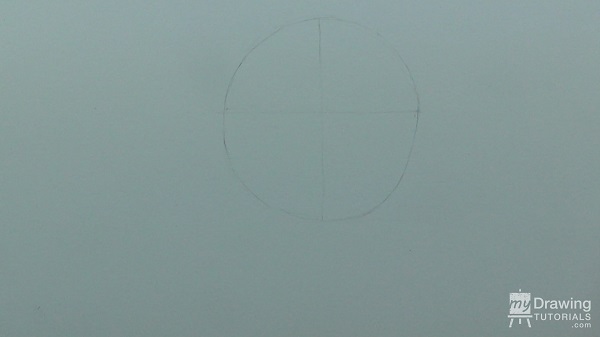
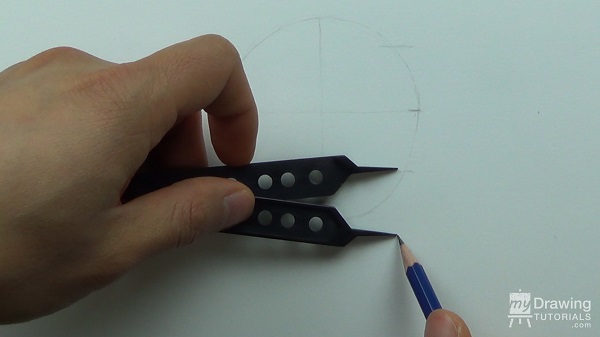
I’ll start by drawing a simplified version of the head and then start adding details to it. First, I’ll draw a circle… then divide it into 4 quadrants.
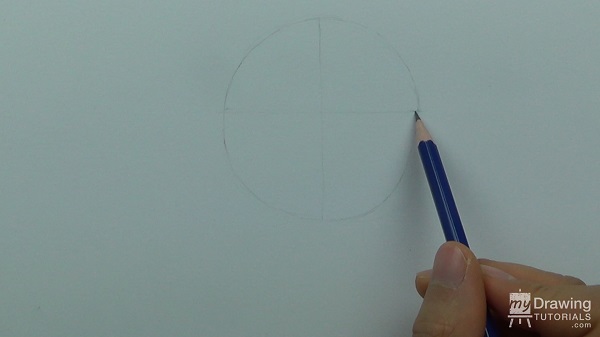
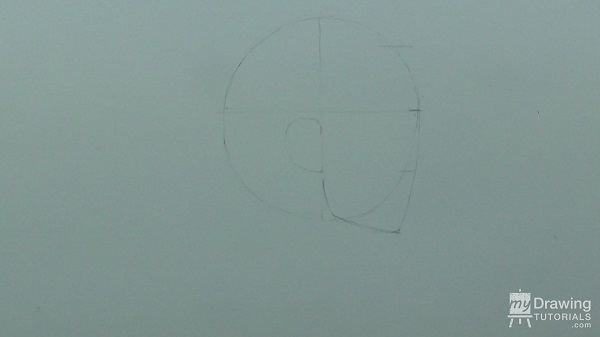
The brow line will be about right here.
The hair line will be about 2/3 of the way up from the brow line.
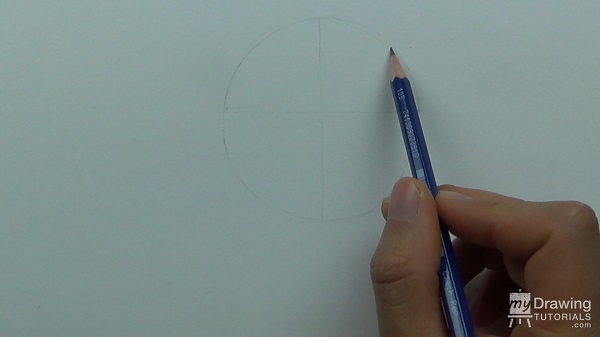
Even though this head won’t have hair, it’s still useful to visualize where it’s going to be so we can measure where the nose and chin will be.
Now, we will use the distant between the hair and brow line to find the bottom of the nose…
…and the chin.
Now I’ll draw in the front of the face. Don’t worry, we’ll fill in the facial features in a bit.

The ear will fall in the lower left quadrant right between the brow line and nose. And the jaw will connect to the ear.
Let’s draw in the neck.
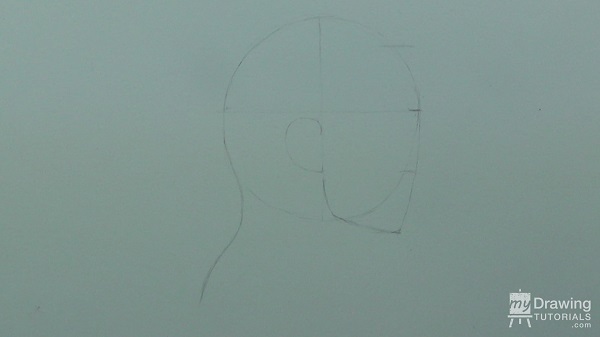
And the head will actually not be a perfect circle. Instead there will be a bit more volume towards the back in order to house the brain. So I’ll re-shape the circle to reflect that.
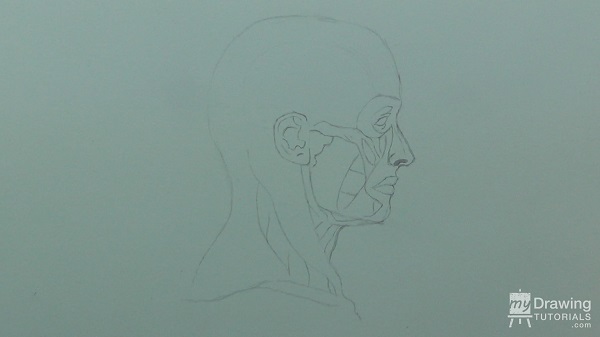
Step 2 – Drawing the Facial Features & Muscles
OK, so now we can draw in the facial features. Remember, we are drawing the head as if it has no skin, so the features are going to look a little different, especially the eyes.
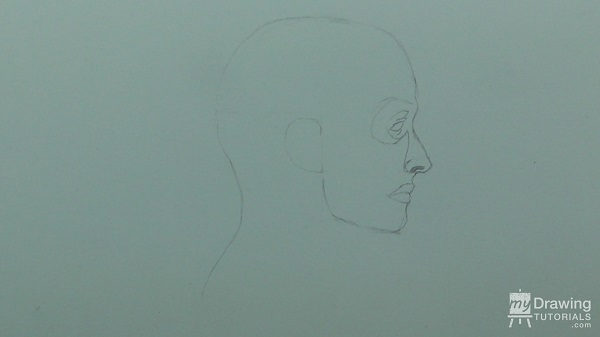
Next, I’ll draw in the muscles of the neck.
Fill in the ear. Then I’ll fill in the muscles of the face.
Step 3 – Shading the Muscles
And now it’s time for the shading.
Let’s start with this neck muscle here. Muscles are made up of tiny little fibers. So to depict this, I’ll put short pencil strokes on the two ends of the muscles and I’ll have these strokes lightly meet in the middle.
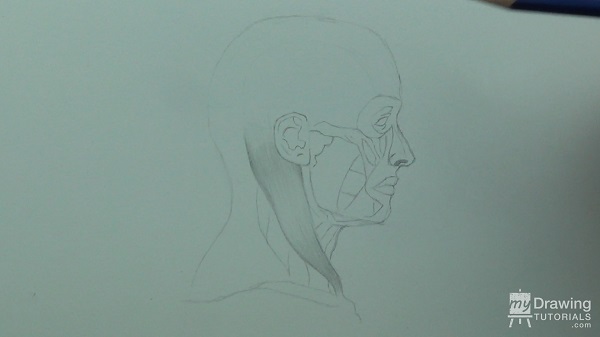
As you can see, the result is that we have dark tones on the two ends and a highlight in the middle. This creates the illusion that the muscle is three dimensional and that the highlight area is protruding out.
Also, be sure to leave a little bit space between your pencil strokes in order to create that fiber-like texture.
Now, let’s use this same shading technique to render the rest of the muscles.
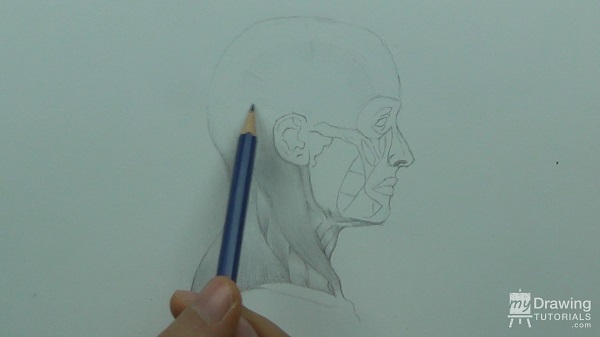
Lastly, I’ll add some extra tone to the darker areas for more contrast.
And that’s it, we’re all done!

![Drawing Realistic Portrait Series [1 of 8] – Intro & Materials](https://mydrawingtutorials.com/wp-content/uploads/2012/08/Portrait-Lesson-1.jpg)
![Drawing Realistic Portrait Series [2 of 8] – The Fundamentals of Shading](https://mydrawingtutorials.com/wp-content/uploads/2012/08/Portrait-Lesson-2.jpg)


Hi
I am frozen trying to choose a printer. I need a home printer for standard letters etc but I want one that gives good reference pictures as I draw. I primarily am using graphite & charcoal but would like to start into color eventually. I admire your work as well as instruction so I would also like your input on which printer you would choose if you could get one today.
Thank you so much for all that you do.
Kathy R Galloway
I M INPRESS BY THIS TUTORIAL I ‘M GOING TO WORK ON THIS AND SEE WHAT I CAN DO.
BRENDA GRIFFETH