
If you wanna learn more about portrait drawing, check out my “Portrait Fundamentals Made Simple” course.
It’s a very beginner-friendly course that walks you through all the basics of portraiture, from constructing a basic head, facial proportions, drawing the features, and finally drawing a realistic portrait step-by-step.
Lesson Details
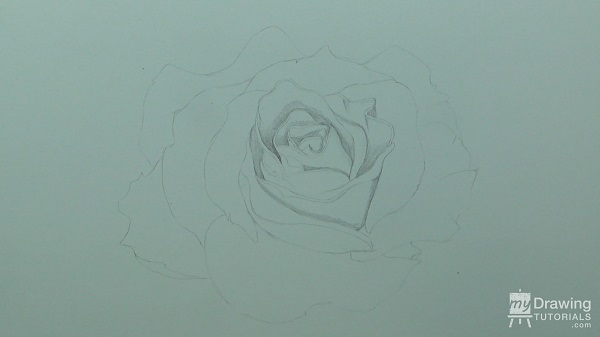
Step 1 – Drawing The Lay-In
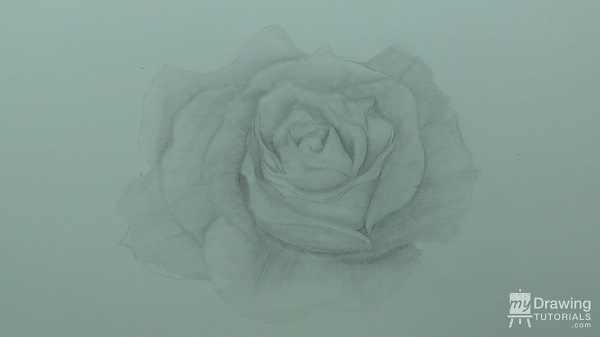
I’m going to begin by drawing a lay-in of the rose. When drawing a rose, all the details can seem really overwhelming and it’s hard to know where to start. I usually like to pick a concrete shape at the center of the rose and start from there.

One helpful thing to remember is that you don’t have a capture every little details or make your drawing look exactly like the reference. That would just be tedious and stressful.
All you have to do is capture the overall structure of the rose and the pattern of the pedals. Also, feel free to make changes to the design whenever you feel it would improve the drawing.
The pedals of the rose will be tightly clustered in the center and gradually get bigger and spread out as they move outward. They form a sort of spiral shape with the inner pedals pointing upward and the outer pedals folding back more.

For some of the outer pedals, I like to put in little cracks and rips along the outer edge of the pedal. This adds some character to the rose and keep it from look too boring.
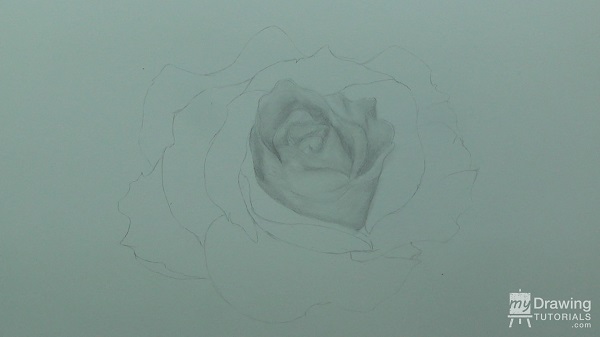
Step 2 – Shading The Rose
Now for the shading.
With roses, there is a very simple pattern to the shading. There will be a dark shadow in the areas where the pedals are over-lapping as light cannot get in there and the shadow will get lighter as we move upward.
I’ll start by adding in the dark shadows.
And now we’ll blend it out with a tortillion. How much you chose to blend is a personal choice. If you want the rose to have more texture, don’t blend it as much. For this drawing, I will go for a smoother look so I will blend the tone quite a bit.
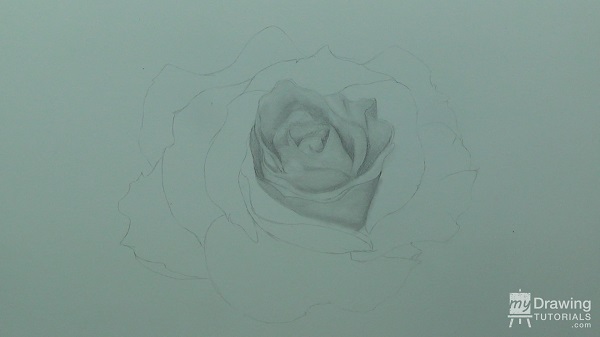
Once you are done blending, the lines will be blurred and the rose will lose some of its definition. So let’s go back in and darken the shadows and re-enforced some of the lines.
Now let’s repeat the same process for the outer pedals. Notice that for each pedals the shading pattern is the same. The tone starts out darkest on the inside and lightens as we move outward.
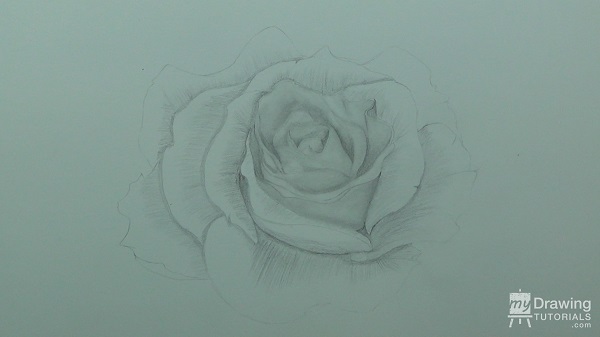
And now we’ll blend it out.
And add some definitions.
Lastly, I’ll take my kneaded eraser and add some highlights to the very peak of the pedals.

And that’s it, we’re all done!


Great picture