
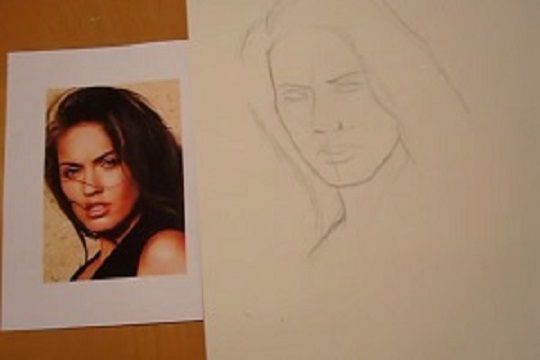
If you wanna learn more about portrait drawing, check out my “Portrait Fundamentals Made Simple” course.
It’s a very beginner-friendly course that walks you through all the basics of portraiture, from constructing a basic head, facial proportions, drawing the features, and finally drawing a realistic portrait step-by-step.
[UPDATE] Congratulation to Daniel Tabor for being the winner of this giveaway! Daniel, I sent you a Facebook message. Please just reply with your shipping address and I will send out the prize right away.
Thank you to everyone for your support and participation! Please go here to see the current running contest: https://mydrawingtutorials.com/giveaway
Lesson Details
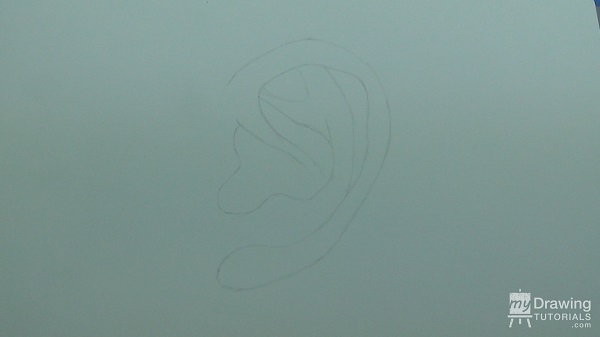
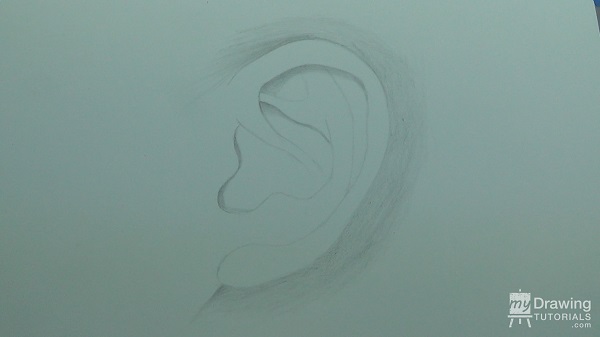
Step 1 – Draw the Layin
The first step is to mark the top and bottom point of my ear drawing. Notice that the bottom point will be slightly to the left.
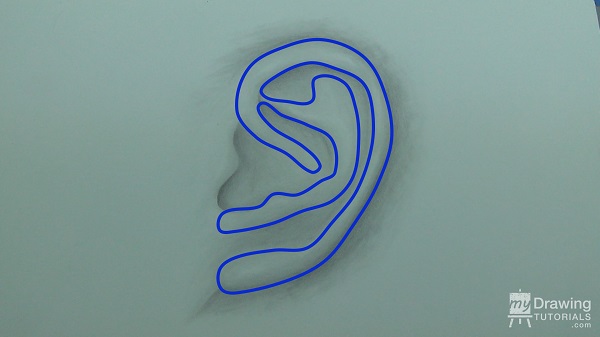
Now using these marks as a guide, I’ll sketch in the lay-in of the ear. I’m using an HB pencil and sketching lightly. Be sure to capture the way the ear is slightly tilted towards the right.
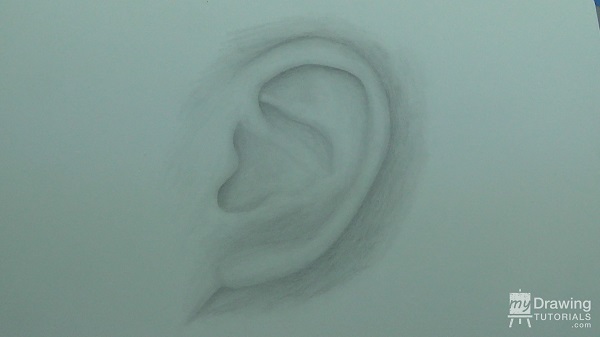
OK, so now it’s time to shade the drawing. Looking at the ear, it might seem very messy and complicated. But when you think about it, the ear is really just a series of hills and valleys.
In the areas that are hills, you will see a highlight because this portion will get the most light.
And in the areas that are valleys, you will see a shadow.
And in between the highlights and shadows will be the mid-tone areas.
As long as we can put in these shadows and highlights and create a gradual transition between them, our ear will look realistic.
So let’s go ahead and do that.
Step 2 – Shading The Ear
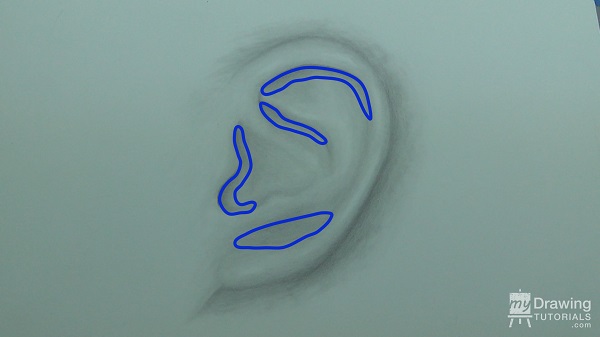
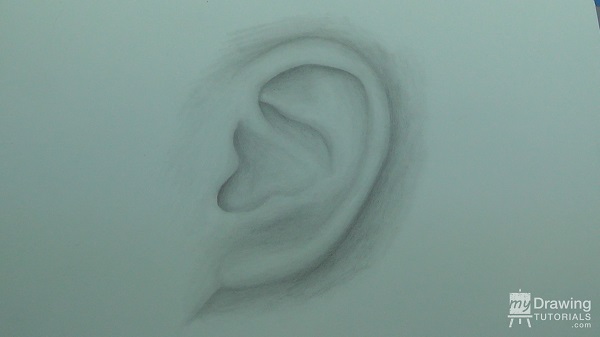
First, I will put in the darkest shadows. Even though these areas will be the darkest, I still want to keep my shading light for now. I want to put in all the tones first and get a sense of what the ear will look like and then go back in and darken everything to create contrast.
And to give our drawing some context, I’ll put in a dark shadow around the ear.
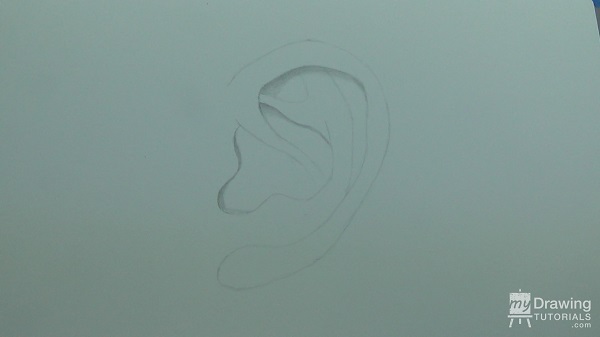
Now let’s shade the center portion of the ear. This area is relatively light in terms of shadows so you won’t see a lot of hard lines. So before I begin shading, I’ll take a kneaded eraser and lighten some of the lines.
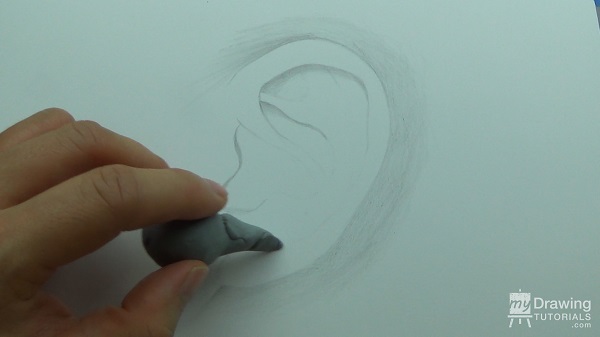
Now, I’m going to very lightly put in the mid-tone while leaving the highlight areas blank.

Next, let’s take a tortillion and smooth out the shading. I’ll take this opportunity to create a smooth transition between the shadows, mid-tones, and highlights.
So, we pretty much have all the piece in place and we can see the ear beginning to take shape. Now it’s just a matter of refining the shading and adding more contrast.
Step 3 – Adding Contrast
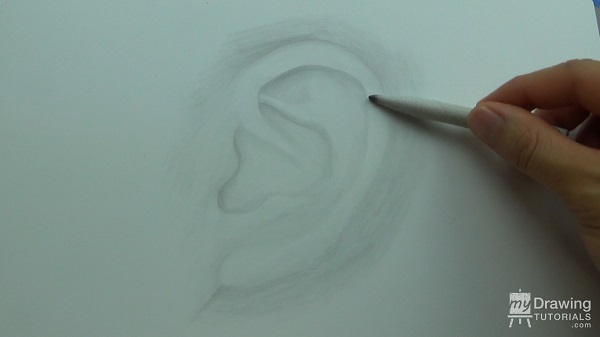
I’ll go back in and darken the shadows.
And now I’ll darken the mid-tones. I’ll also use the graphite from the tortillion to shade the highlight areas a little bit. Just make sure that it is still lighter than the mid-tones.
Then I’ll take a 2B pencil and darken the shadows one last time for even more contrast.
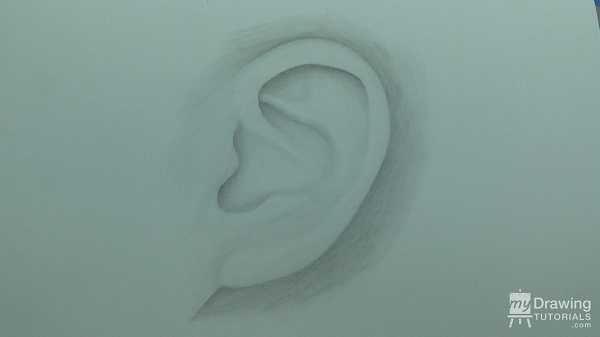
And lastly, I’ll shape a kneaded erase into a point and use it to pick out a few white spots in the highlight areas. This will help give our drawing a little pop.
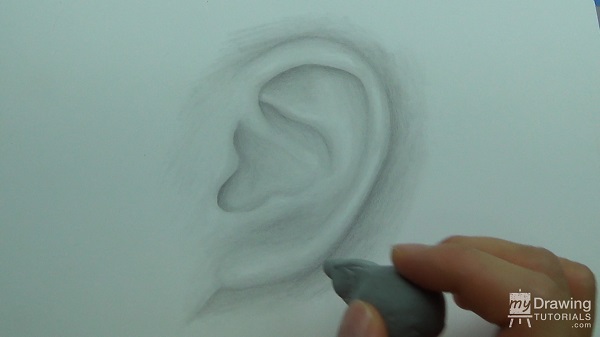
And we’re all done!

![Drawing Realistic Portrait Series [1 of 8] – Intro & Materials](https://mydrawingtutorials.com/wp-content/uploads/2012/08/Portrait-Lesson-1.jpg)
![Drawing Realistic Portrait Series [2 of 8] – The Fundamentals of Shading](https://mydrawingtutorials.com/wp-content/uploads/2012/08/Portrait-Lesson-2.jpg)


