
If you wanna learn more about portrait drawing, check out my “Portrait Fundamentals Made Simple” course.
It’s a very beginner-friendly course that walks you through all the basics of portraiture, from constructing a basic head, facial proportions, drawing the features, and finally drawing a realistic portrait step-by-step.
[UPDATE] Congratulation to Celine Cotte for being the winner of this giveaway! Celine, I sent you a Facebook message. Please just reply with your shipping address and I will send out the prize right away.
Thank you to everyone for your support and participation! Please go here to see the current running contest: https://mydrawingtutorials.com/giveaway
Lesson Details
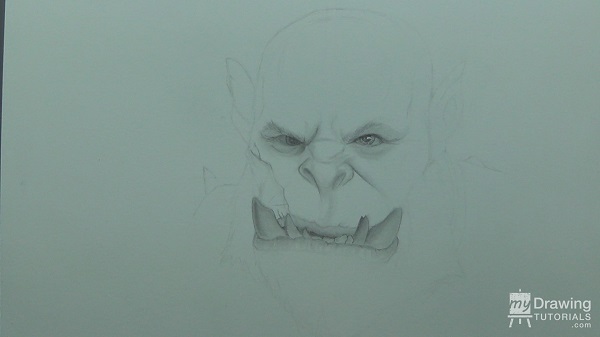
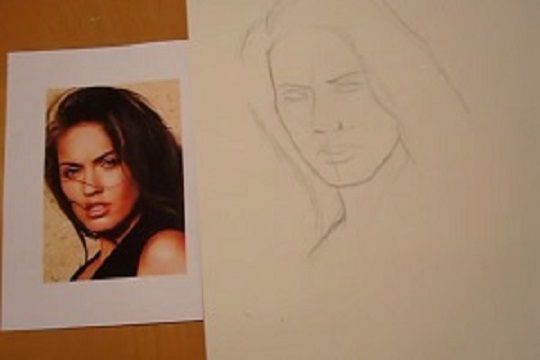
Step 1 – Sketching the Layout
The first step is to sketch in the layout. For this drawing, I will be using a simple grid to help me keep the details and features accurate. Every once in a while, I will also use a divider to measure my drawing and make sure that it is proportional to my reference.
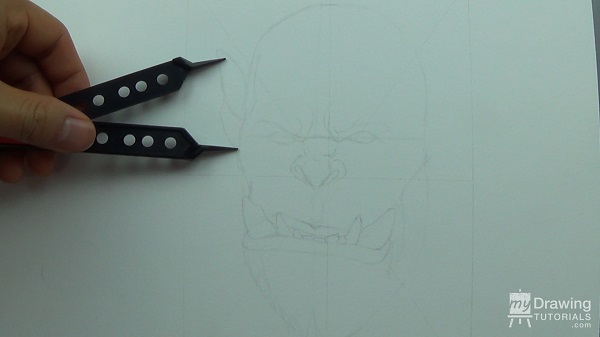
A divider is just a tool that artists use to measure the width of something in a drawing and then compare it to the reference. If you don’t have a divider, you can just use another tool like a ruler.
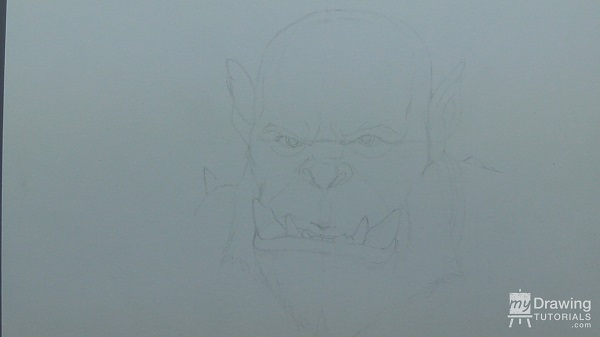
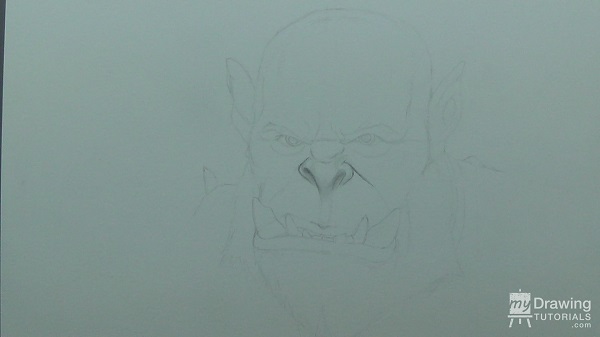
And once the layout is complete, gently erase the guidelines.
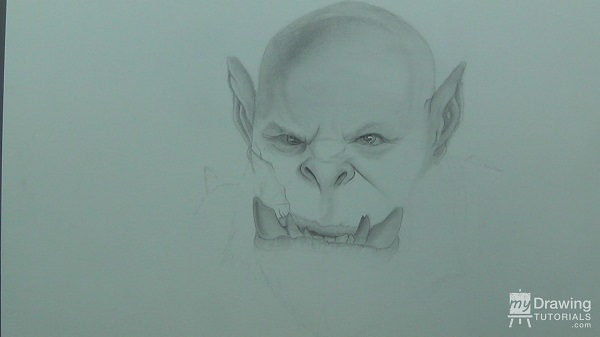
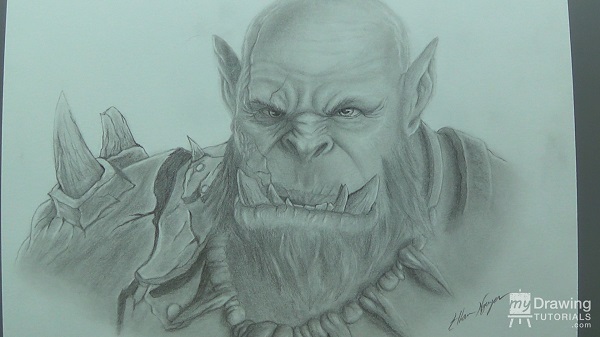
Step 2 – Shading the Face
OK, now it’s time for the shading.
Figuring out where to start shading on a drawing like this can seem a bit daunting, so I always like to start with the easiest areas first, and that’s usually the eyes or the nose.
I won’t try to render any area in great details right now. My main goal at this point is just to work on each areas a little bit so that the form and dimension of the portrait can start to take shape.
That way, it will be much easier for me to look at the drawing and know what I need to do to make it more realistic.
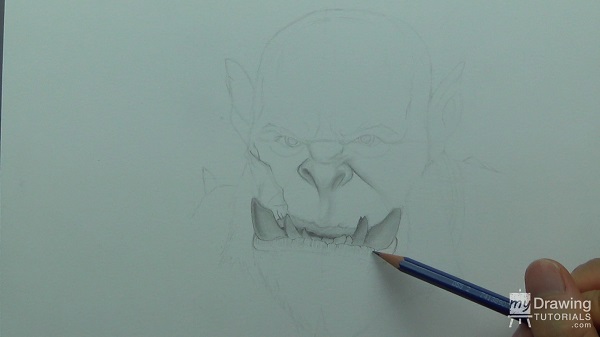
Next, I’ll shade in the mouth a bit. I’ll give the lips some small cracks and wrinkles and give the teeth some contour.
For the eyes, I’ll fill in the pupil first. It’s very important to leave a little catch light in the pupil. This is what’s going to make the eyes look like they’re alive.
The other important detail is to put a shadow underneath the eyebrows. This is a shadow cast by the brow-ridge onto the top of the eyes. This will help make the brow-ridge look like it’s protruding out.
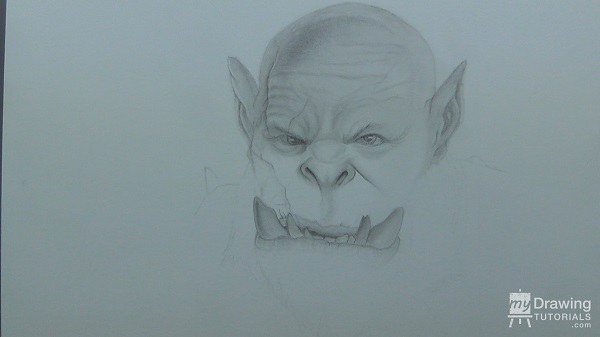
Next are the ears. For this drawing the ears were a bit of a challenge.
This orc’s ear is rather deformed there a lot of weird details going on there, so for the most part, I had draw on my knowledge of the anatomy of ears and improvised a lot of the details.
This is a good reason why know anatomy is so helpful. Sometimes you’ll be working with references that has either missing or really complex details and by knowing anatomy, you’ll be able to fill in the blank and still draw something convincing.
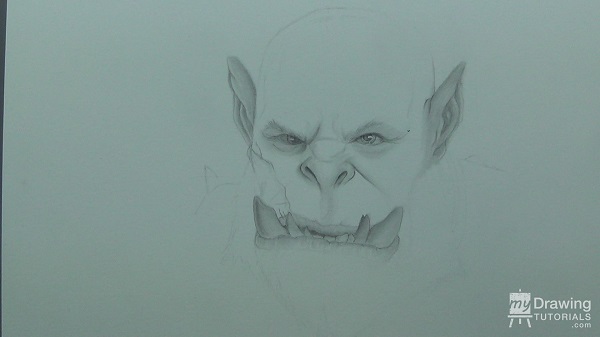
You can even make chances to the reference if you want. For instance, upon looking at the ear, I decided that it had too much details and that it was distracting from the face, so I eraser some of the creases and made it simpler.
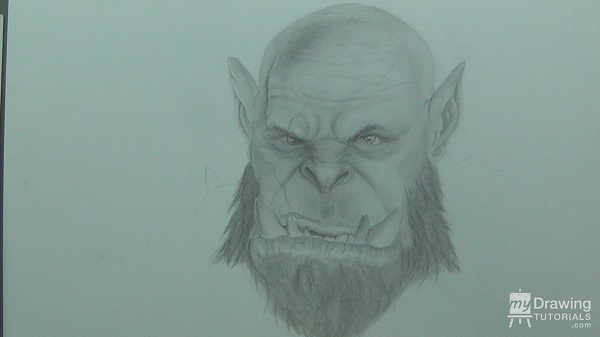
Next is the forehead. This is quite a large area so to help me quickly cover it with a base tone, I will take a dark pencil and scrape some graphite onto a piece of paper.
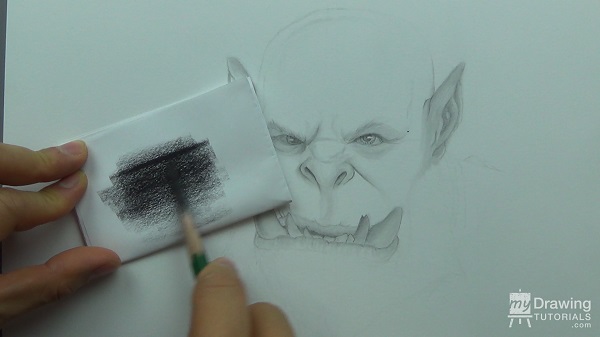
Then I’ll use a small piece of toilet paper to spread the graphite onto the drawing.
Be very gentle with your blending at first as you never know how much graphite the toilet paper picked up and you don’t want to make your drawing too dark.
The texture of the toilet paper will also give the forehead a subtle skin texture as well.
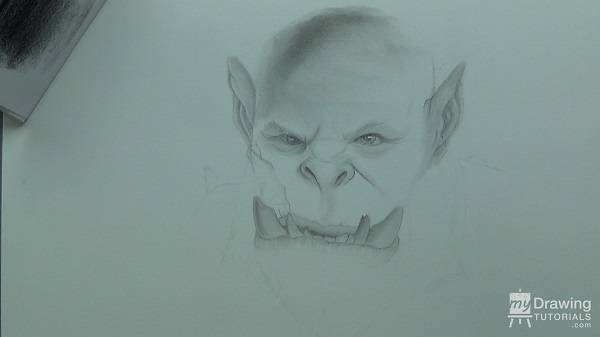
Then use a blending stump to refine the details.
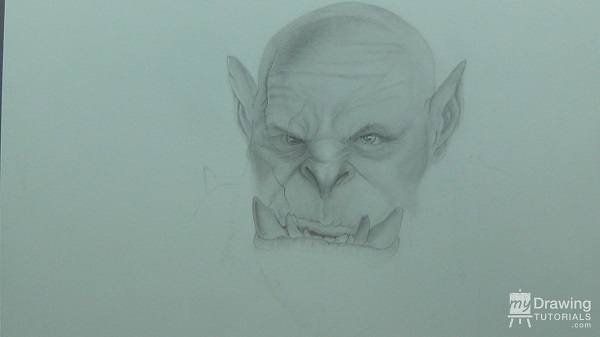
Now we have to put in some wrinkles in the forehead to really sell the orc’s angry expression.
A wrinkle will be darkest right at the center of the fold and then gradually lightens as it moves outward.
To create this effect, I will draw in the wrinkle with a pencil as a simple line and then use a tortillion to soften it out.

With wrinkles it’s better to be more light and subtle. If you make them too dark, they can become too distracting.
I noticed that the tilt of the right nostril is a bit too vertical so I erased it and drew it again.
If you notice a mistake in your drawing, don’t be afraid to eraser it and fix it. It might be a bit of work, but it will be very worth it in the end.
And of course the nose will be very wrinkled and scrunched up as well.
This drawing actually took be about 10 hours over several days.
When working on a long project like this, it’s good to take frequent break so that when you come back, you can look at the drawing with fresh eyes. You’ll notice mistakes that you would have otherwise missed.
For instance, after one break, I notice that the wrinkles on the forehead are too high up.
The wrinkles are suppose to be caused by his eyes pulling together and up, so it doesn’t make sense for them to be so far up the forehead. So I erased them and move them down a bit.
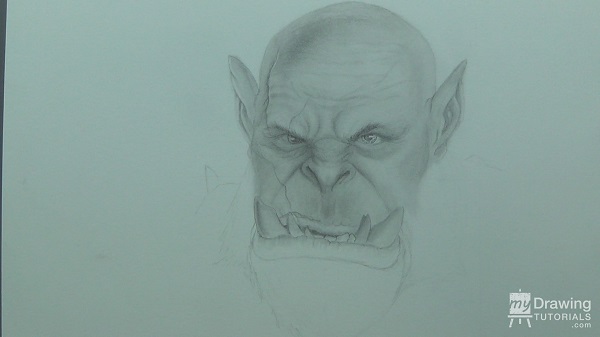
For the beard, I used short quick strokes and varied up the directions every now and then to give it a rough chaotic look. Also, I try to create clumps of hair here and there as that’s how hair naturally grow.
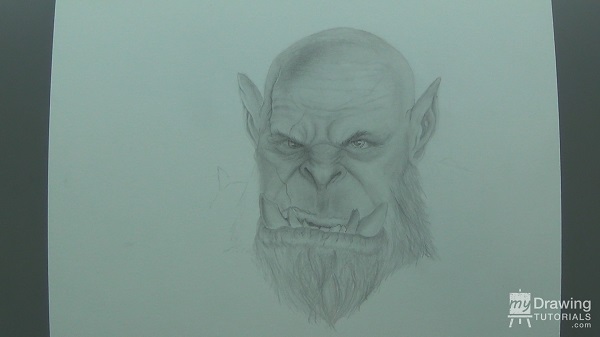
And then I’ll blend it out with a tortillion so that that individual strokes doesn’t stand out too much.
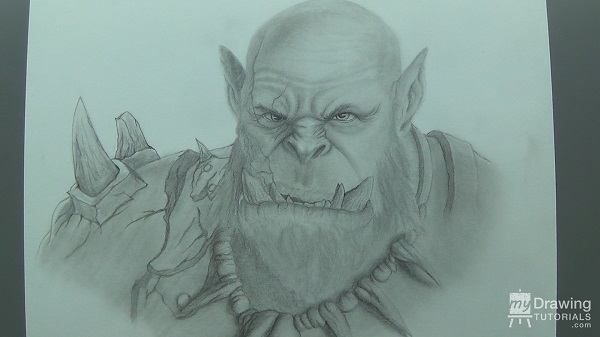
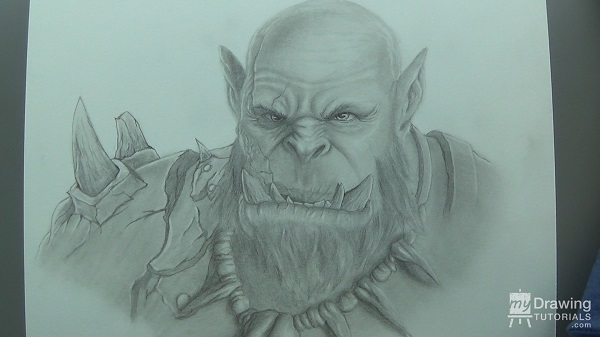
Step 3 – Filling in the Body
The beard look a bit out of place standing there by itself, so I’m going to draw in the body to balance out the composition.
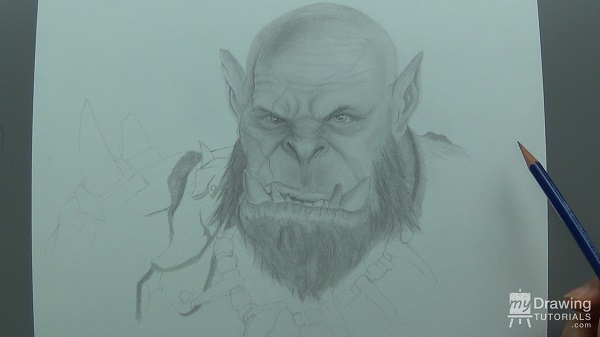
The right side of the body looks a little bare compare to the left, so I decided to add in a leather strap (as if he’s wearing some sort of armor that’s hanging from it.)
Before continuing with shading the rest of the body, I’m going to use my kneaded eraser to add in some highlights.
This will help me see what the drawing look like so far so that I can know what need to be added. And now I’ll fill in the rest of the body.
For this drawing, there are 2 light sources coming from both the left and the right. However, the light on the right is stronger so for the necklace, the highlights will be on the right and the shadows on the left.

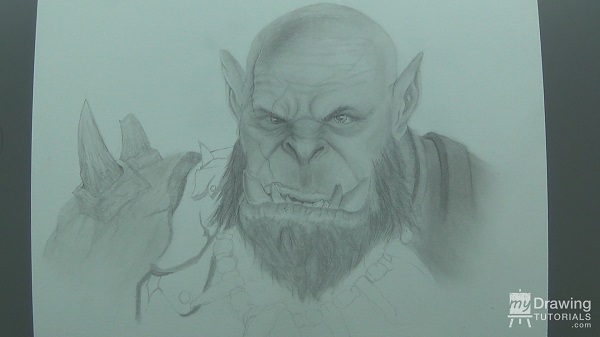
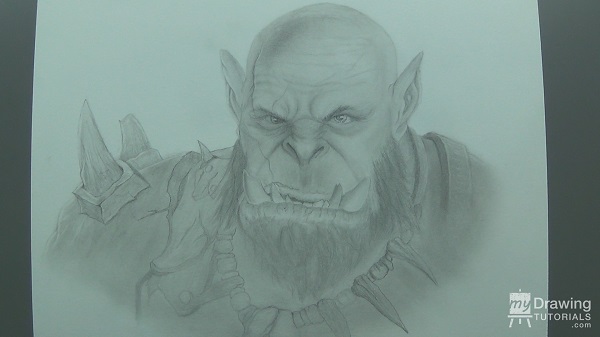
Step 4 – Adding Contrast
Now that the body is shaded in, the face is looking a bit light. So I’m just going to go back and darken the tones in the face to add contrast.
And now for one of my favorite part of the drawing: picking out the highlights. I’ll use my kneaded eraser and put a highlight at the outer edge of the face and body. This is when you really get to see your drawing come alive.
I will also put in some highlights in the beard and darken it to make it look more voluminous.
And add in some cast shadows for the armors. And lastly, I’ll use cross-hatching to give the armor some texture.
And that’s it, we’re all done!

![Drawing Realistic Portrait Series [1 of 8] – Intro & Materials](https://mydrawingtutorials.com/wp-content/uploads/2012/08/Portrait-Lesson-1.jpg)
![Drawing Realistic Portrait Series [2 of 8] – The Fundamentals of Shading](https://mydrawingtutorials.com/wp-content/uploads/2012/08/Portrait-Lesson-2.jpg)


