
If you wanna learn more about portrait drawing, check out my “Portrait Fundamentals Made Simple” course.
It’s a very beginner-friendly course that walks you through all the basics of portraiture, from constructing a basic head, facial proportions, drawing the features, and finally drawing a realistic portrait step-by-step.
[UPDATE] Congratulation to Suzanne Urban for being the winner of this giveaway! Suzanne, I sent you a Facebook message. Please just reply with your shipping address and I will send out the prize right away.
Thank you to everyone for your support and participation! Please go here to see the current running contest: https://mydrawingtutorials.com/giveaway
Lesson Details
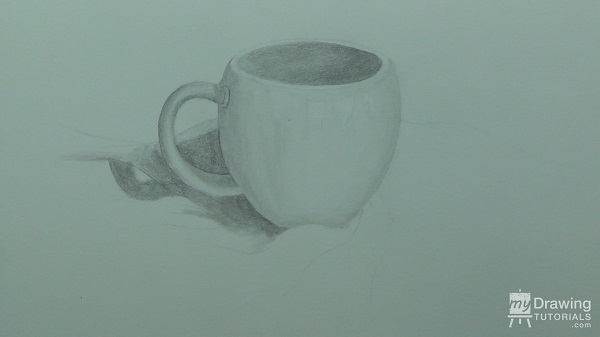
Let’s begin by drawing the layin of the cup.
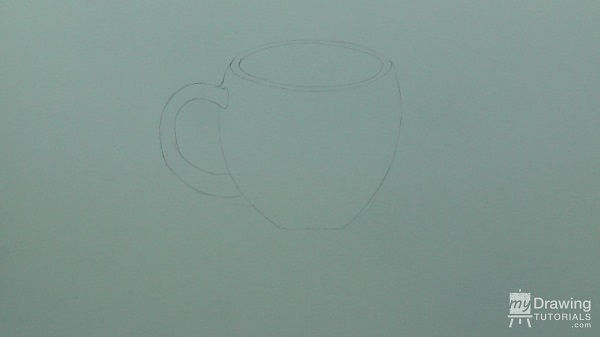
This is going to be a rather simple drawing as far as line work is concern and on a drawing like this, it’s very important to make sure we get all the curves and lines just right. Because the drawing is so simple, any mistakes we make will be very obvious to the viewer.
So don’t be afraid to erase and fix any mistakes that you see. More specifically, you’ll want to make sure that the elliptical opening of the cup is as symmetrical as possible… as well as the body of the cup.
To add some interest to the drawing, I’ll add in some fabric that the cup is sitting on. We don’t want our drawing to be too simple 🙂
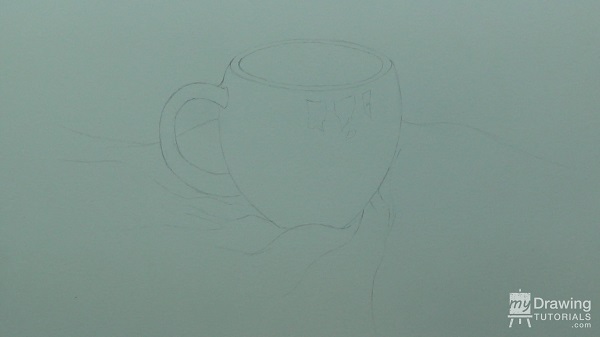
And I’ll also mark out some highlights on the cup. For this drawing, the light source will be on the right so that’s where the highlights will be as well.
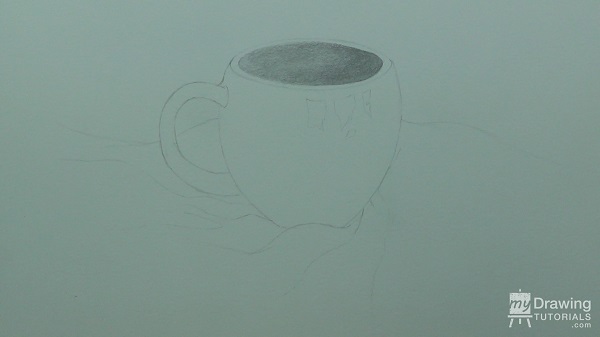
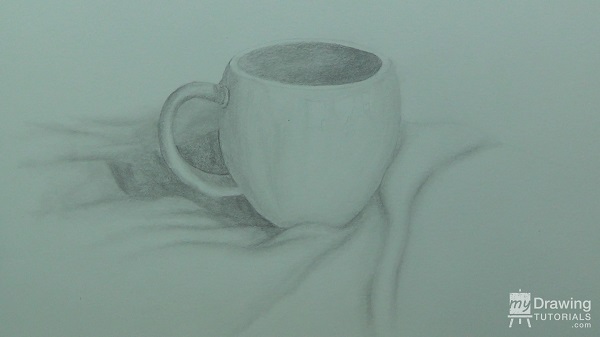
Now for the shading. Again, the light source is on the right so there will be a hard shadow cast on the right side of the cup’s mouth.
And I want the edge of that shadow to be soft and fuzzy so I’ll blend out the tone with a tortillion.
Next we’ll add some contour to the body of the cup. The shading will be brightest where the light is hitting it and gradually darkens as it moves out. And I will shade around the highlight area.
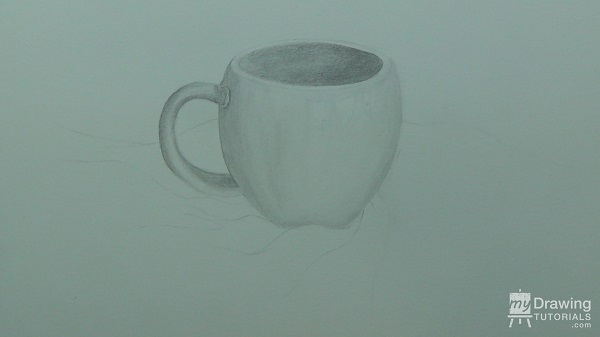
To really sell the three dimensional form of the cup, we’ll have to add in a cast shadow for the cup as well. And that’s going to fall on the left hand side.
Next, let’s shade in the fabric.
The shading on these will follow a simple pattern: the shading will be darkest where there is a crease in the fabric or if there is simply a bump, the shadow will fall on the left hand side. Then the tone will gradually lightens as it moves away from the shadow.
Now that the cup is looking pretty 3 dimensional, we want to take it one step further.
Let’s draw in the reflections that’s created by the handle and the fabrics around the cup. These reflections will be very distorted so we have a lot of freedom in how to add them in.
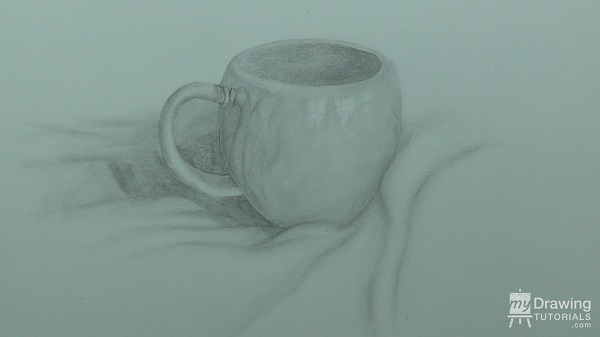
In general, try to be more subtle with these reflection so they don’t distract from the main drawing.
OK, so everything is look pretty good so far. The next step is to darken the shadows to add more contrast and clean up some of the edges to give the drawing more definition.
Lastly, if this cup is shiny enough to have reflections, then it would probably reflect some light as well. So let’s take our kneaded eraser and put in some small highlights.
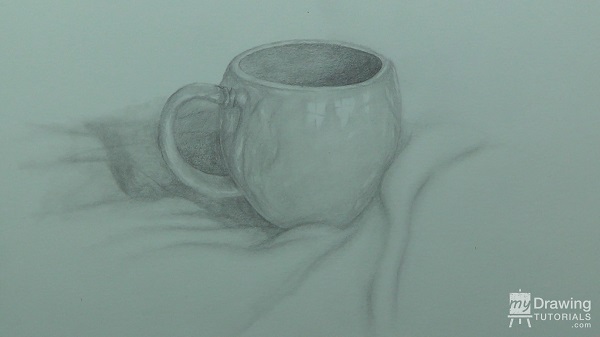
Now let’s just do some quick last minute polishing…
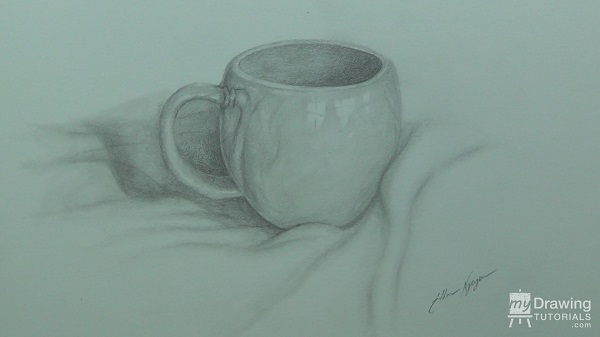
…and that’s it, we’re all done!


I like the simple steps and explanations. I’m 69, but am enjoying a rebirth of my art. Thank you for helping.