
If you wanna learn more about portrait drawing, check out my “Portrait Fundamentals Made Simple” course.
It’s a very beginner-friendly course that walks you through all the basics of portraiture, from constructing a basic head, facial proportions, drawing the features, and finally drawing a realistic portrait step-by-step.
Lesson Details
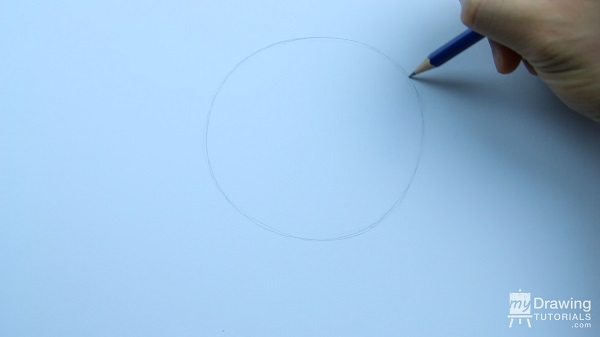
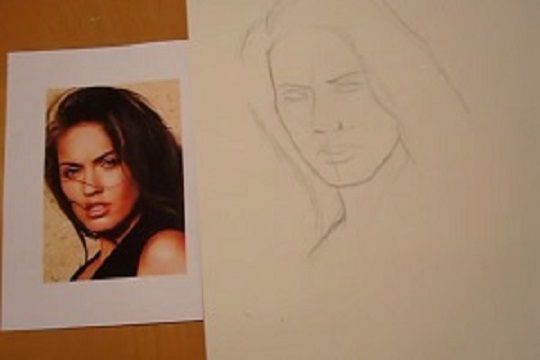
Step 1 – Drawing The Lay-In
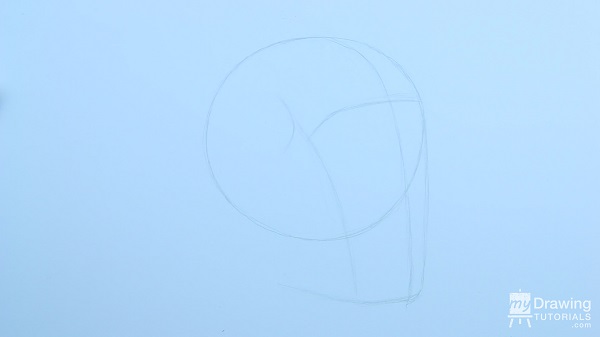
We’ll start by constructing the skull using basic shapes. Start by drawing a circle.
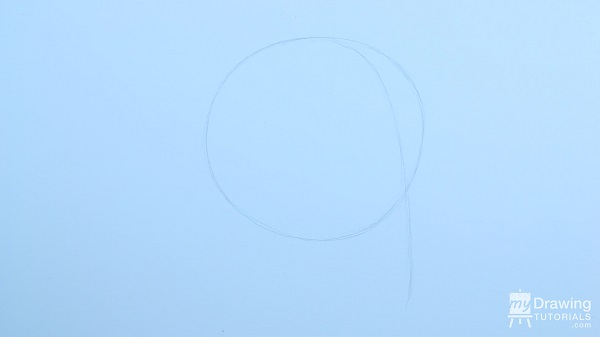
Then find the center line. Since the skull will be in three-quarter view, the center line will be more off towards the right.
Next, we’ll find the brow-line.
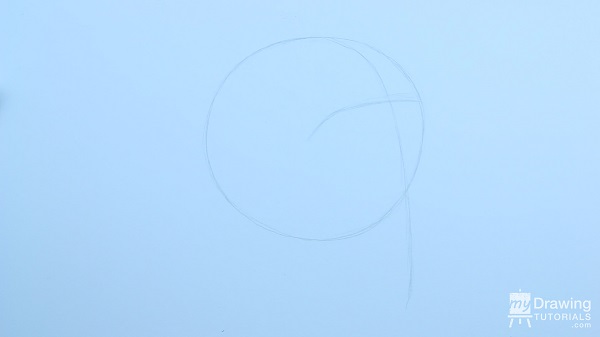
This line here will represent the point where the front plane of the skull meets the side plane.
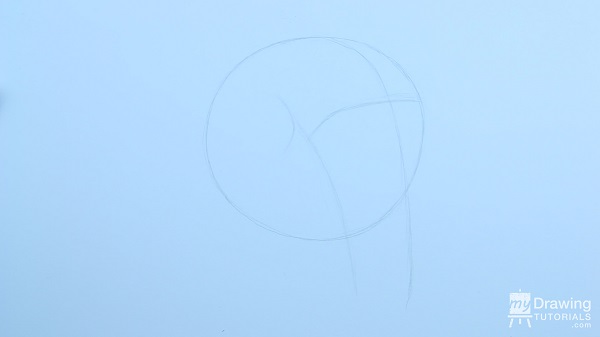
Fill in the side of the face.
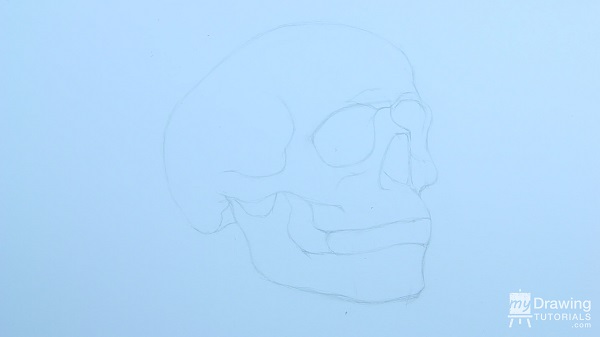
Now draw in the nose… and attach the jaw.
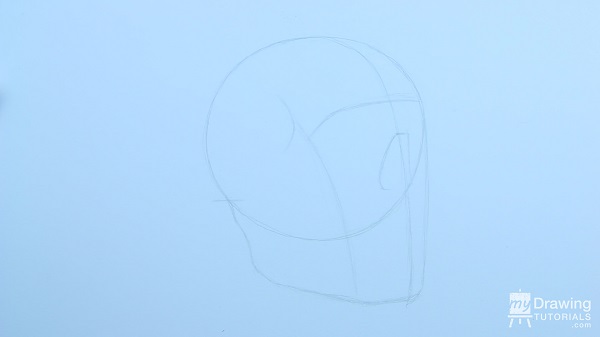
Next, we’ll re-shape the top of the skull to match that of the reference. We were only using the circle as a place holder.
And we’ll draw in the cheek bone and outline of the mouth as well.

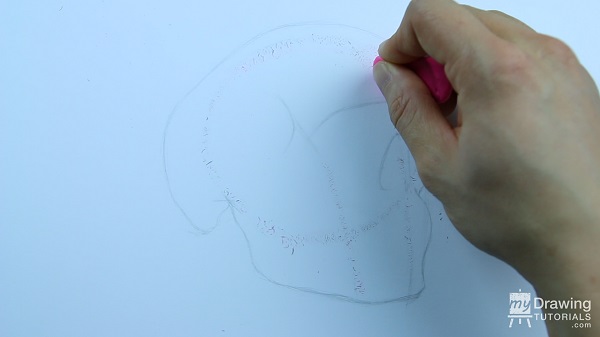
Before moving on, let’s erase some of these guidelines.
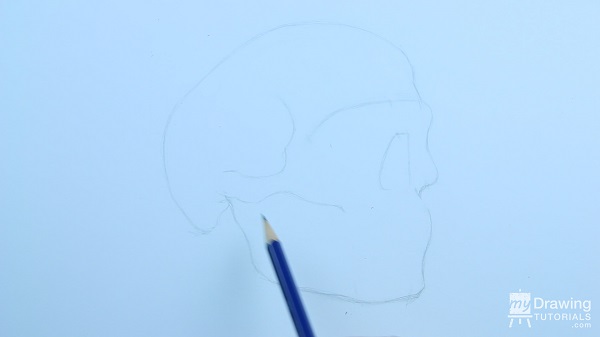
Step 2 – Adding Details
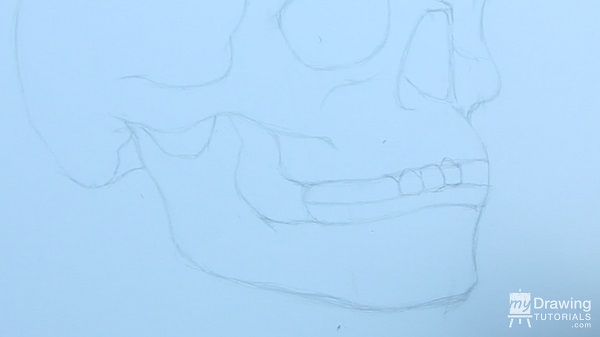
Now, let’s draw in the cheek bone on the other side of the face. In anatomical term, this is called the zygomatic arch.
And I’ll draw in a rough outline of the teeth and fill in some details for the jaw.

And of course, we’ll have to draw in the eye sockets as well.
The last part of the lay-in process is to fill in the teeth. This is probably my least favorite part because it can be very tedious. But nevertheless, it’s very important.
When drawing teeth, it’s very easy to get lost in all the details and forget where you are. So I recommend dividing the teeth into sections and tackling them one at a time.
So for this drawing, I divided the top set of teeth into 4 parts and I know that this section here should have 3 teeth in it.
And I know that another 3 teeth will fit into this section.
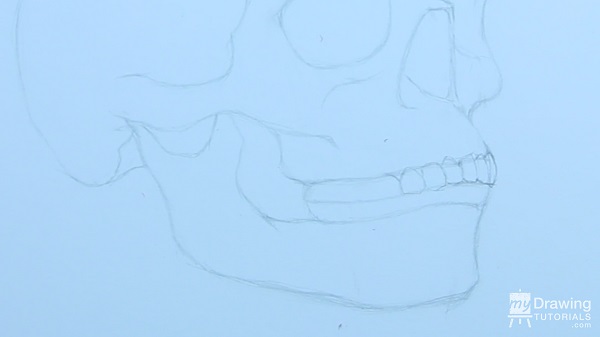
We’ll continue on like this until all the teeth are filled in.
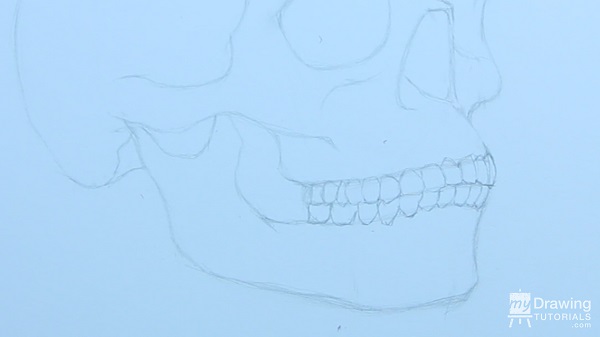
This is a good way to ensure that you draw in the correct number of teeth (as that can have a big impact on the mouth looking realistic) and that the teeth are in proportion.
Don’t worry too much about making all the teeth look exactly like the reference. You’re allow a bit of artistic license here.
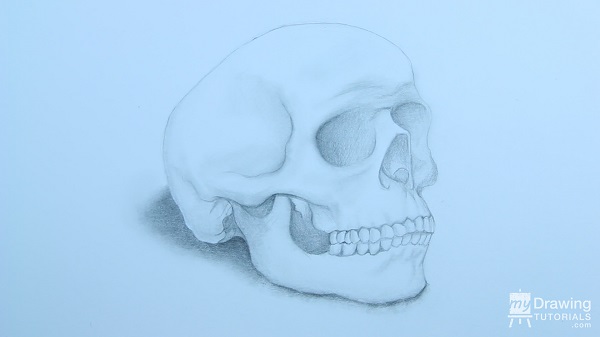
Step 3 – Shading The Skull
I’ll start the shading process by adding tone to the darkest areas first using a 2B pencil. And that would be the eye socket, nose, and jaw.
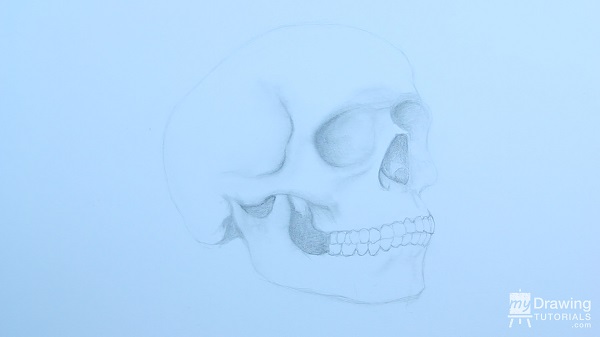
Next, I’ll use my tortillion and a 2H pencil to put in the half tone.
Right now, my main goal is to just establish some basic dimension to the drawing. I just want it to look somewhat three-dimensional. Then I can look at it and see where it need more tone or less tone in order to look more realistic.
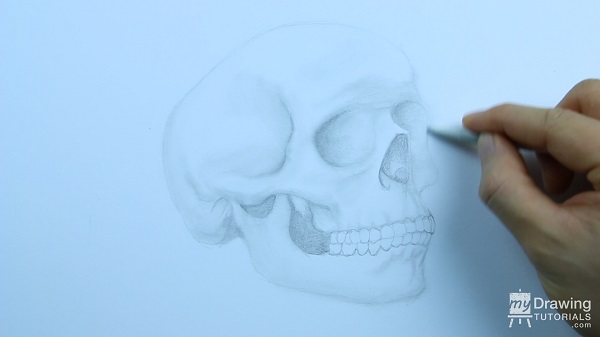
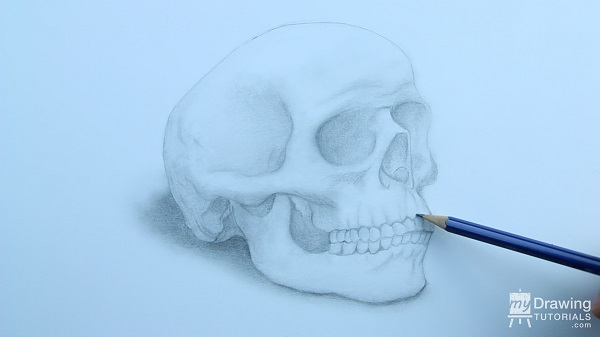
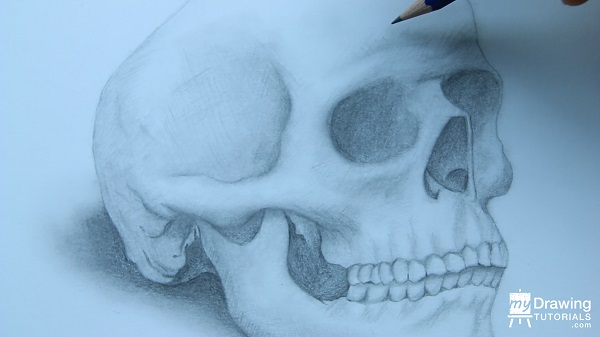
OK, so looking at it, I can see that the teeth are look a little bare right now. So I’ll go in with my 2B pencil and put in some small shadows in the gaps between the teeth.
Much better!
Now that I can see that the skull is looking pretty good, I’m ready to commit to darker lines. So I’m going to darken the lay-in lines and the shadows some more.
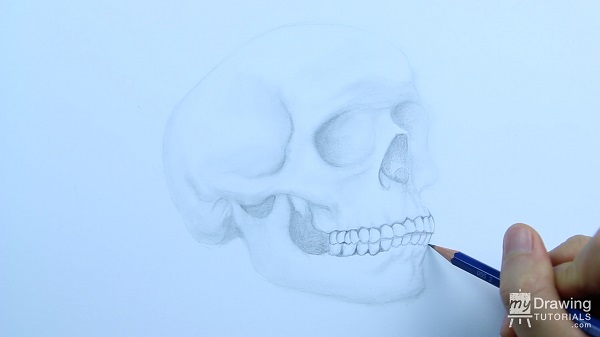
To help make the skull look like a solid object, rather than just something floating in space, I’ll put in a cast shadow at the bottom. Remember to make the shadow darkest when it is near the skull and gradually lighter as it moves away.
To help soften the edge of the shadow, I’ll use a piece of tissue paper and blend out the edge.
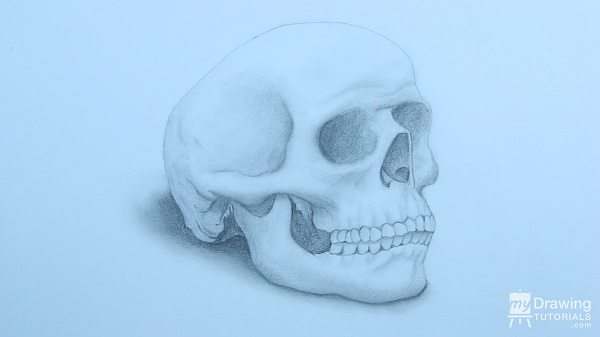
Now, let’s add some texture, bumps, and ridges to the back of the skull for some interest.
Let’s do one more round of darkening the shadows for more contrast.
I’ll put a shadow under the top set of teeth to make it look as if it’s protruding out a bit. Most skulls have a slight overbite and this will help add more dimension to the drawing.
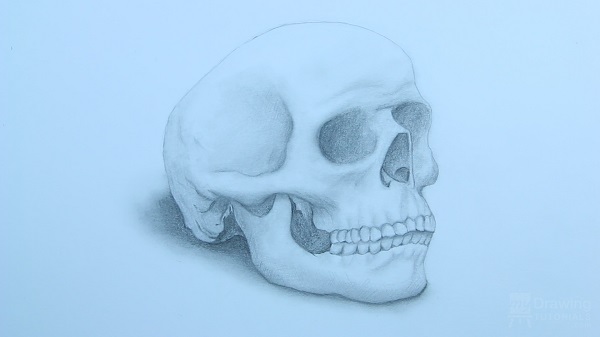
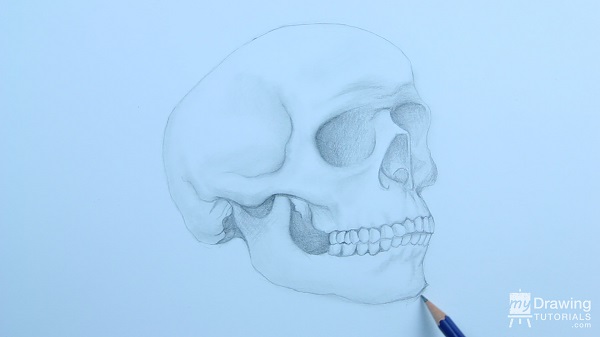
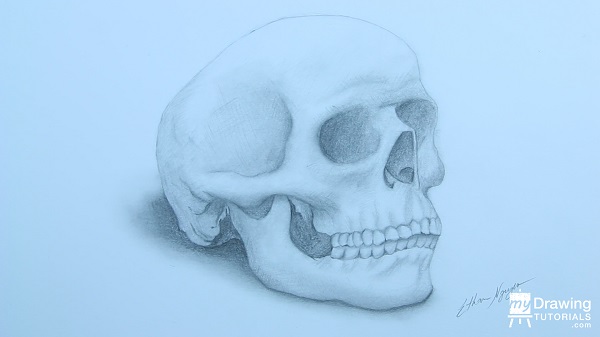
And lastly, I’ll use a well sharpened 2B pencil and add some calligraphy to the drawing. It’s just means that I’m put in some cross-hatching in the shaded areas to give the skull a more stylized look.
It’s subtle, but it’ll make the drawing more interesting to the eyes.
And that’s it, we’re all done!

![Drawing Realistic Portrait Series [1 of 8] – Intro & Materials](https://mydrawingtutorials.com/wp-content/uploads/2012/08/Portrait-Lesson-1.jpg)
![Drawing Realistic Portrait Series [2 of 8] – The Fundamentals of Shading](https://mydrawingtutorials.com/wp-content/uploads/2012/08/Portrait-Lesson-2.jpg)


Hey this is really helpful!
Could you please email me the reference image you used to base your drawing off of?
Thank you!
Hi,
Sorry, I don’t have the reference for this drawing. I think I draw it based on some image I found on the internet.
This helped with my homework!
very nicely done thank you for sharing
thank u so much
hello-thank you for this tutorials-i wish best for you