Welcome back to the 5th and last part of our series on how to draw pet and animal portraits.
If you missed the previous lessons, be sure to catch up first before continuing. The links to the previous lessons are posted below:
Part 4 – Adding Texture to the Fur
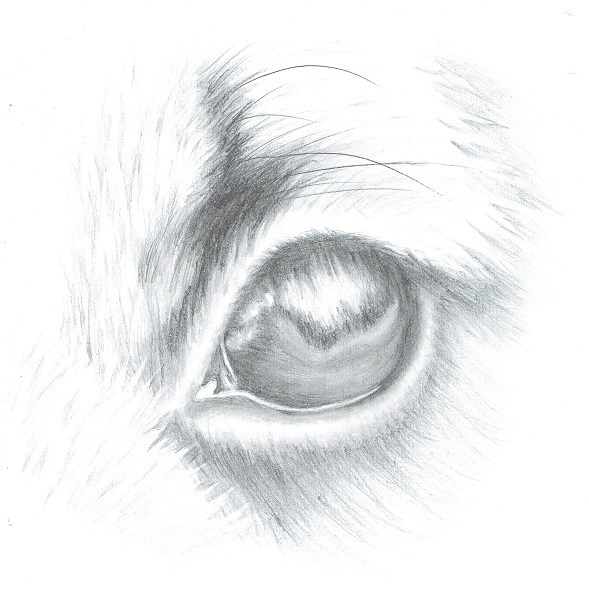
In this lesson, we are going to be putting the finished touches on our drawing. I’ll also be showing you how to draw soft white fur.
This can be one of the trickiest part of an animal portrait. But don’t worry. Once you know the proper technique, it can be very easy. Plus putting in these soft looking fur will make your drawing look fantastic!
Without further ado, here’s today’s lesson:
I hope you enjoyed that lesson. I had a great time creating and sharing these lessons with you.
If you’d like to learn more about how to draw animal portraits, please check out my brand new course, “How to Draw Animal Portraits“
In this course, you’ll learn all the shading and drawing techniques need to draw realistic animal portraits.
Here’s some of the things you’re going to learn in this course:
- How to add texture to your animal portrait to make it look more realistic
- Special drawing tools that will make drawing animal portraits 10 times easier
- How to use “negative shading” to create beautiful white fur
- And much, much more …
Though out the course, we’ll go through drawing exercises to help you practice what you’ve learned and at the end of the course, you will have drawn your very own realistic animal portrait, from start to finished!
Click here to learn more about the course!
Thank you for all your support!

![Drawing Realistic Portrait Series [1 of 8] – Intro & Materials](https://mydrawingtutorials.com/wp-content/uploads/2012/08/Portrait-Lesson-1.jpg)
![Drawing Realistic Portrait Series [2 of 8] – The Fundamentals of Shading](https://mydrawingtutorials.com/wp-content/uploads/2012/08/Portrait-Lesson-2.jpg)


Can’t believe it! they are very detailed like they’ve drawn from a computer drawing software. Amazing!