
If you wanna learn more about portrait drawing, check out my “Portrait Fundamentals Made Simple” course.
It’s a very beginner-friendly course that walks you through all the basics of portraiture, from constructing a basic head, facial proportions, drawing the features, and finally drawing a realistic portrait step-by-step.
Lesson Details
In the previous lesson, we went over the different methods for holding your drawing pencil. One of those methods requires that your pencil be sharpened a certain way and in this lesson, I’m going to show you how to do just that.
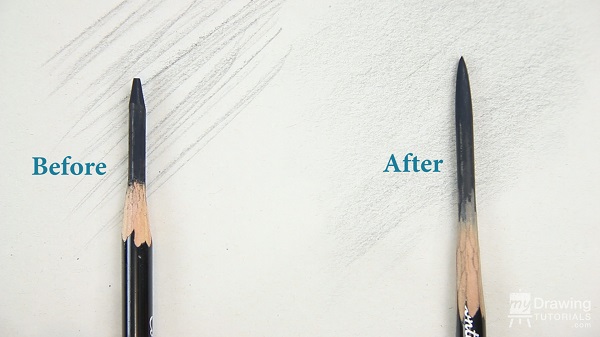
The most common way to sharpen a pencil is to use a pencil sharpener like this.
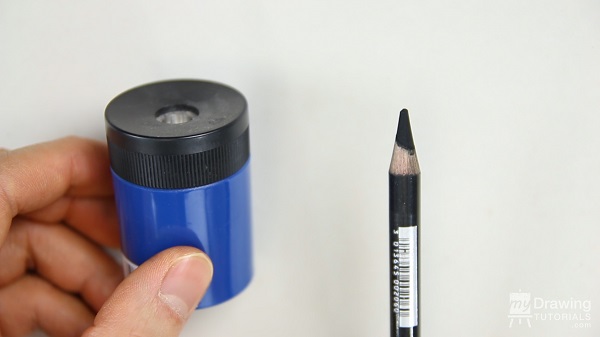
Now this is a perfectly fine way to sharpen a pencil (and I do this all the time), but it only allows you to use the tip of the pencil for drawing.
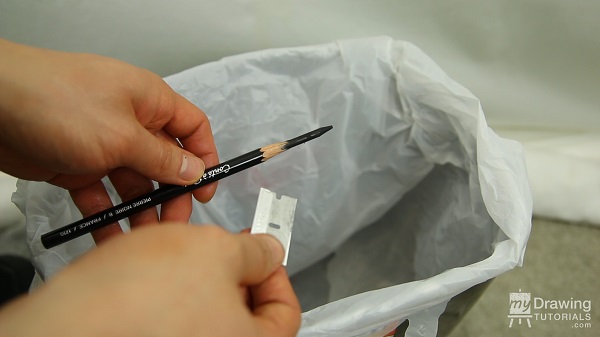
But by sharpening your pencil to look like this…
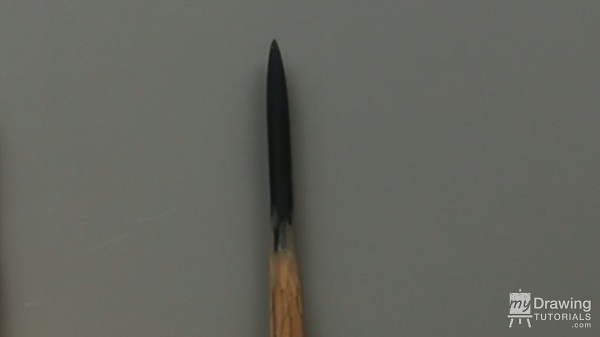
…you’ll not only be able to use the tip of the pencil, but also the side of the pencil as well.
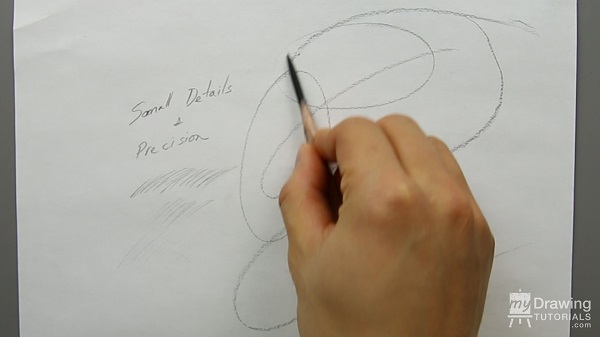
This allows you to manipulate the pencil in many interesting ways.
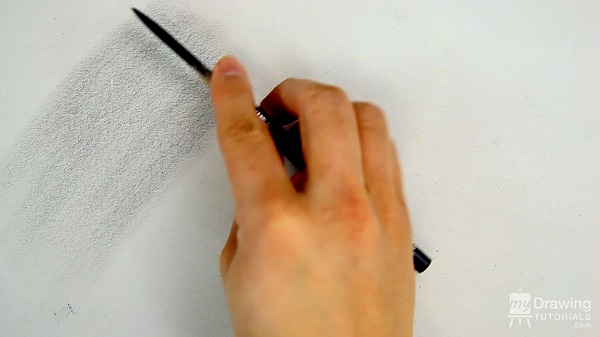
Also, it’ll make shading a lot easier and faster than just using the tip as you can cover more surface area.
So here’s how to sharpen your pencil to look like this.
First, use a regular pencil sharpener to get a tip started.
Then, use a razor blade or an x-acto knife to strip away some of the wood to expose more of the lead. I like to use these razor blades.
You can get a whole box of 50 of them for just a few dollars at a home improvement store or purchase them online.
Here’s a link to where I purchased them online: Box of Razor Blades
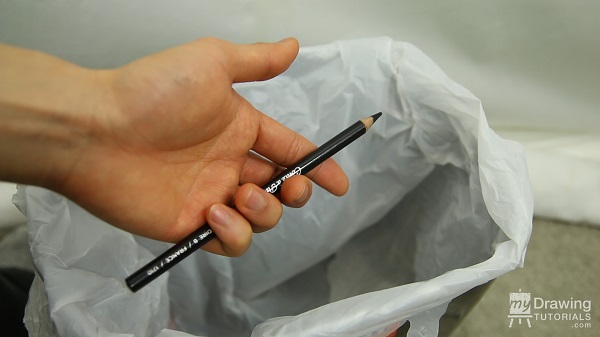
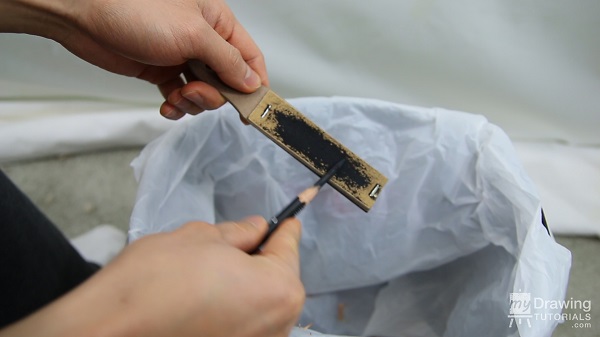
Hold the pencil in one hand like so.
Hold the razor blade in the other hand with the blade facing away from you.
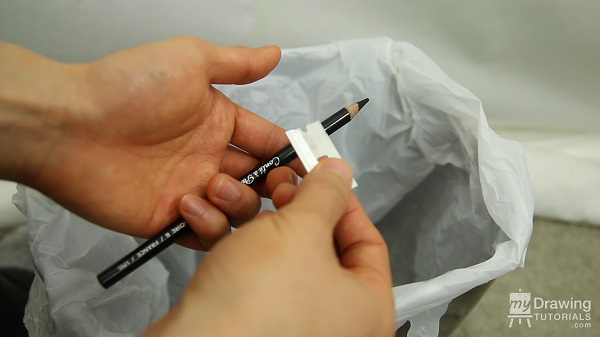
Then use your thumb to push the blade forward while pulling the pencil back slightly. Rotate the pencil as you go.
Be very careful not to cut yourself!
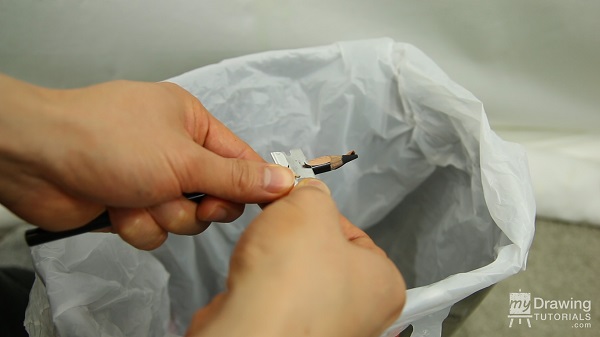
As you get closer and closer to the lead, try to only take off a thin layer of wood at a time so that you don’t risk going to far in and cutting a chunk off the lead.
You’ll want to keep doing this until you have about an inch of lead exposed and there’s a smooth taper from the wood to the lead.
At this point, if we tried to use the side of the pencil, we’ll get very uneven tone and sharp edges. So we’ll have to smooth out the pencil so that it looks more like this.
To do this, you can use sand paper to smooth it down. You can go side-to-side or forward-and-backward. Rotate the pencil frequently to keep things even.
Be careful not to push too hard on the pencil as you can break the lead. If this does happen, don’t worry, it’s very common in the beginning. As you become better at this, you’ll break the pencil much less often.
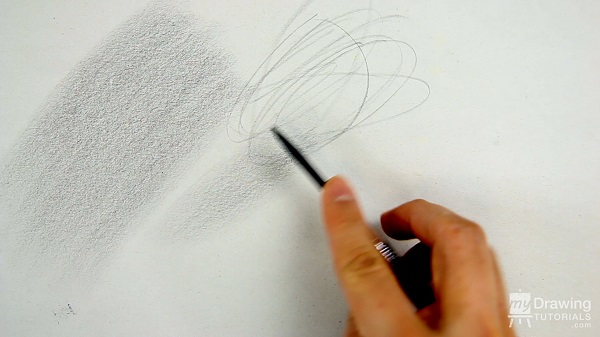
Then just wipe off the extra powder and the pencil is ready for drawing.
If you are going to be using the side of the pencil for a lot of shading, remember to rotate it frequently so you can maintain the smooth contour of the lead. If you keep using just one side, the pencil will develop a bevel and you’ll have to re-sharpen it again.
If you’re going to be using the tip of the pencil a lot, it will obviously become dull over time. In which case, you can re-sharpen it with the sand paper. Or you can use the time when you are shading with the side to re-sharpen the tip.
By switching back and forth between using the side and the tip, you’ll get a lot more mileage out of your pencil between each sharpening.


great thankyou
Excellent method my teacher also taught me …