
If you wanna learn more about portrait drawing, check out my “Portrait Fundamentals Made Simple” course.
It’s a very beginner-friendly course that walks you through all the basics of portraiture, from constructing a basic head, facial proportions, drawing the features, and finally drawing a realistic portrait step-by-step.
Lesson Details
One of the most important skill you’ll need to learn as a beginning artist is how to hold and control your pencil properly. This might seem like an obvious and trivial matter, but there’s actually a whole technique to holding your pencil and it can make a big impact on your results.
There are 2 main grips for holding a drawing pencil: the Writing Grip and the Overhand Grip.
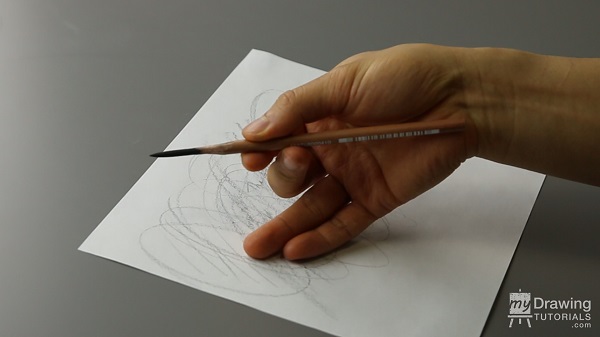
The Writing / Tripod Grip
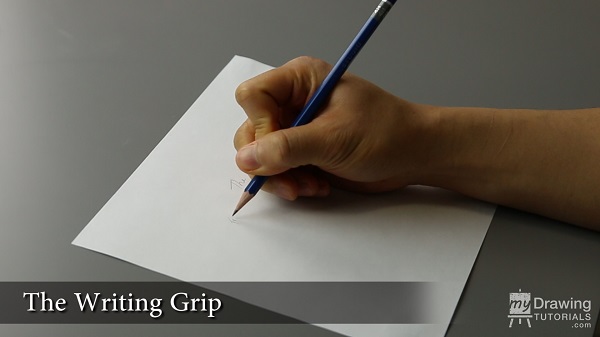
The writing grip is the most common method and is employed by most artists. The reason it’s called “the writing grip” is because this is also the same grip we use to write with.
It involves using your thumb, index, and middle finger to manipulate the pencil.
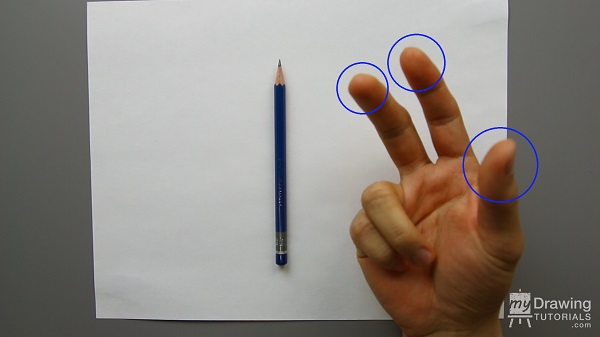
This grip exclusively uses the tip of the pencil to draw. Because you are using three fingers to hold the pencil, this grip is also sometime called “the Tripod Grip”.
Different people have slightly different ways of holding the writing grip, but they are all essentially the same grip.
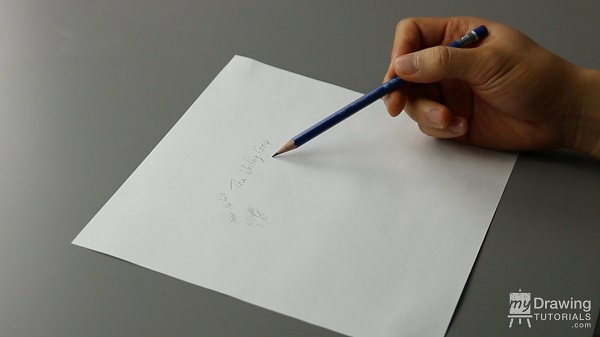
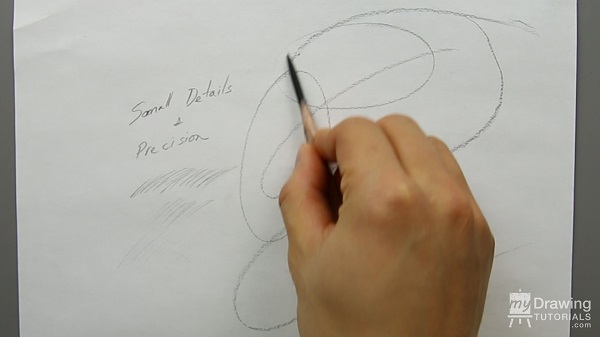
When using the Writing Grip, you can adjust the amount of pressure and precision you have by changing where you hold the pencil.
When you hold the pencil closer to the tip, you’ll get much more precision in your line work, as well as increasing the pressure and darkness of the lines.
When you move your grip back towards the end of the pencil, the pressure you exert will be much less and your lines will be lighter. Although you’ll lose some precision, you’ll be able to make smoother and more dynamic lines.
The Overhand Grip
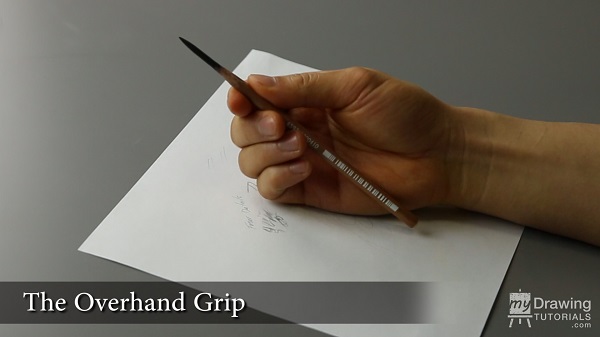
With the Overhand Grip, you hold the pencil similar to how you would hold a candle, with the tip pointing upward. Unlike the Writing Grip, which only employ the tip of the pencil, the Overhand Grip allows you to use the tip as well as the side of the pencil.
To use the Overhand Grip, hold the pencil with your thumb and index finger like so.
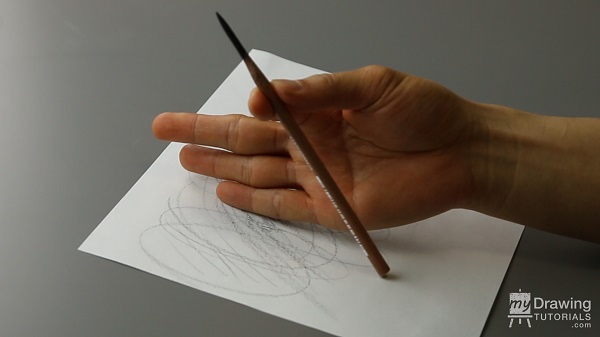
You then use your middle finger to push on the pencil and cause it to tilt at whichever angle you want.

And your ring and pinkie finger will be use to stabilize your hand as you glide it over your drawing paper.
It’s important not to rest your hand too much on the drawing paper as this will prevent it from being able to move smoothly. But at the same time, don’t hover your hand above the paper as you won’t have a lot of stability and your shoulder will get tired very quickly. A light amount of contact with your fingers for stability and comfort will be best.
You might also notice that the pencil is sharpened differently when using the overhand grip.
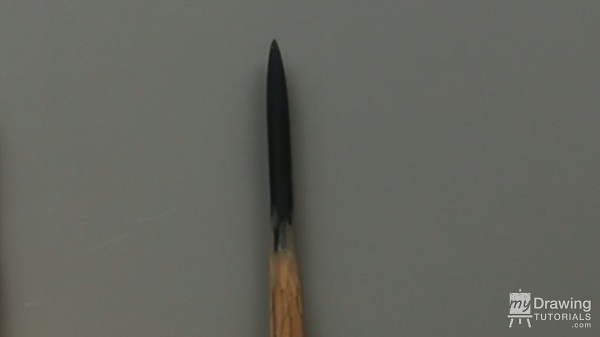
I’ll do a tutorial on how to sharpen your pencil this way in the next video, but essentially the reason for this is we want to expose more of the lead so that we can use the tip of the pencil for drawing, as well as the side of the pencil for shading.
Pro’s and Con’s of Each Grip
So what’s the difference between these two grips and why should you use one as oppose to the other?
In general, the Writing Grip is much better for precision and small details.
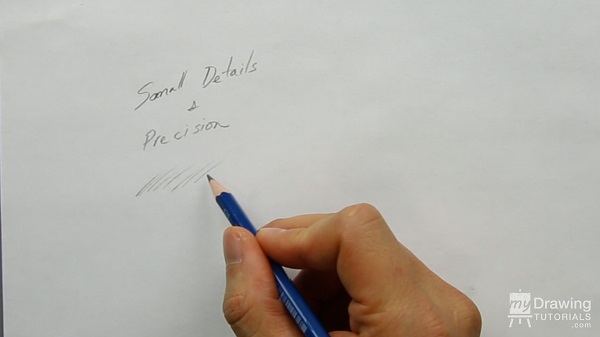
This can be seen in our everyday writing. We are able to make very small and intricate letters and words using this grip. For drawing, I like to use this grip when working on fine details like eyes or hair.
The Overhand Grip is much better for big, fluid, gestural lines.
Because you are able to move the pencil in so many different ways and make contact with the paper with different parts of the pencil, you’re able to create very interesting and dynamic lines.
You can use the side of the pencil to create a thicker line. You can use the tip to create thinner lines. Or you can also pull the pencil along the edge to create thin lines as well.
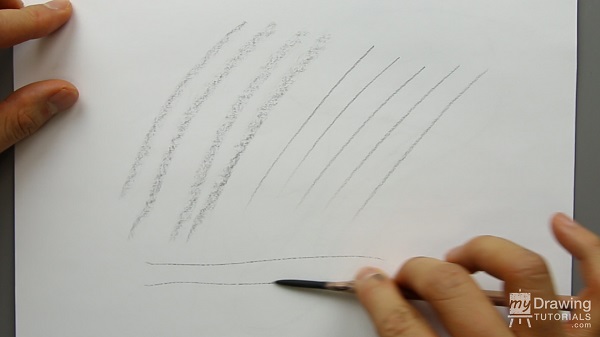
Weave all this together and you have a very fun way to draw.
One thing to notice is that the Overhand Grip works much better if you have an inclined drawing surface of about 20 – 40 degrees.
This puts the drawing paper at a good angle to make contact with the pencil. The Writing Grip, on the other hand, can be use on a flat or inclined surface.
Drawing Style
Your style of drawing will matter as well. The Writing Grip will lends itself to a more tight, realistic style…
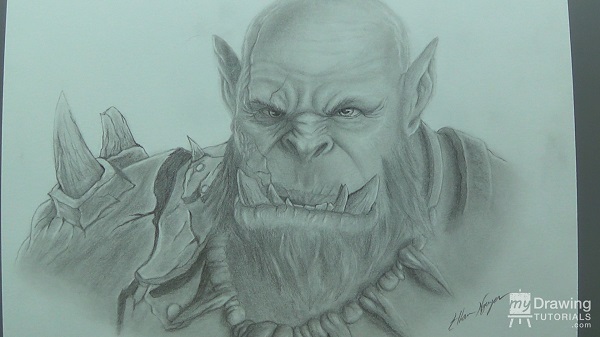
…whereas the Overhand Grip is much better for a loose, sketchy style.
Drawing Medium
The medium you are using might also dictate which grip you use. Charcoal is a very loose and sketchy medium so it will call for the Overhand Grip more.
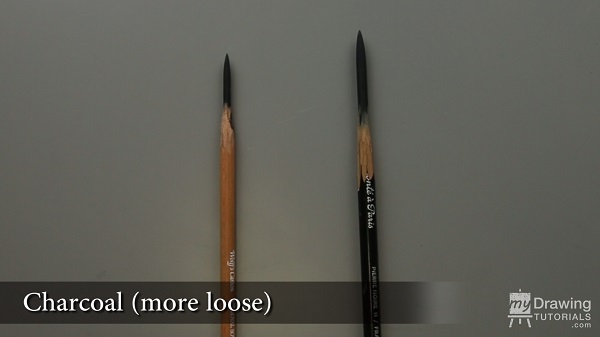
On the other hand, graphite tends to be a more precise medium so it will be better suited for the Writing Grip.
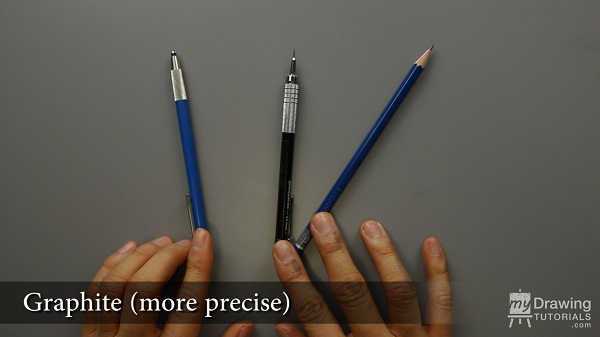
I work mostly in graphite so you’ll see me using the Writing Grip a lot in my videos.
In most drawings, you’ll be switching back and forth between these two grips as the situation changes.
And now that you know the strength and weakness of each grip, you’ll be able to utilize them more effectively and get better results!


very good advice thankyou
Thank you for the advice on how to grip a pencil . It seems a very simple thing but until today I never knew about the two quite different grips and will need to explore this further. At first the overhand grip feels very awkward so maybe it takes time to adjust to.
I will keep practicing.
Hi,
Yes, it definetly takes time to get used to, especially if you are transiting over from the writing grip. One thing you need to make sure is that you are drawing on a inclined surface (about 45 degrees) if you want to use the overhand grip. Drawing on a flat surface will make the overhand grip very very awkward.
please your drawings are very fantastic but just that i don’t know how i will do and also get to learn about that. I seriously want to join your lessons so that i would also be very perfect in drawing. How do i do about that?
I’m sorry, I’m not sure what the question is asking. Do you mean how do you get started drawing if you are a beginner? If so, I would recommend starting with these beginner lessons: https://www.youtube.com/playlist?list=PLq1TGG6lDQ2xbv04fl5EnfZ_SbxhdL8R6
Extremely informative. And I really enjoy your instructional style.
Thanks for sharing.
Hi Dale,
You’re very welcome! Thank you for the comment.