
If you wanna learn more about portrait drawing, check out my “Portrait Fundamentals Made Simple” course.
It’s a very beginner-friendly course that walks you through all the basics of portraiture, from constructing a basic head, facial proportions, drawing the features, and finally drawing a realistic portrait step-by-step.
Lesson Details
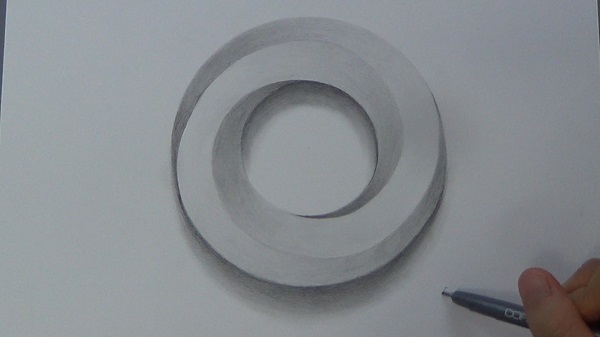
A lot of beginning artist really struggle with drawing smooth circles and curves, which is unfortunate because it’s a very fundamental skill in drawing. So in this video, I’m going to show you good a method for how to do just that.
One way you can draw a circle is to try to do it in one shot like this.
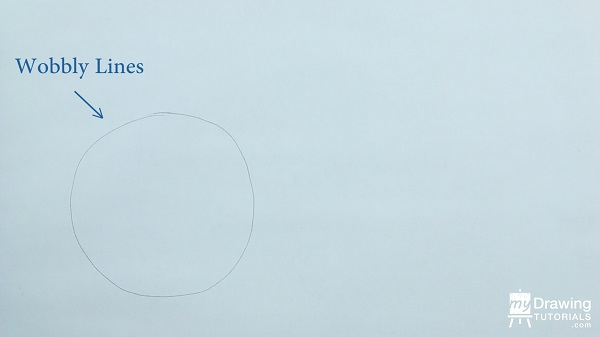
Now this is a fine way to draw a circle and if you have steady hands you can pull it off quite well. In fact, I draw my circles like this a lot myself.
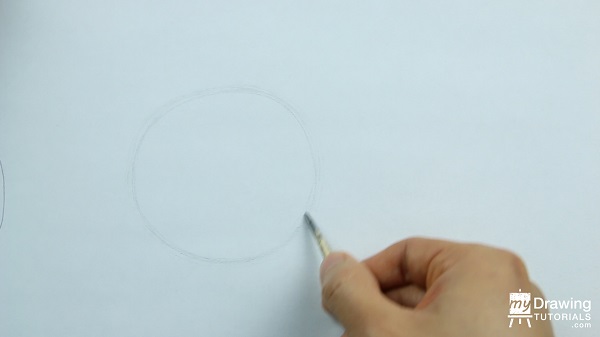
But you might find that when drawing it like this, your hand will be a bit wobbly and your circles won’t look as smooth. In which case, you can try drawing your circles like this.
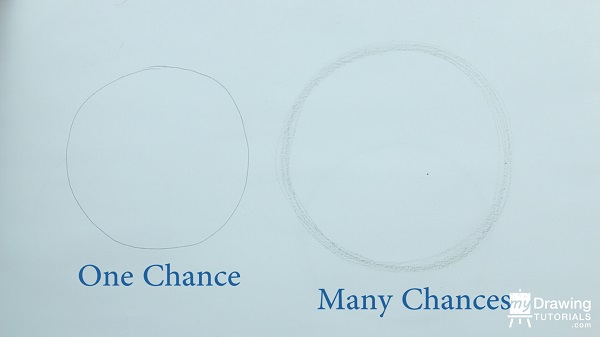
The nice thing about drawing circles and ellipses this way is that rather than just getting one shot at drawing a perfect shape, you actually get a bunch of chances. And then you get to pick out the best one!
To use this method, I like to hold the pencil with the Overhand grip. Let your hand hover over the drawing paper a bit so that it can move smoothly. You can lightly touch your pinkie and ring finger to the paper for stability.
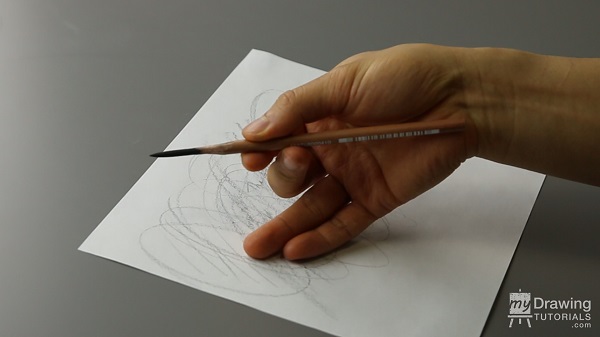
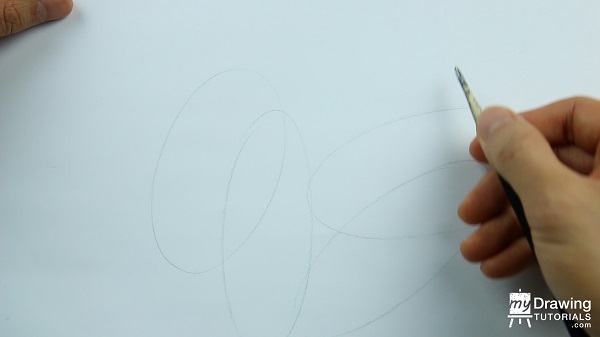
Now just move your hand as if you are drawing a circle but without touching the pencil to the paper. In drawing, this is called “ghosting” and the purpose is to get your hand to become comfortable making that motion before you commit to making any marks.
One very important tip is to move using your shoulder rather than you wrist.
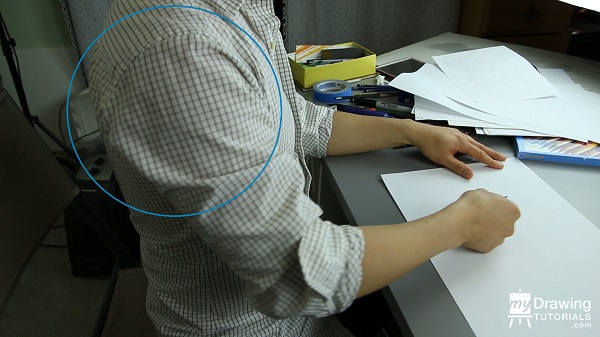
With the wrist, your range of motion will be limited and your movement will be jerky. But by keeping the wrist (and to some extent, the eblow) still and moving your shoulder, you’ll get much smoother motions. So most of the movement should be in the shoulder, a little bit in the elbow, and almost none in the wrist.
Once you feel that your movement is fluid, lightly touch the pencil to the paper.
We are not fulling committing yet. We’re just testing the water to see how it would look. The light marks that appear can then act as a guide, letting you know if you need to make any adjustments (“a little to the left”, “gotta make it more rounded towards the bottom”, etc).
Once you feel that you have the shape you want, apply more pressure and commit to the lines.
By the way, this will work for drawing ellipses as well.
In the beginning, you’ll probably spend a lot of time ghosting and making light marks before you feel comfortable committing. But as you get better and better at this, the whole process will be compress down a lot and you can pretty much draw the shape in one or two fluid strokes.
If making the motion of a circle or ellipse is difficult for you, you might want to start with an easier exercise called, “Running the Track”. I made a separate video about it and you can click here to watch it.


I cant seem to hold my pencil they way Ethan is doing it.
One more detail: if your learning to move your pencil with your shoulder, rather than wrist, it will help you to make bigger artworks.
Simple example: try to draw a picture on a wall of your room, using you wrist.
Even if you finish it, job will take huge time and pleasure from a picture will fall in this time which spent for work.
..
Through this thoughts, try to use the big canvas. A2 format (594×420 mm), i think, is minimal for beginners.
Whatever people have talent
“Talent is cheaper than table salt. What separates the talented individual from the successful one is a lot of hard work.” -Stephen King