
If you wanna learn more about portrait drawing, check out my “Portrait Fundamentals Made Simple” course.
It’s a very beginner-friendly course that walks you through all the basics of portraiture, from constructing a basic head, facial proportions, drawing the features, and finally drawing a realistic portrait step-by-step.
[UPDATE] Congratulation to Mary R Artist for being the winner of this giveaway! Mary, I sent you a Facebook message. Please just reply with your shipping address and I will send out the prize right away.
Thank you to everyone for your support and participation! Please go here to see the current running contest: https://mydrawingtutorials.com/giveaway
Lesson Details
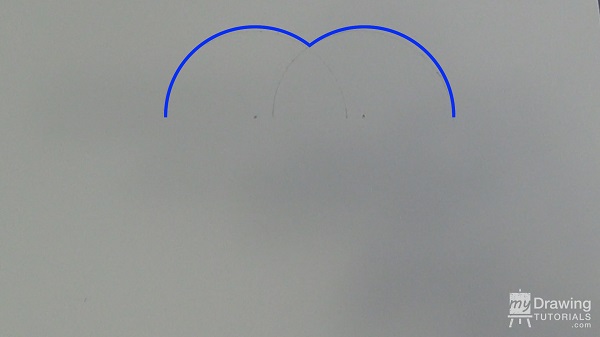
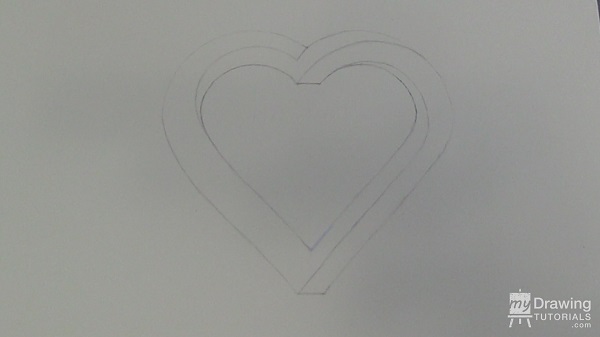
Step 1 – Draw A Simple Heart
The first step to draw an impossible heart is to draw a simple heart shape. Now you can draw your heart free-hand, but here’s a simple way to draw a perfectly symmetrical heart.
Mark two dots on your paper. Then use a compass and pivot on these dots to create 2 overlapping semi-circles. These will be the top part of your heart.
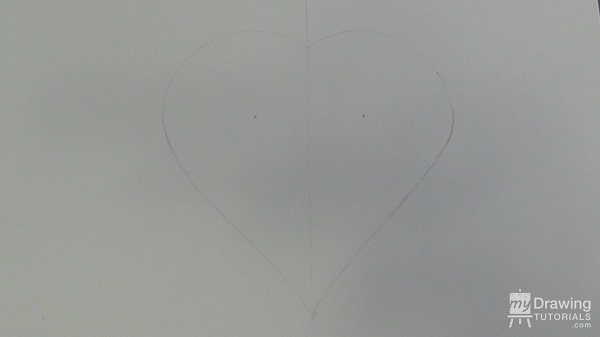
Now we will just extend this to complete the heart. To help keep things symmetrical, draw a vertical line down the middle as a guideline. Now just draw in the rest of the heart. And let’s erase these extra lines.
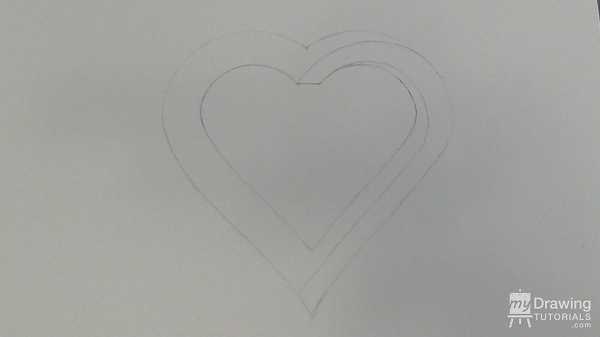
Next, we will draw another smaller heart inside this one.
To do this, set your compass to the same width as the distance from the center line to one of the dots…
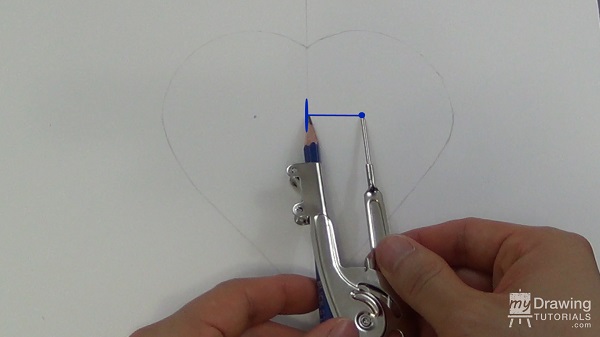
…and pivot off the same 2 dots to create 2 touching semi-circles.

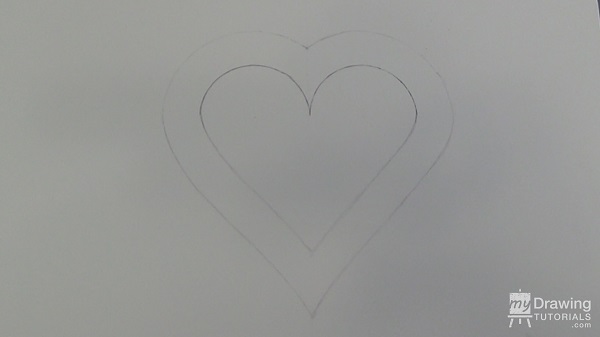
Now just extend this shape to form the small heart. And let’s clean up these guidelines as we won’t need them anymore.
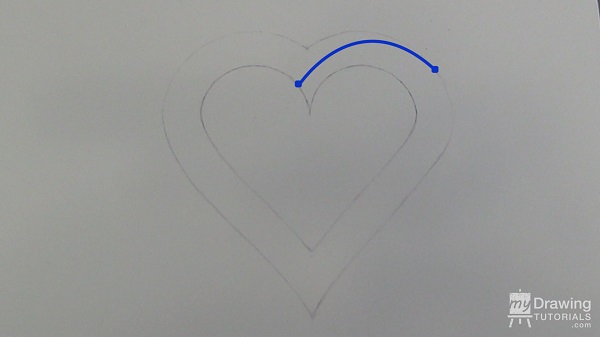
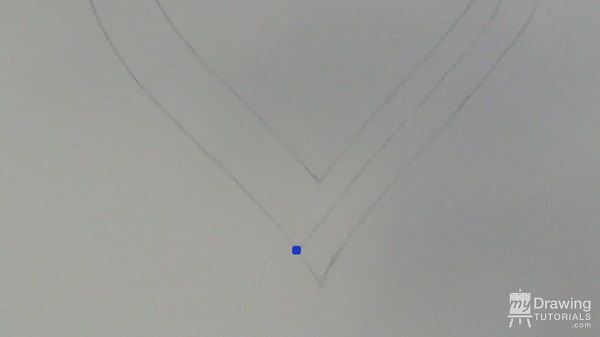
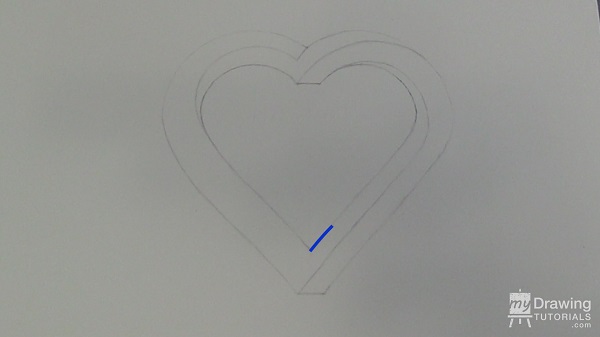
Step 2 – Connect The Curves
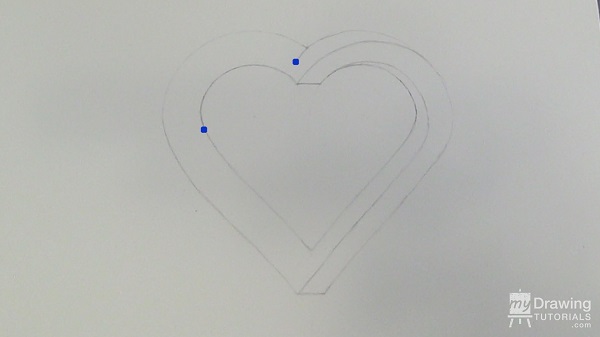
Now, you’ll want to connect this point of the heart with this point using a curve. You’ll want to position the curve so that it’s roughly centered within the heart.
Then go to this point of contact between the curve and the heart…
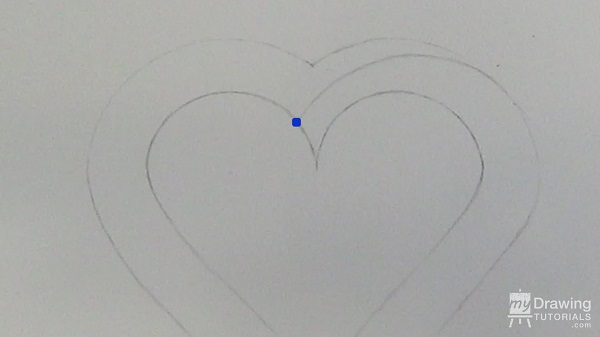
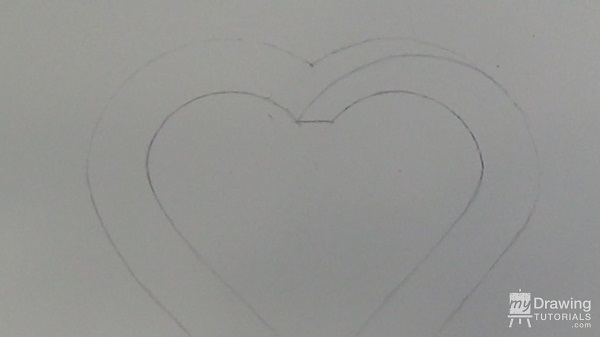
…and draw a horizontal line across. And then erase the tip.
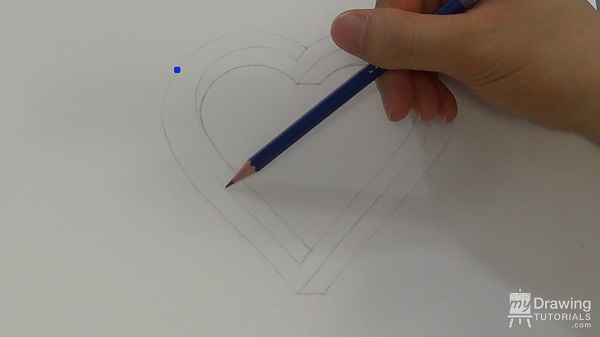
Next, draw another curve to connect these two points.
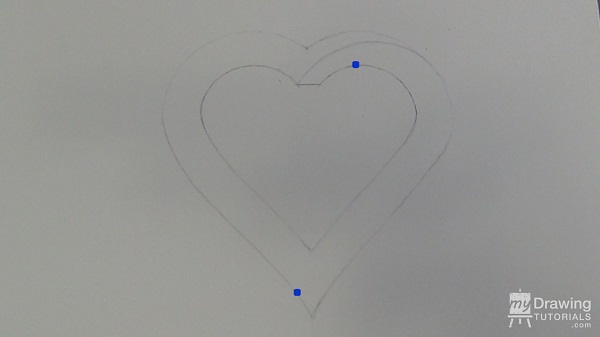
And once again, go to the point of contact…
…and draw a horizontal line. And then erase the tip.
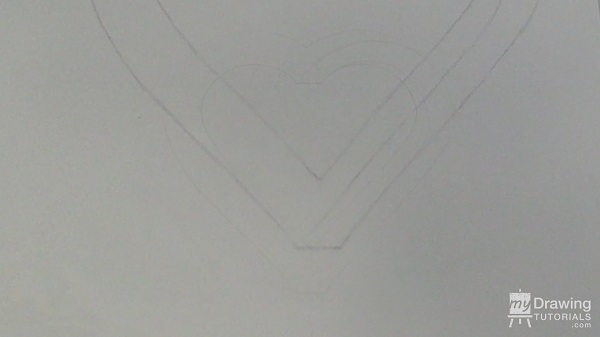
The next step is to extend this line until it’s half-way into the heart…

…and draw a curve connecting the end of that line to this point.
Then extend this line in the same way…
…and connect it to this point using a curve.
Step 3 – Add Shading
And lastly, let’s use a 2B & 4B pencil to add a gradation in all the corners of the impossible heart.
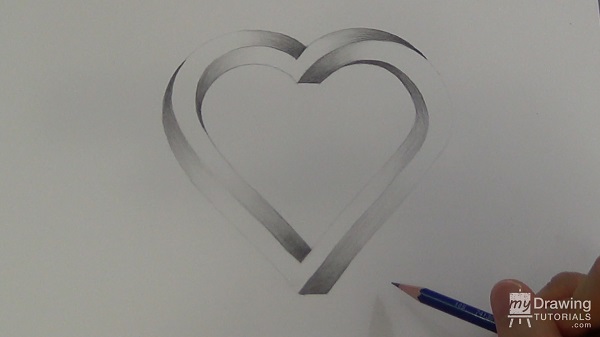
And we’re all done!


Very cool ideas. It is tricky to make but it looks fantastic.
very hard but very cool
I tried it does not work. I cant get it to look that good
It is great didn’t use a compass but it looked great
bad at drawing but tryed my best
I tried it, doesn’t look like it but 👍
same
how to draw a nice heart
Cool.
It’s too difficulte to undenstand 😐
I thought it was very easy to understand, but I did not use a compass and it turned great!