Lesson Transcript
Hi, this is Adam Paol Seagram and welcome back to the 3rd and final installment of our acrylic seascape lesson series.
In the 1st lesson, we painting in the background and sky for our beach scene.
Acrylic Seascape Painting Lesson (Pt 1) – Sky & Background
And in the second lesson, we painted in the palm tree.
Acrylic Seascape Painting Lesson (Pt 2) – Palm Tree
In this lesson, we are going to refine the painting and add in small details.
This process can be very long or very short, it’s completely up the the artists.
You can spend days or even months re-working and re-touching a painting to make it perfect.
Or you can simple add a few details and call it done.
Use this lesson as a guide to show you some of the things that you can do to your painting, but you don’t have to everything we are showing here.
Painting Materials
The colors we will be using are: titanium white, brilliant red, brilliant blue, phthalo green, and brilliant yellow.
The brushes we will be using are: a medium and a small fan brush, a large Purdy house painter’s brush, a small detail sable brush, and a medium flat brush.
Step 1 – Soften Sky & Clouds
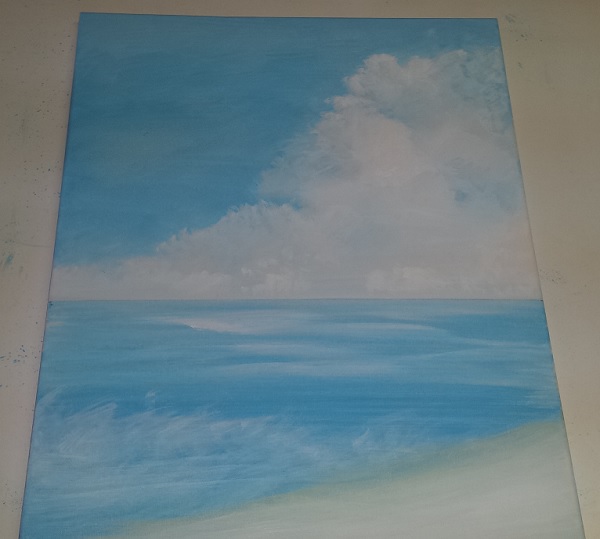
Use some white with a little bit of blue to soften up the sky some more.
As you can see the more layers we up onto the sky, the smoother and softer it becomes.
If we were painting a stormy sky, this might not be ideal.
But because we are painting a calming beach scene, we want the sky to be soft and peaceful.
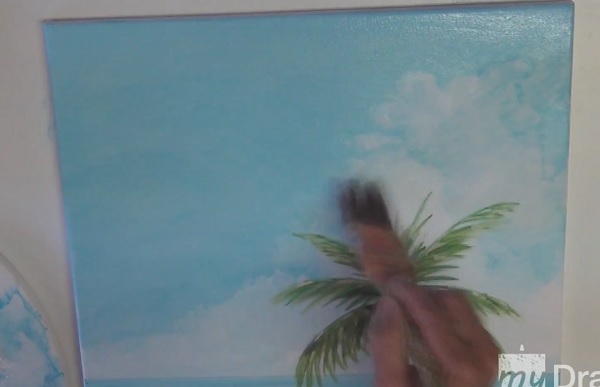
Step 2 – Add White Streaks To Ocean & Waves
Use some pure white paint to add some white highlight to the ocean area and the surf area.
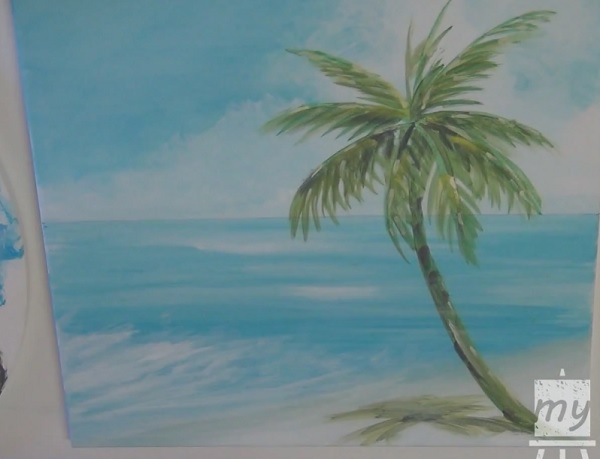
Step 3 – Re-Touching The Palm Tree
Recreate the color of the palm tree’s shadow by mixing a little bit of green and red with some yellow and white.
Use this color to soften up the shadow of the palm tree.
Then add some white highlights to the trunk and leave area of the palm.
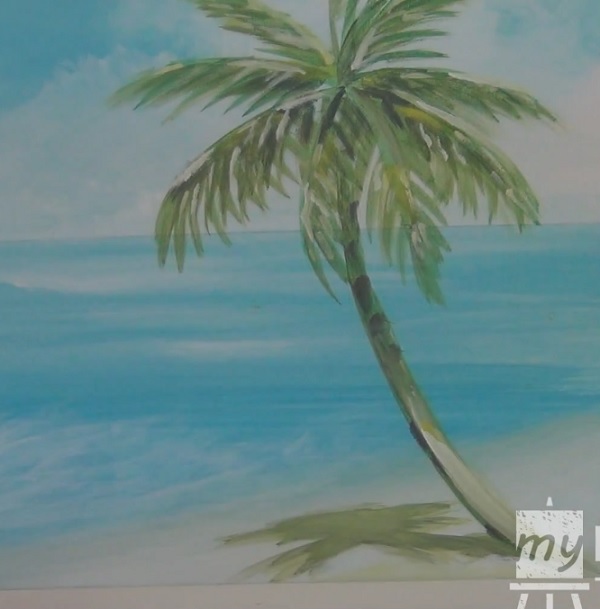
Step 4 – Add Shadow To Palm Leaves
Switch to the big fan brush and dip it into the yellow-green paint.
Then use it to add some streaks to the bottom side of the palm leaves.
This will represents the shadow side of the leaves and give the tree more realism.
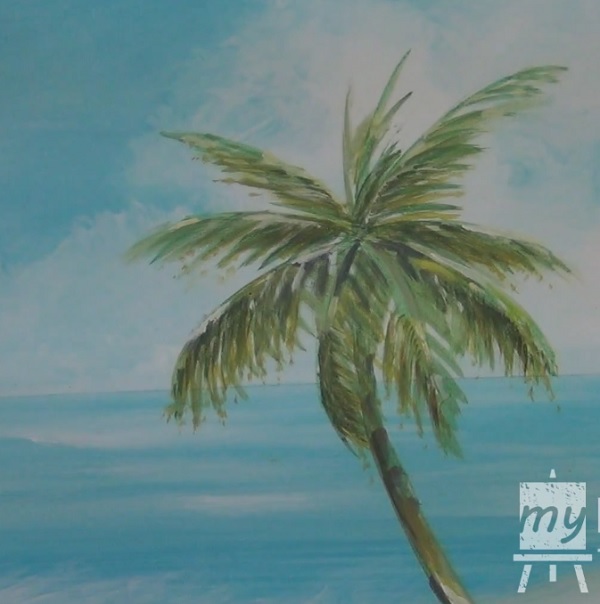
Step 5 – Last Bits Of Details
And just add some last bits of white highlights to the palm, the surf area, and the clouds.
Next use some deep blue and add it to the area of the ocean that is closest to the shore to give the painting more impact.
And you are all done!
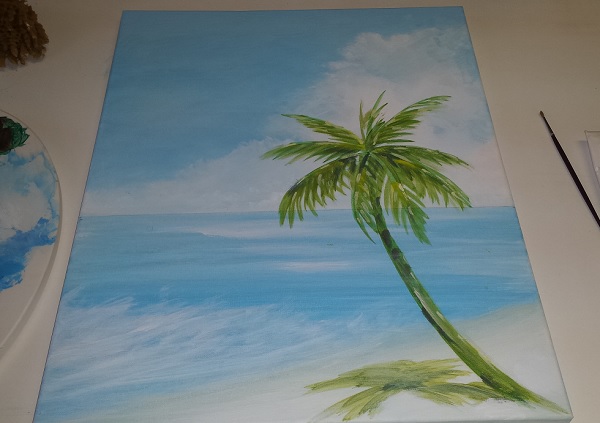
As a recap, here’s a time lapse video of the entire painting:
Here are the links to Part 1 and 2 of this series:



I enjoyed the palm tree painting tutorial. It was quick, easy and fun!
Pat Shull