Lesson Transcript
Hi and welcome back to the second part of this acrylic seascape lesson series where you’ll learn how to paint a beach scene with a palm tree.
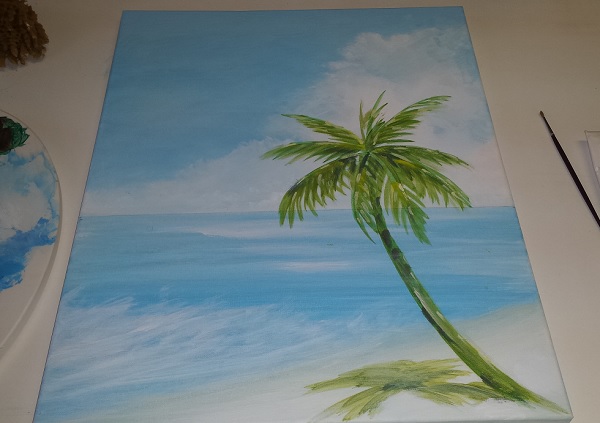
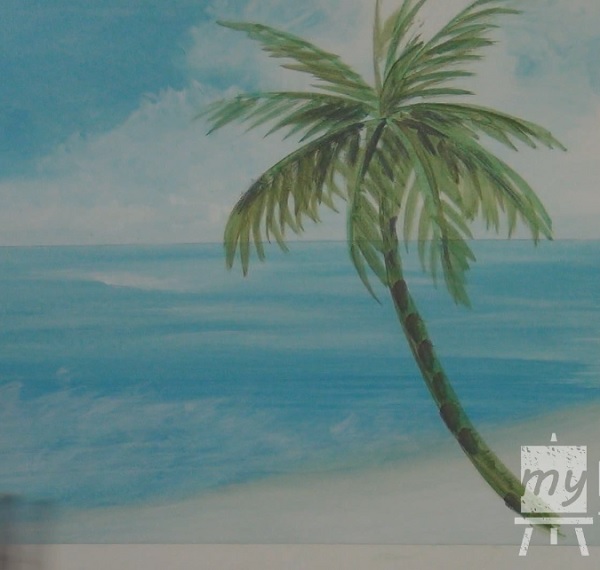
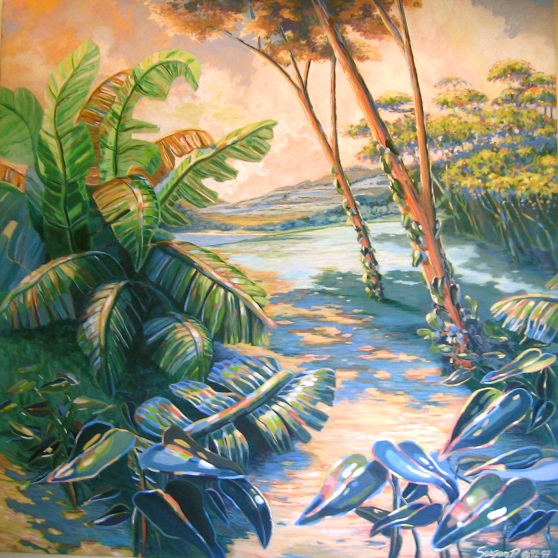
Just to give you an idea of what we are doing, the final painting will end up looking like this:
In the previous lesson, we painted a blue sky background and ocean for our beach scene. That painted looked like this:
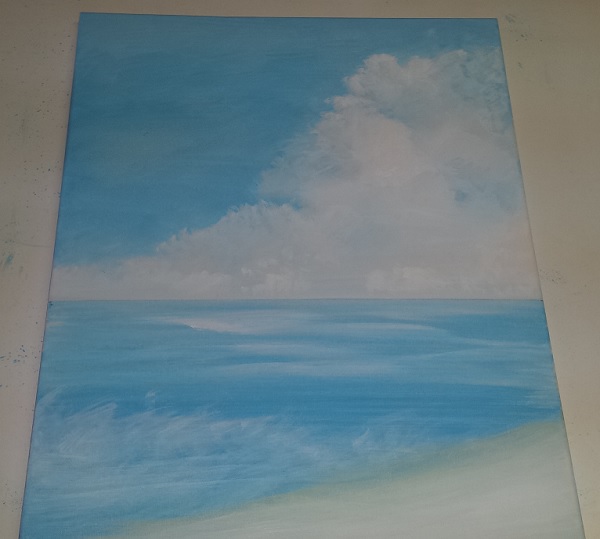
If you missed that lesson, you can find it using the link below:
Acrylic Seascape Painting Lesson (Pt 1) – Painting A Beach Scene Sky
In this lesson, we are going to paint in the palm tree. Let’s get started!
Painting Materials
For this lesson, the paint we are going to be using are: titanium white, brilliant yellow, brilliant red, and phthalo green.
The brushes that we are going to use are: a medium flat bristle acrylic brush, and small fine detail brush.
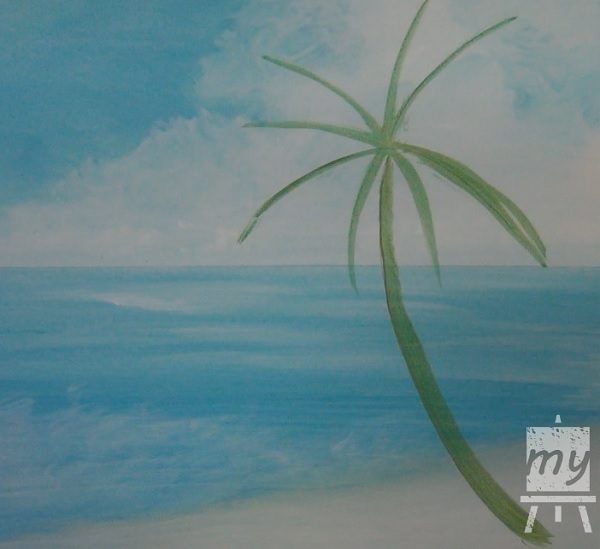
Step 1 – Paint In Foundation Of Palm Tree
Use a pencil to sketch in the basic structure of the palm tree. We’ll put in the trunk and plan out the general lay out and direction of the stems.
Then, create a light brown-green color by mixing the white, green, yellow, and red paint.
And use your medium size brush to paint over the pencil lines we just made to create the foundation for the palm tree.
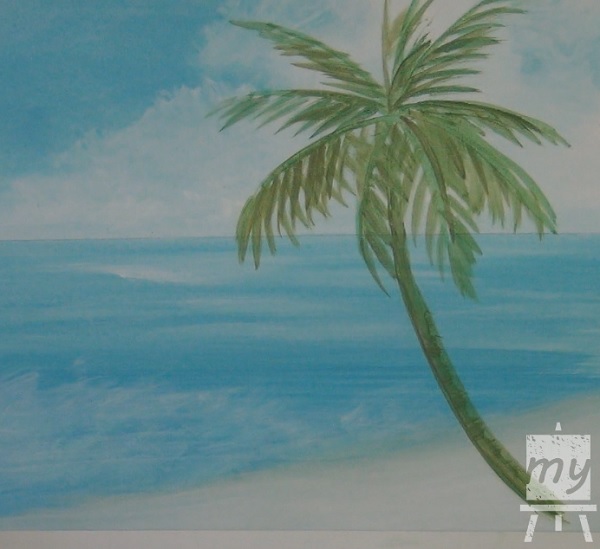
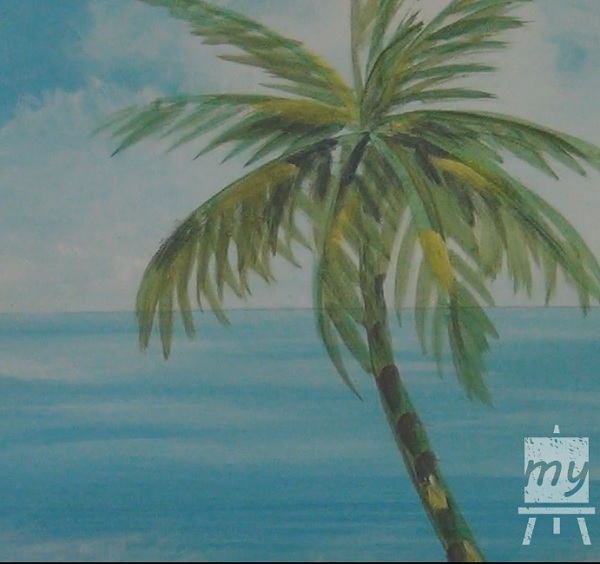
Step 2 – Add In The Leaves
Using a slightly darker shade of the same color (you can do this by adding a little yellow and red to the mixture), put in leaves on each of the stems using a criss-cross brush stroke.
Then using a bit of darker green, darken the stems a bit to make them stand out more.
Also, put some of the dark green on the under-side of the palm to suggest a shadow.
Step 3 – Paint In Shadows
Add some blue, red, and white to the paint that is already on your brush to make a light gray color.
Now use your brush to put evenly spaced marks along the trunk of the tree. This will help to create the unique bark texture of palm trees.
Also, put some of this gray color in the leaves and stem area as well. This will represents the shadows.
Step 4 – Add Yellow Highlights
Clean out your brush to get rid of the old paint.
Take some yellow (with a little bit of white) and put in some highlight on the trunk and leaves area.
This will represents the sunlight hitting the tree here and there.
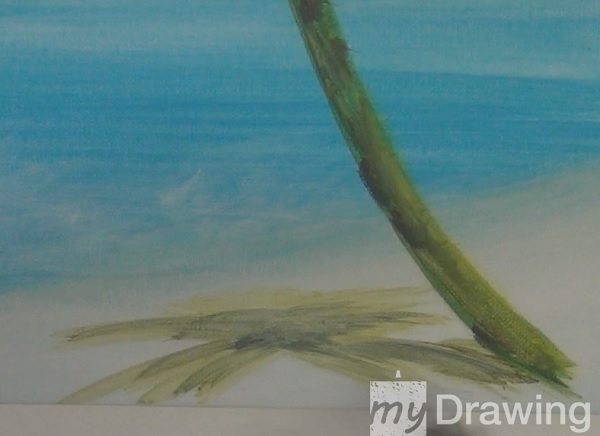
Step 5 – Put In Shadow Of Palm Tree
Then dip your brush in some of the gray that we mixed earlier and use it to paint in a shadow of the palm tree on the sand.
Step 6 – Add White Hightlights
Take out our small detail brush.
Mix some white with a hint of yellow and put in some highlights on the leaves area and the trunk.

And we are all done!
Let your painting dry and we’ll see you in the third and final part of this lesson series!
Here are the links to Part 1 and 3 of this series:


2 thumbs up.
Hi I m a beginner in painting . Wanted to paint a seascape n came upon ur painting . I liked it very much . Also was fascinated to watch u doing the palm tree . U made it so easy . Thank u so much for ur valuable tips . Will try doing this painting . Keep doing the good work .
God bless you .
I love your little classes helping those of us with little tips….I so appreciate your instructions…and will look for more of them…Blessings,
Bevie
Thank you very much, Bevie! I’m very glad to hear that.
Thank you, for the lesson on the seascape painting I always had a hard time tryin to paint a palm tree. Now its not a problem for me ,thank you for all the help can wait to see more lessons on seascape love it thank you again. I love painting and I am trying to teach myself with the help of this site. Keep up the good work , for helping people like me who can’t afford to pay for lesson. Thank you Mary
You’re very welcome, Mary! I was beginning to worry if people were enjoying the painting lessons as they are not as popular as the drawing videos, but I’m glad to hear that you are finding them helpful. Thank you for your comment and support!