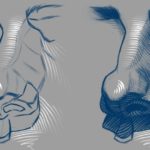
Welcome back to Part 2 of this tutorial series on how to draw animal portraits.
If you haven’t watch the first lesson yet, click here to watch it first:
In this lesson, we are going to pick up where we left off and begin shading in the pupil of the eye.
Animal eyes are more difficult to draw than human eyes because of all the little details involved.But in this video, I’m going to show you some ways to create a realistic looking eye that looks shinny and orb-like.
So go ahead and watch this video and draw along.
I hope you enjoyed that lesson. Be sure to look out for the next lesson in your email tomorrow.
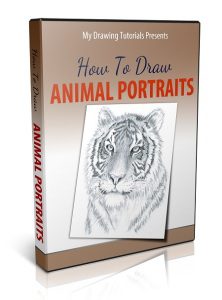
In the mean time, if you’d like to learn more about how to draw animal portraits, please check out my brand new course, “How to Draw Animal Portraits“
In this course, you’ll learn all the shading and drawing techniques need to draw realistic animal portraits.
Here’s some of the things you’re going to learn in this course:
[bullet_block style=”size-16″ small_icon=”1.png” width=”” alignment=”center”]
- How to add texture to your animal portrait to make it look more realistic
- Special drawing tools that will make drawing animal portraits 10 times easier
- How to use “negative shading” to create beautiful white fur
- And much, much more …
[/bullet_block]
Though out the course, we’ll go through drawing exercises to help you practice what you’ve learned and at the end of the course, you will have drawn your very own realistic animal portrait, from start to finished!
Click here to learn more about the course!
Thank you for watching and please leave a comment below to let me know what you think!
Also, please share this lesson with your friends by hitting the “LIKE” button and using the other social media sharing button on this page.


![Drawing Realistic Portrait Series [1 of 8] – Intro & Materials](https://mydrawingtutorials.com/wp-content/uploads/2012/08/Portrait-Lesson-1.jpg)
![Drawing Realistic Portrait Series [2 of 8] – The Fundamentals of Shading](https://mydrawingtutorials.com/wp-content/uploads/2012/08/Portrait-Lesson-2.jpg)

