Lesson Transcript
Hi, this is Adam Paol Seagram and in this lesson we are going to learn how to paint a still life of a banana in acrylic paint.
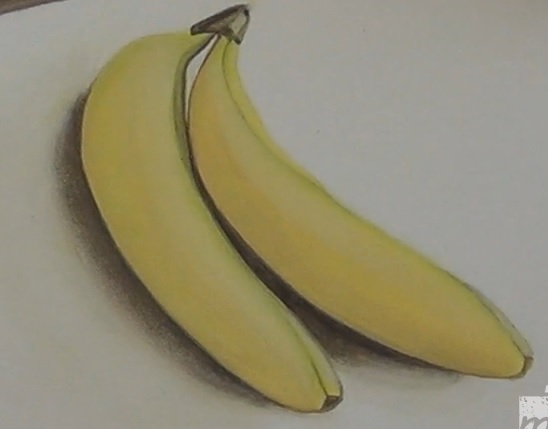
Here’s what the final painting will look like:
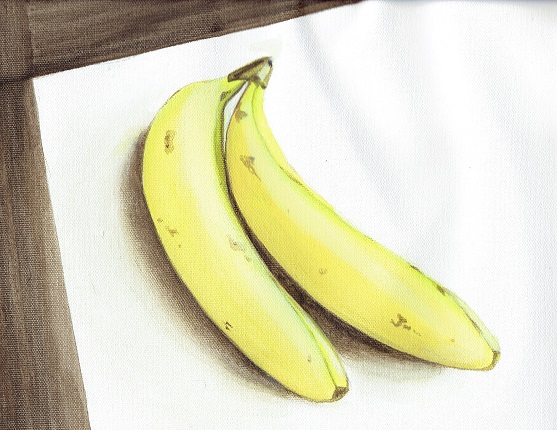
Painting Materials
For this painting, we’ll be using these paint colors:
– Titanium white
– Brilliant yellow
– Brilliant red
– Phthalo green
– Raw umber brown
– And Mars black
We will also be using these brushes:
– A Purdy sable house painter’s brush
– A medium bristle flat brush
– Two smaller versions of the previous brush
– A very small fine detail brush
– And a very soft brush for blending
Painting A Banana Still Life In Acrylic
In doing this painting, we are going to have a set of real banana close by to use as a reference.
Play with your fruit reference and see which angle works the best. I use this particular arrangement because I really like the way the shadow falls.
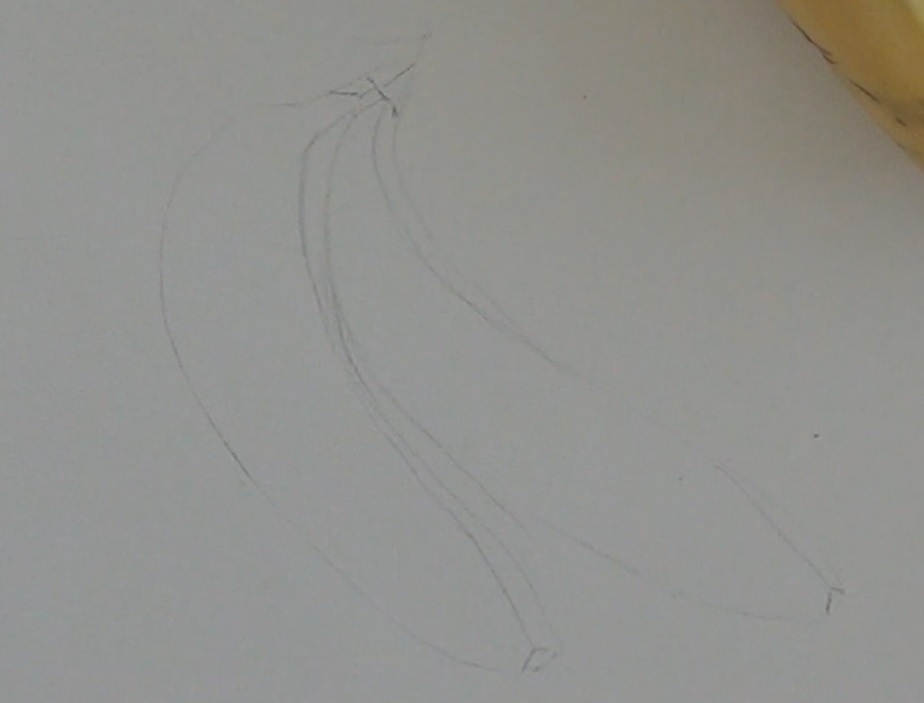
Step 1 – Draw The Outline
We’ll begin by sketching an outline of the banana. A good way to go is to use your pencil to trace the banana in order to establish the basic shape. The proportion on our drawing will be perfect as it is exactly like the banana!
Try to keep your pencil straight, so as to not get too much of an angle when you are tracing.
Step 2 – Lay Down A Base Color
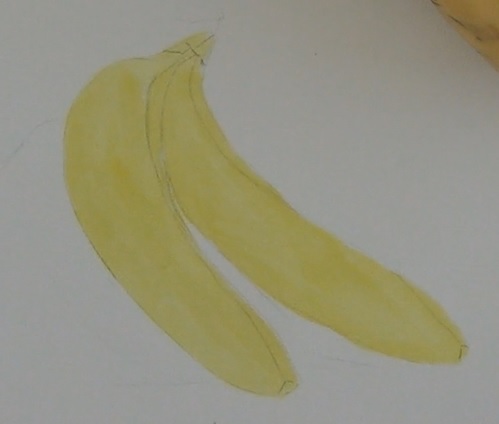
The best way to begin a banana still life is with a bit of yellow paint. So I’m going to mix the yellow with a hint of white and some water to create a light yellow paint. Then I will take my brush and put an even coat of paint on the entire bananas, include the part that would be the dark stem.
Step 3 – Add Yellow – Green Shadow
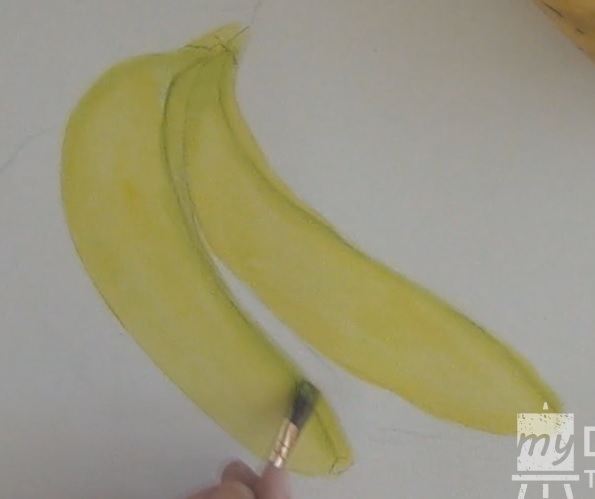
Now looking at the real bananas, I see a bit of yellow green at the base of the stem. So I’m going to take a just pinch of green and add it to my paint mix. I don’t want too much green at all, just a tiny bit. The green is a much heavier pigment than the yellow so just a tiny bit will go along way.
Then I’m going to take a smaller brush and apply this yellow-green mixture to the area underneath the stem. I’m also going apply some of it to the edge of the bananas. This would be a good time to use your brush to soften out the pencil outline that we put in at the beginning. We don’t want the pencil mark to show up in the final painting and the water on the brush will washes it out.
Step 4 – Color In Stem
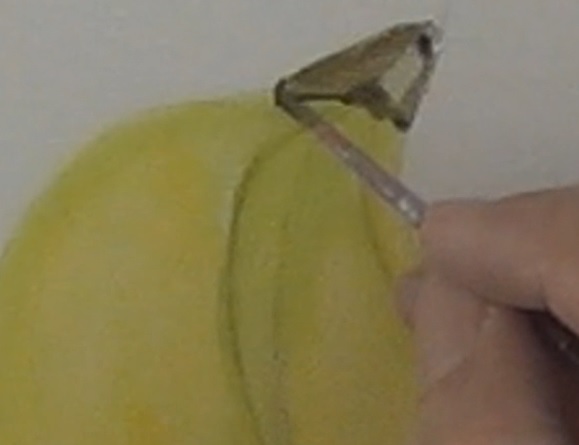
Now we are going to use the same brush to mix up just a little bit of the Raw umber brown and some water into our yellow-green paint mix. Then take a fine detail brush and apply this brownish paint to the stem area of the bananas.
The right side of the stem is brighter than the left because it is hit by light. So add a touch of white to this area.
After you’ve done that, use some pure brown and outline the underside of the stem. This represents the shadow.
Step 5 – Add Shadow
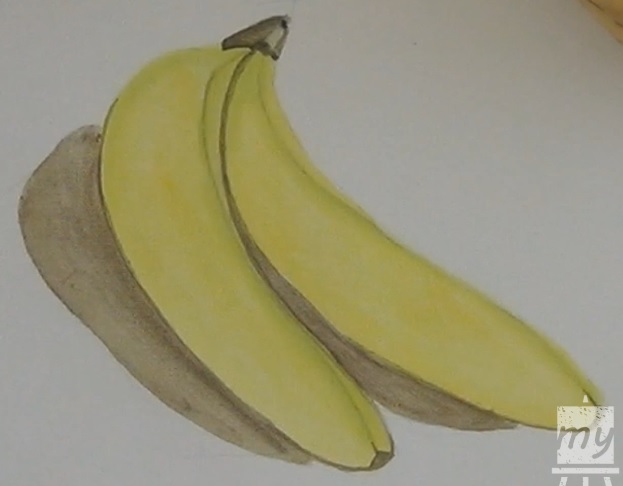
Next, I’m going to take the same brush with the medium brown paint and establish a shadow outline under the bananas. Also fill in the small dark areas at the end of the bananas.
Then, take a larger brush, mix the brown paint with some water to dilute it down, and use this paint to create a bigger shadow area to the left side of each banana. Make the shadow the darkest when it is right underneath the banana. Then lighten it as you move outward.
Step 6 – Soften Shadow
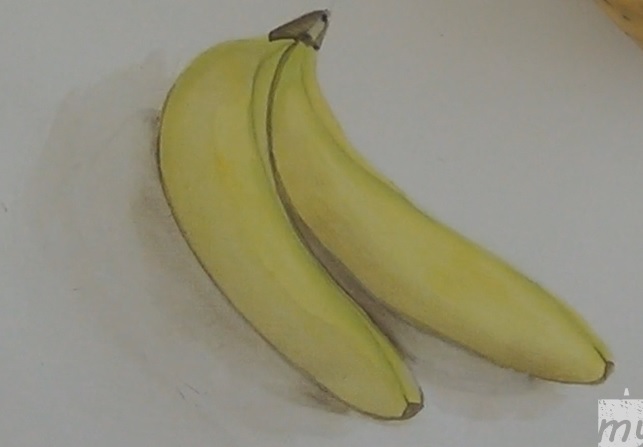
Then, I’m going to take the very soft blending brush, load some light brown paint and water on it, and soften the edge of the shadows.
Next, take some of the light brown color we already have on the brush and pull it into the bananas. Use it to darken the left side of the banana (the side that is not being hit by the light).
After that, take some pure white paint and soften the edge of the shadow even more.
Step 7 – Darken To Add Contrast
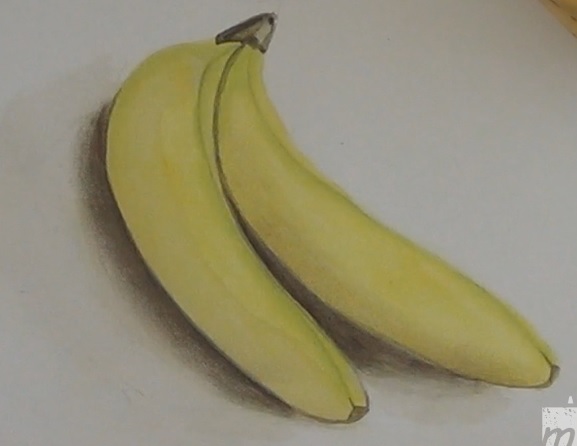
Now, we are going to take some pure brown and darken the dark areas of the bananas to create a nice contrast. This will really make the painting look much more three dimensional.
Step 8 – Add Contouring Shadow
Next, we are going refine the bananas to give them more dimension. Take a mixture of yellow, white, and a touch of red (to warm it up) and apply that to the shadow (left) side of the bananas.
Then, we are going to add some white high light to the right side of the bananas. Just take your brush and dip it in some pure white. This should give you a good highlight while still retaining some of that yellow color.
And then, we are going to use a small detail brush to fill in the gap underneath the stem between the bananas with some pure white.
Step 9 – Add Texture
Keeping in mind that no banana is perfect, we are going to add in some blemishes and textures to your bananas. Refer to your real fruit reference and place these imperfections randomly through out the bananas.
To do this use a fine detail brush and load it with watered-down brown paint.
And lastly, we are going to put a last round of highlight onto the right side of the bananas with some white paint.
And that’s it! We have our realistic banana still-life!


