
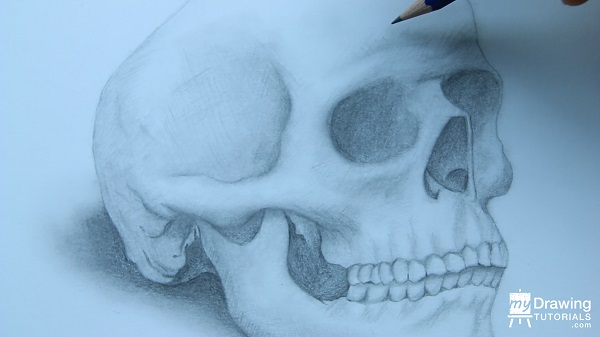
If you wanna learn more about portrait drawing, check out my “Portrait Fundamentals Made Simple” course.
It’s a very beginner-friendly course that walks you through all the basics of portraiture, from constructing a basic head, facial proportions, drawing the features, and finally drawing a realistic portrait step-by-step.
Lesson Details
One of the biggest complains I hear from beginning artists is, “I can’t even draw a straight line.” Well, in this video, I’m going to show you how to do just that, as well as give you some cool drawing exercises to practice with.
The most likely culprit for a wobbly line is that the artist try to draw the line by moving the entire arm. While this is good for drawing curves and circles because it give us more mobility, for lines, it’s not so great.
When drawing straight lines, we want more stability so it’s much better to keep most of the arm still, while only moving certain parts.
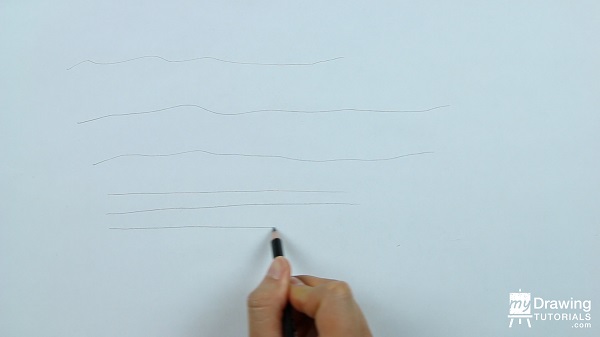
Here’s what I mean.
Let’s take a look at our drawing arm. We basically have 4 points of motion: the fingers, the wrist, the elbow, and the shoulder.
To draw straight lines, it’s best to use the finger, wrist, or elbow.
For instant, for a really short lines, you would simply move the fingers and try to keep everything else immobile.
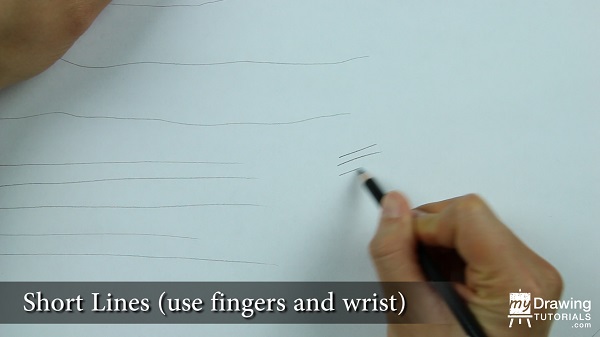
Of course, we’re not machines, so there’s going to be a bit of movement in the other joints and that’s OK.
The point is, just try to have one joint move at a time. You definitely don’t want to have two or more joints moving at the same time.
For a medium length line, we would switch the motion to our wrist.
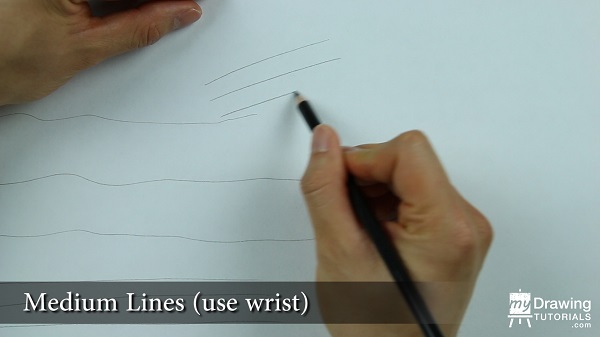
And if you find that the line is beginning to curve, that means that we’re reaching the end of the wrist’s range of motion and it’s time to switch to the elbow.
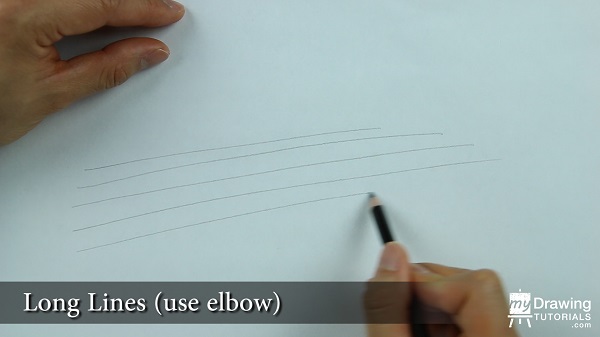
Everyone has a natural angle that they are most comfortable with so feel free to turn the paper to match this angle. There’s nothing wrong with doing this. You’re not cheating 🙂
Drawing a line with the shoulder is probably the most challenging. But fortunately, you’ll rarely need a line that long and the other joints will often be enough.
Finding The Right Speed
Speed can be an important factor as well.
Moving to slowly will cause excessive shakiness in your hand. You’ll want to move swiftly and confidently… but not too fast!
There’s an optimal speed that will help you draw the best lines. Play around a bit and find this sweet spot for yourself.
Drawing Exercises
Here’s a few drawing exercises that will help you put all this into practice.
The first is to make two dots on your paper and then try to connect them with a line.
There are two variations to this. You can try to make the line fit the dots exactly, without going over or coming up short.
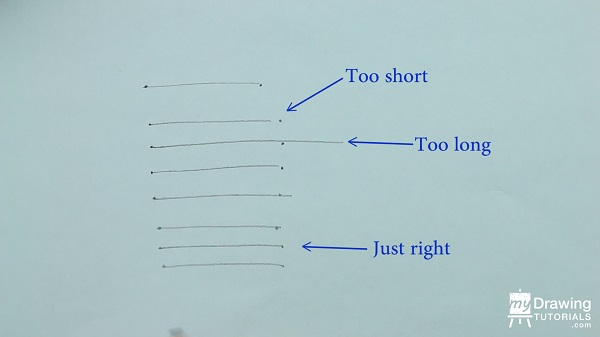
This will require more timing and pencil control.
Or you can have the line shoot pass both dots.
This will require more accuracy.
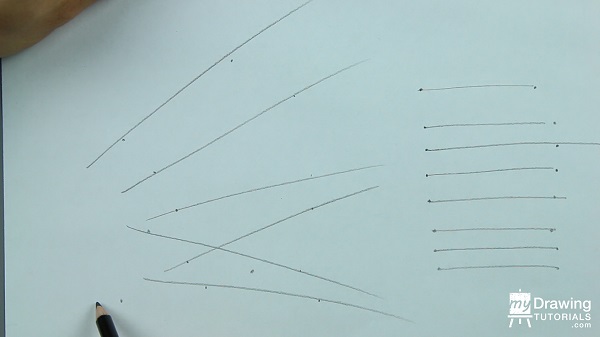
If it helps, you can ghost over the motion several times before touching pencil to paper. Try doing this at different angles and distances.
The second exercise is to draw a straight line and then draw another one of the same length underneath and try to make the second line parallel to this first one. And just keep doing this over and over.
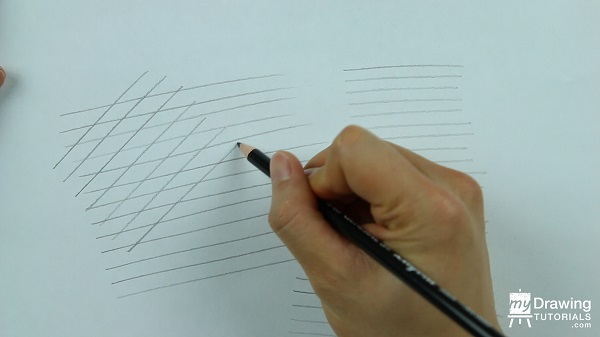
Again, this will train your timing and pencil control.
Being able to place lines parallel to each others will also become a very important skill when you get into hatching and cross-hatching.
These exercises might not be very glamorous, but they’re good warm-up’s to prepare you for a drawing section.


That was helpful. Thanks man.
Gooooooooooooood
Thanks for sharing your tips. Greetings.