Lesson Transcript
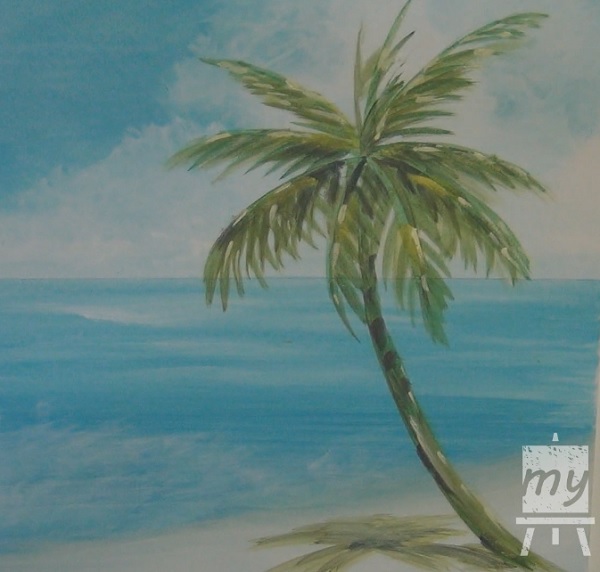
Hi, this is Adam Paol Seagram and in this lesson series, we are going to paint a complete seascape beach scene with a palm tree.
The final painting will look like this:
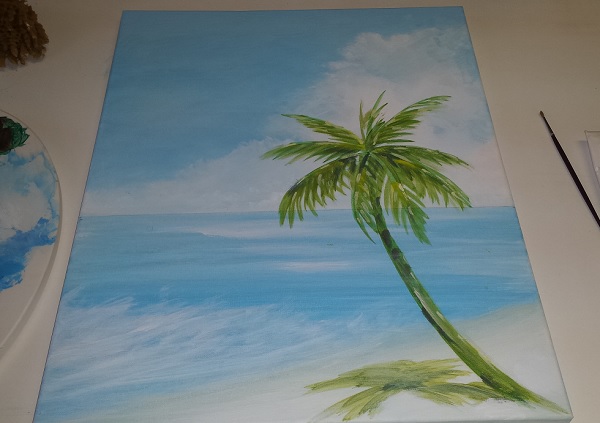
This is going to be a long tutorial so we decided to break it up into 3 parts.
In this first installment, we are going to focus on painting the sky and background of our beach scene.
Let’s get started!
Painting Materials
For this lesson, the paint we are going to be using are: titanium white, brilliant blue, and phthalo green.
The brushes that we are going to use are: a house painter’s brush (a large blush for covering big areas), a medium flat bristle acrylic brush, and a palette knife.
Step #1 – Establish Horizon Line & Paint In Sky & Clouds
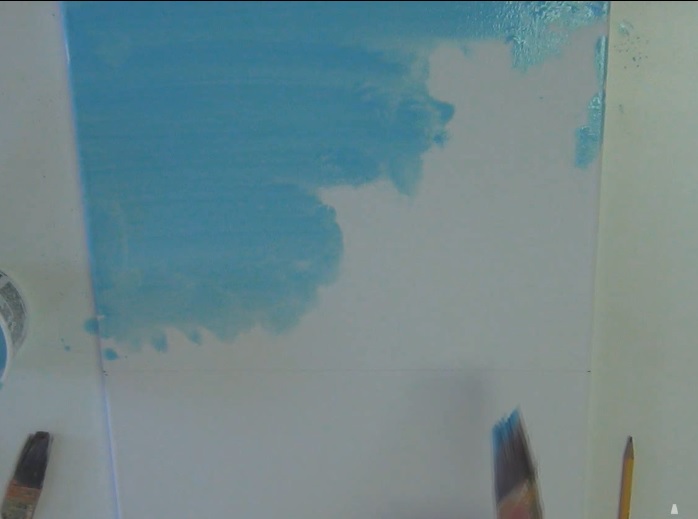
The first step is to establish a horizon line with your pencil. In this case, we placed the horizon line 12 inches down from the top on a 20 inches tall canvas.
Next, we are going to fill in the sky with a light blue color. To mix the paint, use a mixture of a lot of white paint, a little bit of blue, and some water.
Then use the big painter’s blush and fill in the sky. Leave some negative space in your sky to take the place of clouds.
Step #2 – Paint In Ocean
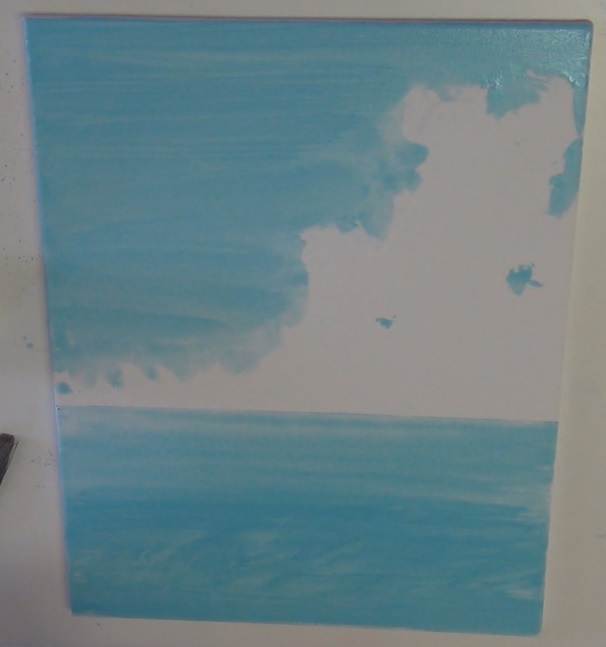
Next, mix a little bit of green into our light blue paint because tropical oceans have a hint of green in it.
Then using horizontal brush strokes, fill in the ocean area. Let the lines that your brush naturally make add some texture to the ocean.
Also, use some diagonal back-and-forth brush strokes to create from texture at the bottom of the ocean. This will represents the waves crashing into the shore.
Step #3 – Paint In Clouds
Now we are going to wash out our big brush and go back to the clouds.
We’ll put some pure white paint right onto the canvas in the cloud area and and mush that paint around with our big brush.
Let the white paint cross into the sky area a little.
Once you have the sky filled in with white, take some of the paint that is still left on the brush and put some horizontal strokes over the ocean area.
This will give ocean some highlight and cause it to look alive and in motion.
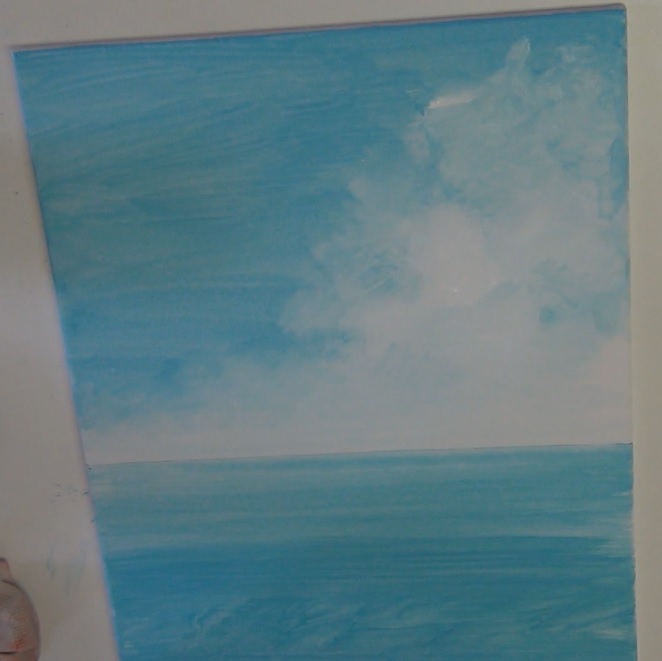
Now let your painting dry fully before going to the next step. You can set it in the sun to speed up the drying time.
Step #4 – Soften Sky & Highlight Ocean
The next step is to take some light blue and soften up the sky. We want to take out the hard streaks and smooth out the paint.
Then use some pure white paint and a little bit of water and go over the surf area in the ocean to give it some highlight.
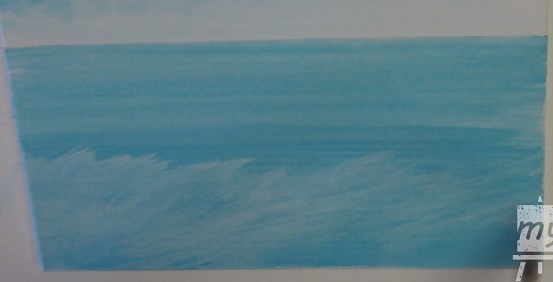
Once again, let your painting dry before continuing.
Step #5 – Paint In The Sandy Shore
Now, let’s clean out our brush so we can mix some new colors.
We’ll take some white and mix it with a TINY bit of black, yellow, and red. We are trying to create a very light brown color to paint the sandy shore.
Then take your brush and put in a small shore in the corner of the canvas.
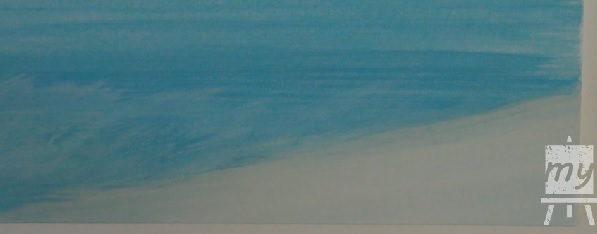
Let this layer of paint dry.
Step #6 – Build Dimension For The Clouds
Once the shore is dry, we’re going to take some pure white paint and fill in the body of the shore.
The pigment that is still left in our brush will mix with the white and create the very light brown.
Just fill in the inner area of the shore (do not go all the way to the edge). We want to create a 3 dimensional effect where it looks like the shore has many layers.
Then take some more white paint and fill in the cloud area again.
Don’t fill in the entire area. Leave a few blue spots here and there to add interest to the clouds.
By putting in multiple layers of white (each one of a slightly lighter tone) we create a dimension to the cloud and make them look fluffy.
Use the brush to give the clouds a bit of a more defined edge.
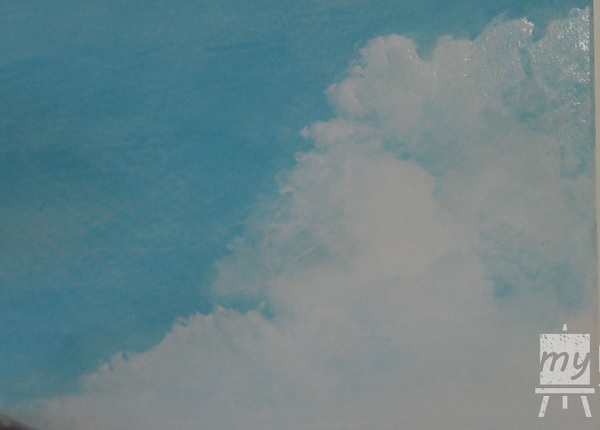
Step #7 – Paint Cloud Reflections
After that, take some white paint and create a little reflection of the cloud in the ocean.
You can do this by putting some horizontal brush strokes here and there in the ocean in the areas right underneath the clouds.
This is a very subtle effect. You don’t need to put in a big block of white, just a few strokes is enough.
And then lastly, put some highlight into the shore and surf area and we are finished!
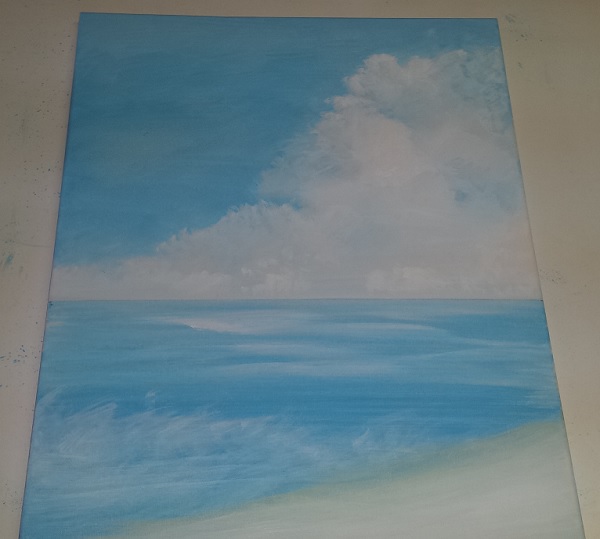
Here are the links to Part 2 and 3 of this series:



Thank you so much for these tutorials! I have really been into painting for about 2years, but for some reason I am afraid to paint. Im not really good, but have an insationable urge and want to do it. I was sitting here thinking what to paint, and Palm trees came to my mind, and I went to YouTube and saw your channel, and that’s how I ended up here. You helped me tremendously, so thank you!
So I started this tutorial and I’d like to finish the painting…. Where is the second part???
Sorry, here are the links to Part 2 and 3 of this series:
http://mydrawingtutorials.com/acrylic-seascape-painting-lesson-pt-2-how-to-paint-a-palm-tree/
http://mydrawingtutorials.com/acrylic-seascape-painting-lesson-pt-3-refining-the-beach-painting/
Superb, well explained
Thank you very much, Harish!