Lesson Transcript
Hi, this is Adam Paol Seagram and in this video, you’re going to learn how to use plastic wraps and acrylic paints to create a very interesting effect.
The effect will look something like this:
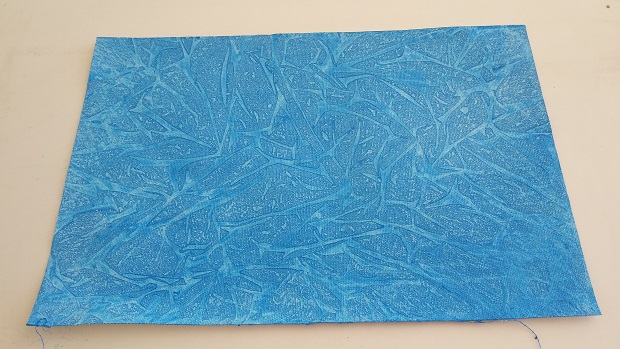
These patterns can be great for an abstract painting or as a background for one of your regular paintings or you can use it in a small area of your painting to add texture to a scene.
Now let’s see how you can create a pattern just like this one here!
Step 1 – Get Your Plastic Wrap Ready
The first step is to get some plastic wraps. You can use the regular kitchen plastic wraps that we use to cover food. If you don’t have that, you can just use a regular plastic bag that you get from a grocery store.
Cut out your plastic wrap into a piece big enough to cover your painting surface and set it aside.
You definitely want to do this BEFORE that painting begins because plastic wraps can be very tricky to handle (as anyone who has fiddled with them can attest) and you don’t want to be fumbling with it as your painting is drying.
Step 2 – Apply Acrylic Paint to Paper
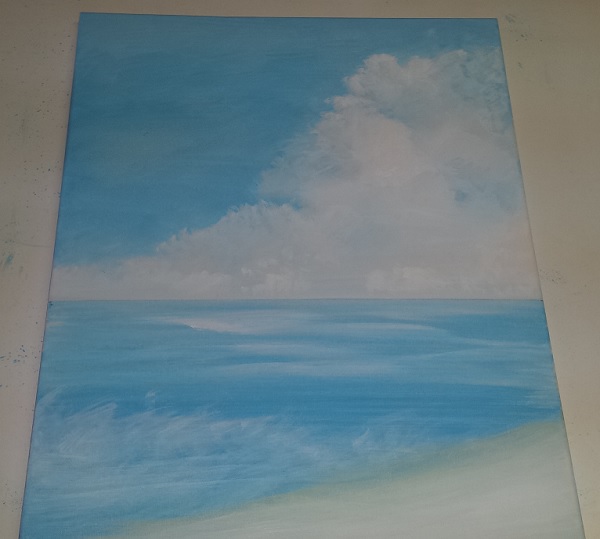
Next, mix up your acrylic painting using plenty of water (the water will help the paint spread smoothly over the paper). In this case, we are creating an ocean blue color using a mixture of white and blue paint.
Then quickly apply the paint over the paper to create an even wash. You want to move quickly and cover the entire paper before the paint begins to dry. It helps if you are using a big brush so you can cover a large area.
Step 3 – Create Texture and Effect
Once you have cover the paper with paint, place the plastic wrap over the entire areas (or you could just cover a portion of the paper, if that is the effect you are going for).
Take your hand and put wrinkles in the plastic. This is what’s going to create the abstract effect and texture we are looking for.
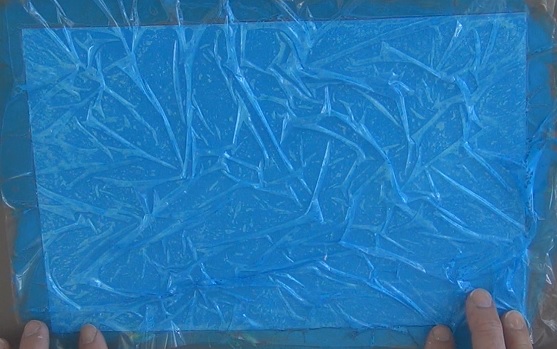
This is the stage where you can be very creative. Play around with different patterns and shapes. You can make an ice-like pattern (like we did in the video) or an all horizontal pattern, or a circular pattern. The possibilities are endless.
Step 4 – Let Paint Dry
And once you are satisfied with the pattern you created, go put the entire thing in the sun and let it dry. If you don’t have sunlight available, no worries, it will still dry. It’ll just take longer.
Just be sure not to lift your plastic before the paint complete dry as that could cause the wet paint to pool back together and ruin the effect you were going for.
Once the paint is dry, carefully peal off your plastic and reveal your new creation!
You can play around with different colors, multiple colors, and different patterns to create all sort of interesting effects.
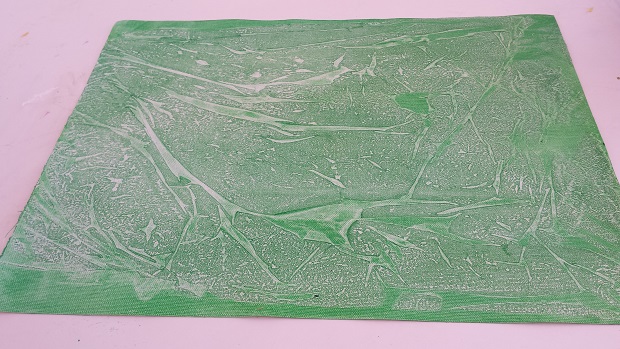
Try this acrylic painting technique for yourself and see what you come up with!



The video was very interesting indeed. Just not sure whether I could add extra colours and redo the process several times?
Thank you
I think once the paint dries, it would be difficult to add more paint and still get the same mixing effect. But I think if you do it before it fully dries it should work fine. Although it’s best to just mix the paint all at the beginning.