Lesson Detail
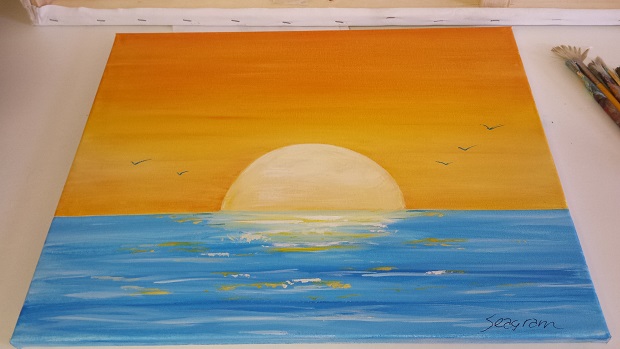
Hi, this is Adam Paol Seagram and in this lesson, you’re going to learn how to paint a sunset on the ocean.
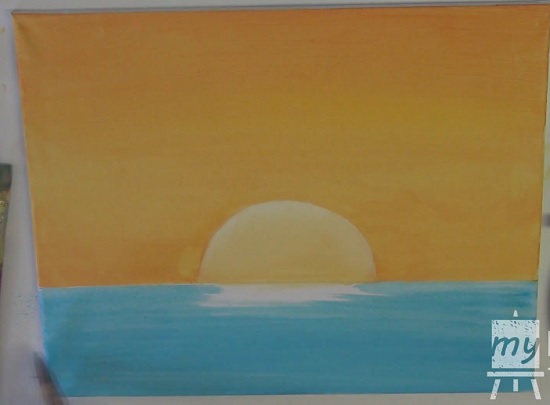
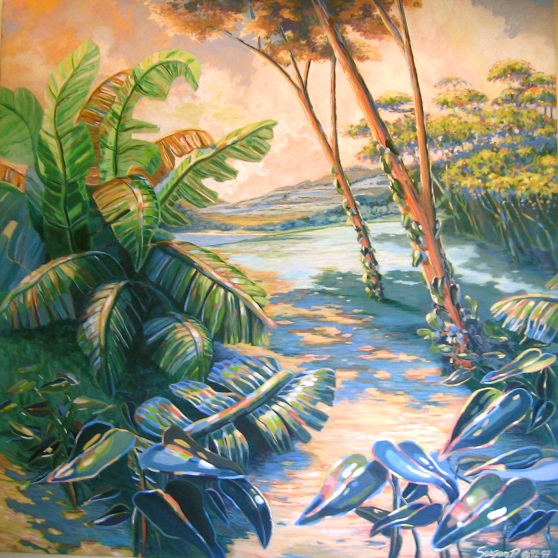
The final painting will look something like this:
Painting Materials
For this painting, we’ll be using these color paints: primary yellow, titanium white, brilliant red, and brilliant blue.
We will also be using these brushes: a Purdy house painter’s brush, a small fine detail sable brush, a medium flat bristle brush, and a fan brush.
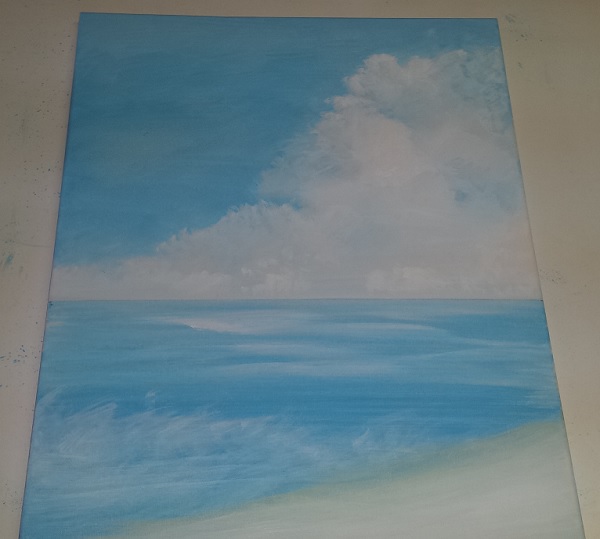
Step 1 – Establish Horizon Line & Sunset
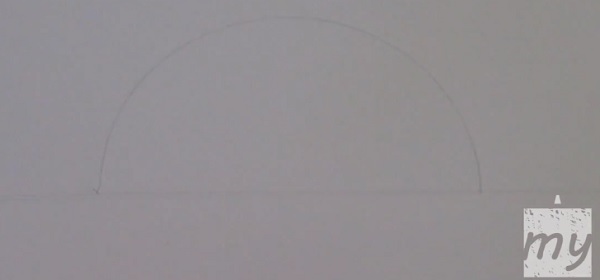
Decide where you want to place your horizon line. In this case, we are going to put it towards the bottom 1/3 of the canvas.
It’s usually a good idea to not make your painting too symmetrical (as it will look boring), so avoid putting the horizon line dead in the center.
Make your mark lightly with a pencil and a ruler.
Then use a circle template and draw in the sun. Since we already made the horizon line “off-center”, it’s ok to place the sun in the center.
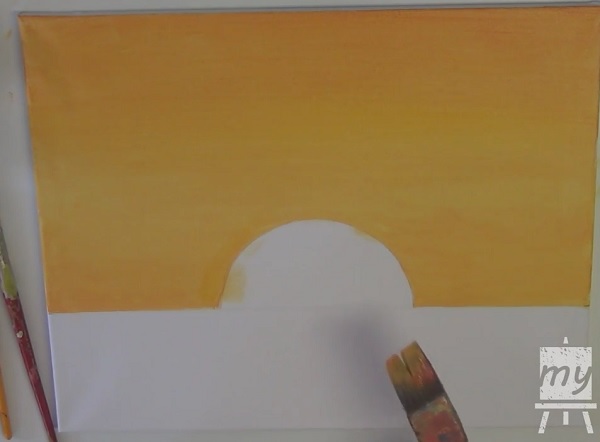
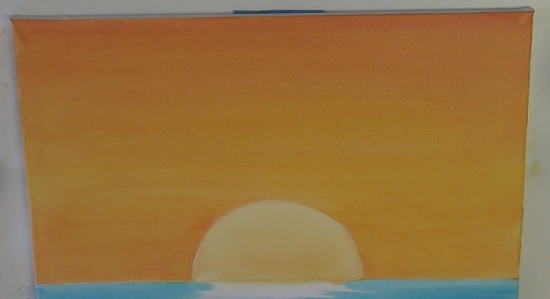
Step 2 – Paint In Orange Sky
Create an orange color for the sky by mixing the red, yellow, and white paints.
Use the big painter’s brush to put an coat of this orange in the sky area.
When getting close to the horizon line and the edge of the sun, use the edge of the brush to get more precision.
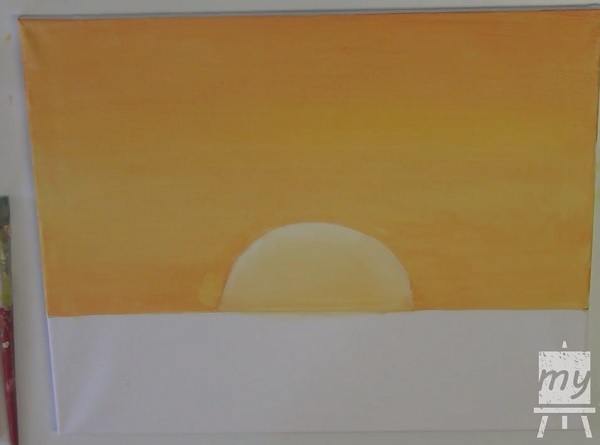
Step 3 – Fill In The Sun
Hint: Wait for the sky to dry before proceeding with this step, so you can avoid the mistake that we made (as you can see in the video).
Wet the brush a little bit by dipping it into some water to lighten the orange color we already got on there.
Then use that color to fill in the center of the sun with horizontal brush strokes.
After that, highlight the sun with some white paint along the top edge. Let the white paint blend into the orange.
This will separate the sun from the orange sky and give it some distinction.
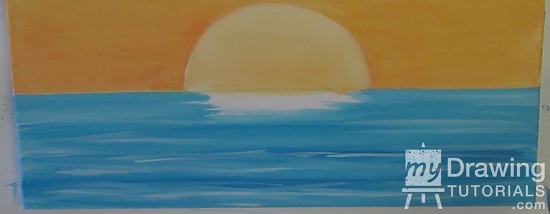
Step 4 – Paint In Blue Ocean
For the ocean, we are going to make a blue color using a mixture of white and a little bit of blue.
The blue is a complementary color to the orange, so it will give our painting a nice contrast.
Again, use the big brush to fill in the ocean area with an even layer of blue, but leave a small area under the sun blank. We will use this space to paint in the sun’s reflection in the water.
Let your painting dry fully before continuing on.
Step 5 – Put 2nd Coat On Sky
Wash out your brush and we will go back to our original sky color (which is a base of yellow with a hint of red). Put a darker shade of orange at the top of the sky to give it some contrast.
Whenever we add contrast to a painting or drawing, we give it more dimension.
Then water down your brush a little bit to lighten the color and put an even coat of orange over the sun.
After that, dip the brush in some pure white and highlight the edge of the sun again.
Step 6 – Put 2nd Coat On Ocean
Wash out your brush.
Now we are going to put on a second for the ocean using a slightly darker blue color than the first coat.
Use long horizontal brush strokes and let the brush add some unevenness to the paint. The ocean is not perfectly calm and smooth so we want to capture that movement.
Then dip your brush in a bit of white and add some light streaks of highlights into the ocean using horizontal criss-cross strokes.
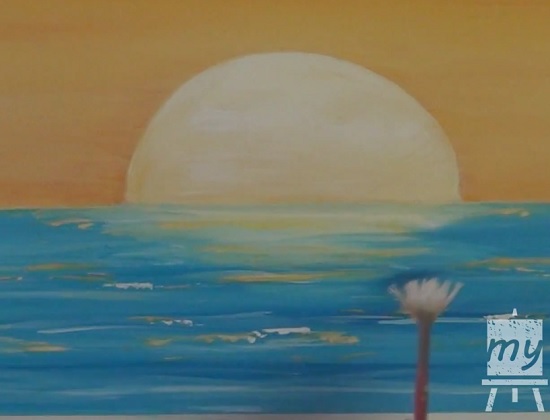
Step 7 – Paint The Sun’s Reflection
Switch to the medium flat bristle brush and dip it in some white.
Fill in the blank space underneath the sun with some horizontal strokes. Let the white paint blend with the ocean blue a little.
Now let this dry before going to the next step.
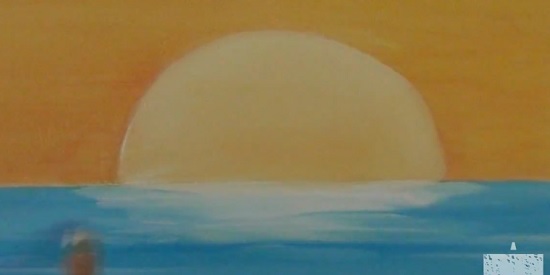
Step 8 – Final Coat On Sky & Sun
Now we are going to put our 3rd and final coat on the sky. With each coat that we put on, the sky becomes a little richer and more of the canvas is covered up so that we don’t get tiny specks of white showing through.
Put some white and yellow with a tiny bit of red on your brush and mix it a little on the palette (but not fully) and then put some horizontal strokes in the sky near the sun area.
Let the paint mix on the canvas itself. This we we can create some interesting multi-color streaks.
The white we mixed in will lighten the sky quite a bit. This will represents distant clouds that we can’t quite see.
For the sun, we’ll use a mixture of white with a little bit of yellow and put a coat of white/yellow around the edge and let that blend into a light orange as we move closer to the center.
And then lastly, we’ll take the paint that is already on the brush and put some highlights in the sun’s reflection and the ocean.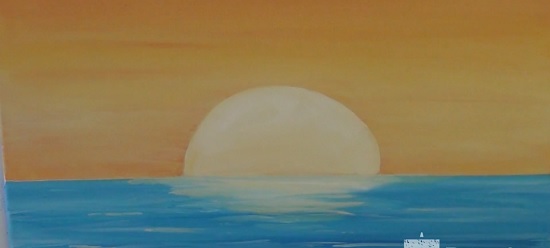
Let your painting dry.
Step 9 – Highlight The Sun & Ocean
Switch to the fan brush. Use some light orange and put some horizontal highlight here and there in the ocean.
These will represents the orange from the sun and sky simmering in the water. It will give our painting a very shinny look.
Then using the fan brush, put some white highlight on the sun and also in the ocean.
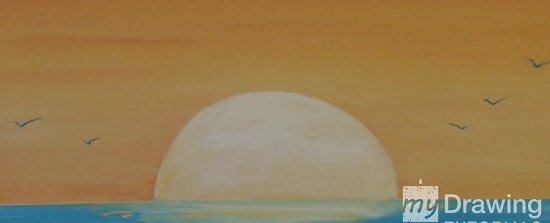
Step 10 – Add Some Distant Seagulls
Now, take your small detail brush and with some dark blue paint, put some “upside-down V’s” in the sky. These will be some seagulls flying in the distant.
Vary up the size, placement, and number of the seagulls to make the painting more interesting. Avoid even numbers of seagulls or placing them too symmetrically.
And that’s it! You’re all done!
If you are not already subscribed to my email newsletter and Youtube channel, be sure to do it now. I release a new lesson very week and you’ll be notified when it comes out:
Sign Up To My FREE Art Newsletter
Subscribe To My Youtube Channel
I hope you enjoy this lesson. If you did, please help me out and share this with your friends on your favorite social network.
It might not seem like much, but every share does a lot of support the site and helps me to keep putting out more free lessons like this in the future.
Also, if you have any question, comment, or feedback, please let me know in the comment below. I will try to reply to very comment!


im a kid so of course mine did not turn out perfect, but i had a great time painting this sunset. thank you for making this toturial.
great thankyou
Hi
I like this tutorial that I enjoyed doing this painting per ur instructions. Can I sign it and have it exhibited?
Thank you .
thankyou enjoyed that
Excellent very good clear commentary, going to give it a shot once sorted a acrylic wet box