The Most Common Drawing Mistakes
& How to Avoid Them…
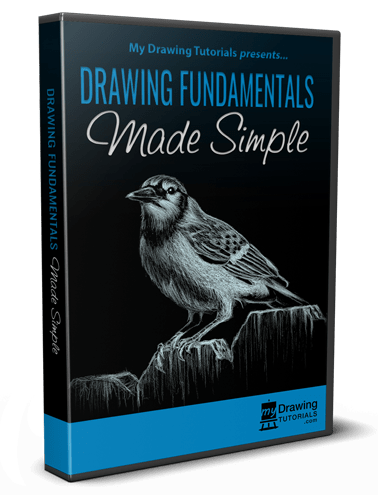
Here’s What You’ll Get…
81 Video Lessons
You’ll get 81 content-packed video lessons (9 hours total running time) + downloads for all the lessons.
HD Course Assets
You’ll get HD reference photos, drawing scans, and worksheets.
100% Money-Back Guarantee!
If you’re not in love with this course for any reason, just let me know and you’ll get a full refund. No questions asked!
Lifetime Access
Just pay once & get lifetime access to this course! Learn at your own pace.
Dear Artists,
This is a house.

And in just a few moments, I’m going to show you how this house will make you a better artist.
Hi, my name is Ethan Nguyen. I’m a professional artist and teacher.
And my online courses and videos have helped tens of thousands of students from all over the world improve their drawing.
Mistakes Almost Every Beginners Make
Over the years, I’ve seen a lot of student works and I was started to see a list of recurring problems.
If you’re reading this, maybe you can relate to some of these.
Common Mistake #1
Firstly, students didn’t know how to hold or control their pencils in order to make smooth and clean marks. So their drawings were full of scratchy and messy lines.
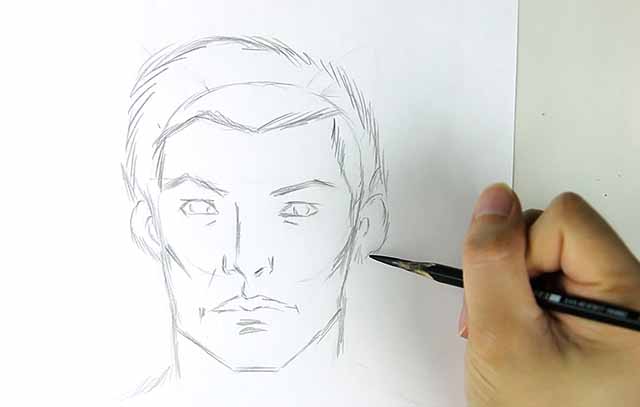
This not only looks bad but if done for too long, it can become a harmful habit that holds back your progress.
Common Mistake #2
Second, their eyes haven’t been finely tuned to see accurately and so their drawings were full of proportional errors and inaccuracies.
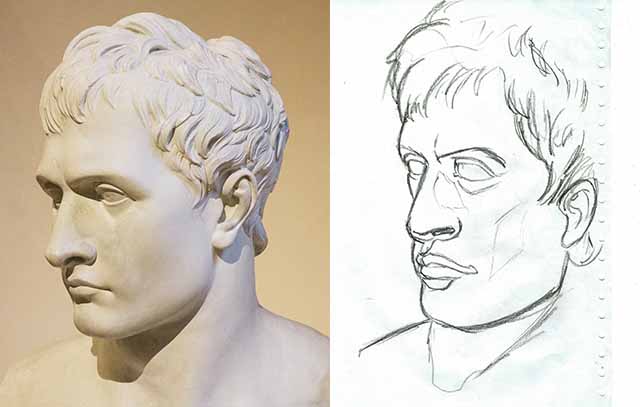
Worse yet, because they can’t see the mistakes they were making, they kept doing it over and over again.
Some artists might spend years practicing diligently, but never actually getting better.
Common Mistake #3
And third, they didn’t really understand the 3D forms of what they were drawing or how light interacts with those forms. So they couldn’t shade their subject convincingly.
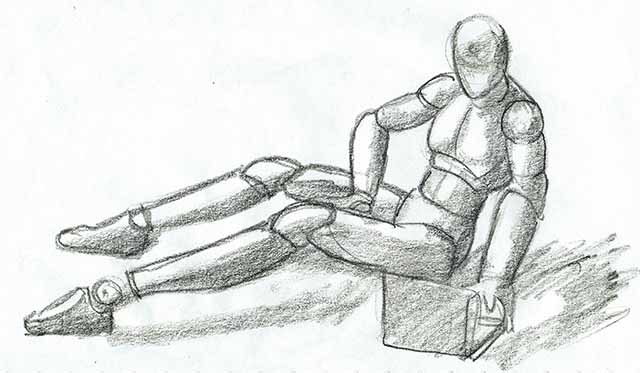
And they definitely couldn’t draw it from imagination.
Regardless of the subject matter, whether it’s portrait, figure, or landscape, these issues kept popping up, preventing the artists from reaching their full potential.
Why Drawing is Like Building a House…
Anyway, I started thinking about why these students were struggling and that’s when I thought of a house.
See, learned how to draw is a lot like building a house.
If you want to build a good house, you have to start with a solid foundation.

Then construct a sturdy frame.

After that, you’d add the plumbing and electrical.

And only once all that is complete should you worry about the cosmetic stuff like painting the walls and decorating the rooms.
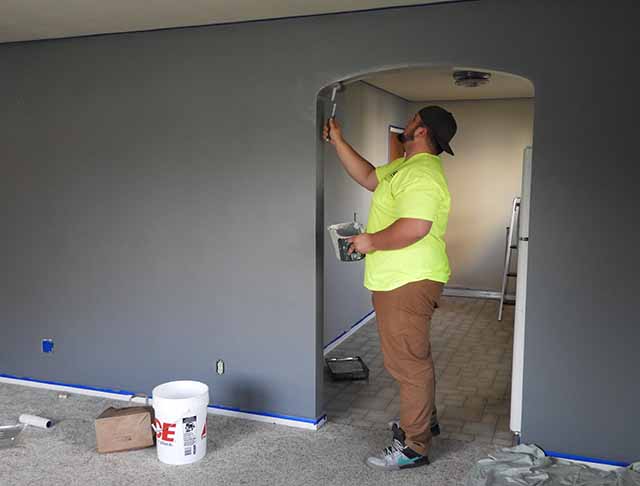
Each step builds upon the last and things have to be done in sequence. If you skip a certain step, you’ll compromise the integrity of the house.
Well, building your artistic skillset is very similar. There’s a certain sequence you have to go through in order to optimize your development.
The 4 Fundamental Skills
This sequence of skills can be broken down into 4 parts: basic pencil control, observational drawing, constructive drawing, and realistic shading.
1) Basic Pencil Control
Pencil control is just what it sounds like. It’s learning how to use your tools to make marks on the paper.
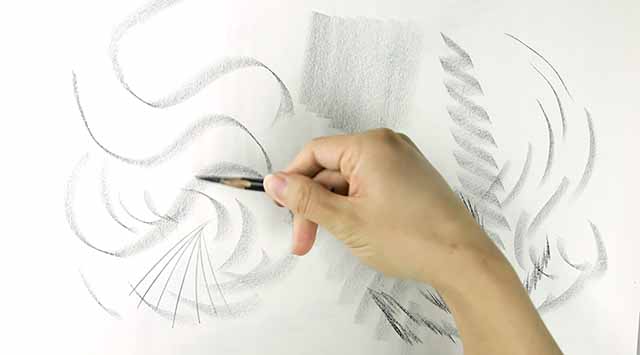
This might seem pretty simple but there’s more to it than you’d think.
It’s the most basic skill because if you can’t make clean marks, you can’t really do much else in art.
Pencil control is like the foundation of the house… it sets the base for everything you’re going to do.
2) Observational Drawing
Observational drawing is all about looking at your subject, whether it’s a portrait, a figure, or a still-life, and being able to replicate it on paper accurately.
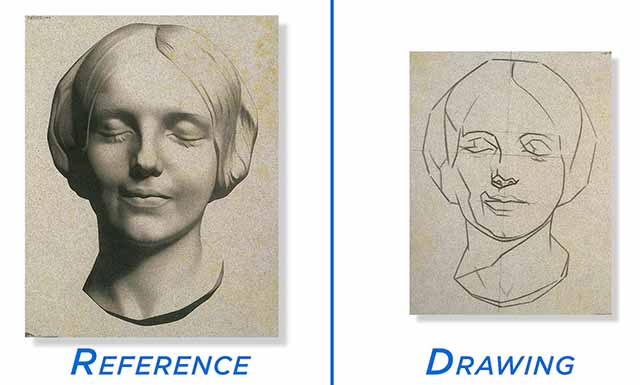
Have good observational skills means that you can look at your drawing and know when it’s out of proportion or misaligned.
This is the key to improving because if you can’t see your mistakes, you can’t fix them. And if you can’t fix your mistakes, you can’t improve.
It’s THAT important.
Observational drawing is like the frame of the house… it’s the scaffolding from which you can develop more advanced skills.
3) Constructive Drawing
Constructive drawing is about understanding the 3D structure and perspective of your subject and being able to construct it using basics forms.
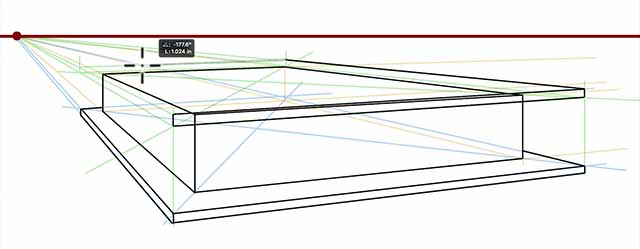
This is harder and requires a little more knowledge than observational drawing, but it’s going to give you a better understanding of your subject and allows you to shade it more effectively.
And it’ll also help train you to draw from your imagination.
Constructive drawing is like the plumbing and wiring of the house… it’s not always visible from the surface… but it’s extremely important in making everything work.
4) Realistic Shading
And finally, realistic shading is about adding light and shadow to make your drawings more three dimensional.

Shading is like the cosmetic portions of the house like the paint, furniture, and decorations.
It’s the part that gets all the attention and students usually like to go straight to it. But if you don’t have the previous foundations in place, learning to shade will be extremely difficult.
A lot of times students will struggle with the shading without realizing that their problem actually started way earlier with the observational and constructive phase.
If you structure your training to develop these skills in sequence, you’ll be a more well-rounded artist and progress much more smoothly.
Why So Many Artists Don’t Improve
The problem I see with so many amateur and self-taught artists is that they don’t even know what skills they need to learn.
So they end up taking a very scattered and haphazard approach to their training. If they’re lucky they might get a few pieces here and there, but they’ll still end up missing many crucial components which significantly slows down their progress.
That’s like building a house on a shaky foundation, with a flimsy frame, faulty plumbing and wiring, and a messy paint job.

There are many artists who’ve been drawing or painting for years and may have even reached professional levels, without having a firm grasps on these essential fundamentals.
So, once I realized what was missing from so many artists’ education, I set out to create a course that would offer a systematic way to develop these crucial skills and correct the most common beginner mistakes before they become bad habits.
And after two years of hard work, I am proud to present the…
“Drawing Fundamentals Made Simple” Course

What’s in This Course…
Part 1 – Basic Pencil Control
We’ll begin with the absolute essentials like how to set up your workspace. This will not only make it easier and fun for you to practice, but it’ll also help you avoid postural problems as well as make your artworks better.
Next, you’ll learn how to properly hold and control your pencil.
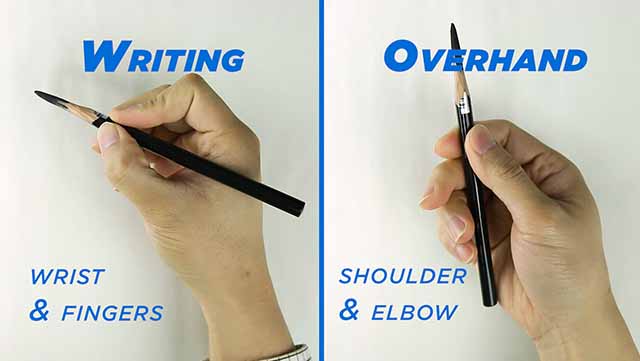
These things might seem really simple, but many of the most common problems plaguing new artists stem from not knowing these basics.
By mastering these aspects from the beginning, you’ll be able to improve much more quickly.
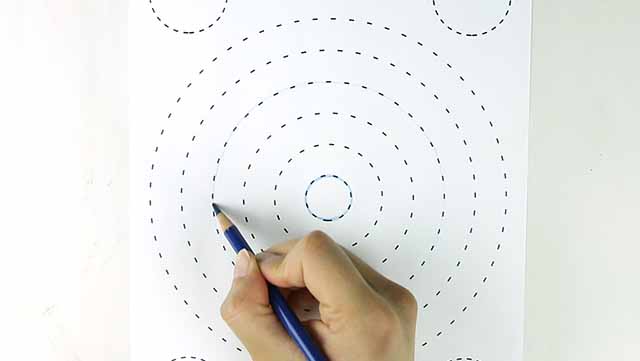
Accompanying the lessons are fun exercises with printable worksheets that will help you put the concepts into practice.
Part 2 – Observational Drawing
Once your hand dexterity has improved, you’ll learn the measuring skills that every artist needs. You’ll discover how to measure angles and distances to make your drawings accurate and proportional.
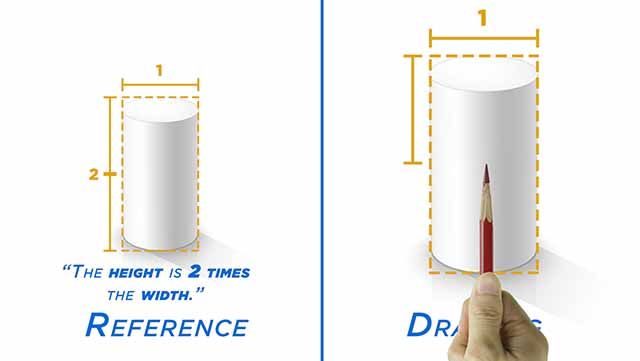
Then we’ll go through step-by-step exercises that will help you master these concepts. We’ll begin by drawing simple 2D shapes and gradually progress to more complex subjects.
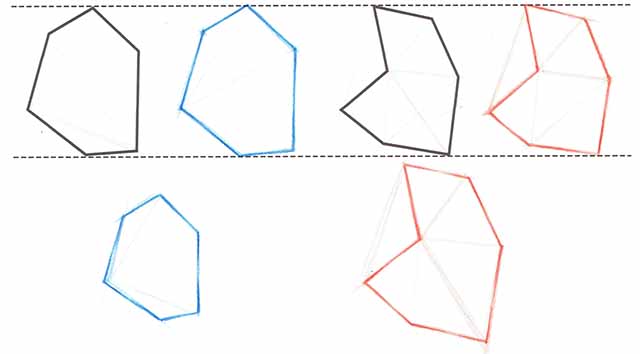
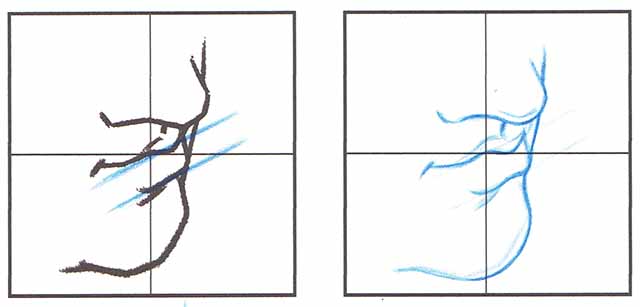
For this, we’ll be working with the classical drawings of Charles Bargue. These famous Bargue drawings have been used to train artists for hundreds of years.
And in this course, we’ll be using them to learn skills like accurate measurement, shape design, and simplification.
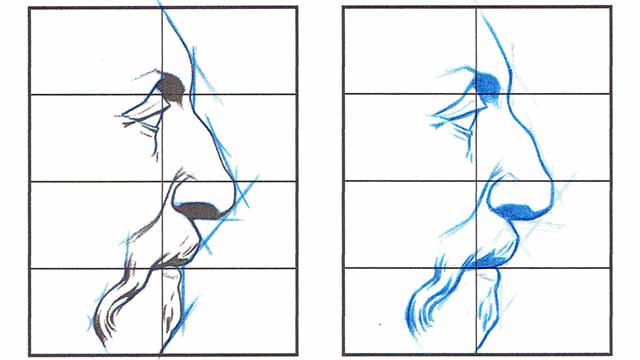
By the end of this section, you’ll have a firm grasp of how to measure what you see in order to draw anything accurately.
Part 3 – Constructive Drawing
Being able to draw from your imagination is one of the most important and sought-after skills an artist could have. Although it might seem difficult or even impossible, any beginner can learn to draw from imagination if they understand the right concepts and techniques.
In this section, you’re going to learn the foundational skills and perspective principles that will allow you to do just that.
We’ll begin by learning the basics of perspective drawing. You’ll learn concepts like the horizon line, vanishing points, line convergence, and how to use them to create 3D objects and scenes.
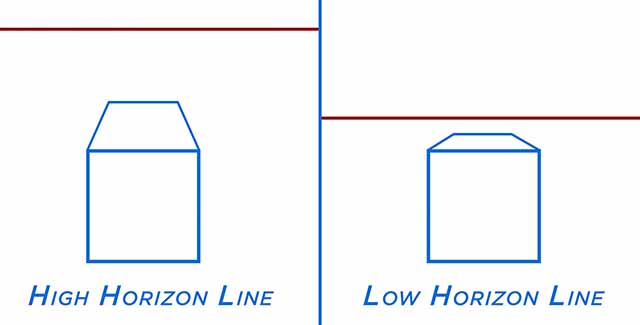
We’ll cover how one and two-point perspective works… and then we’ll go through step-by-step exercises where you can practice drawing simple boxes and modify them to create a variety of shapes.
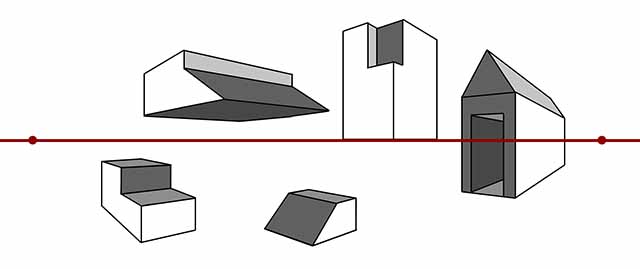
Once you’re comfortable with constructing boxes, we’ll apply this knowledge to drawing actual 3D objects from your imagination. We’ll do this from both one and two-point perspectives.
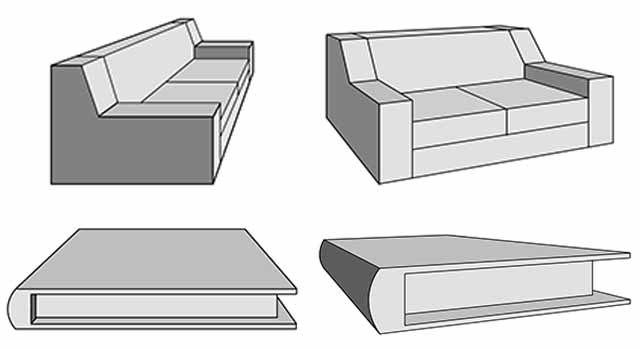
Now that you have a good understanding of how to draw boxy objects, next, we’ll cover curved objects. You’ll learn the simple rules that explain how ellipse and circle perspective works and how to use them to draw cylinders at various angles.
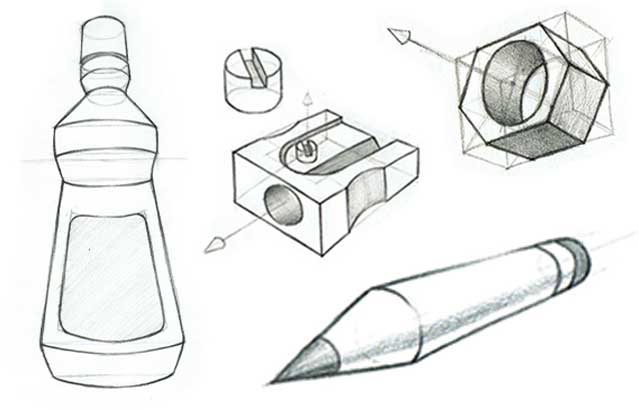
Then we’ll go through a bunch of different exercises where you’ll learn how to combine boxes and cylinders to create all sorts of everyday objects.
Lastly, we’ll dive into drawing spherical forms. Again, you’ll learn how to use perspective to create three-dimensional spheres.
And we’ll go through lots of examples of how to use this knowledge to draw even more complex subjects.
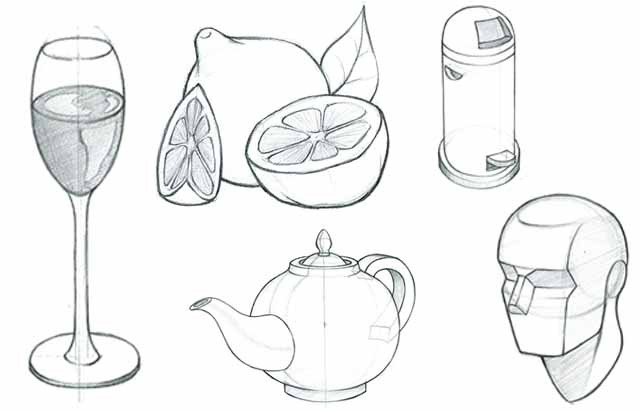
By the end of this section, you’ll have a good understanding of how to draw boxes, cylinders, and spheres and how to use them to construct more complex objects from your imagination.
Part 4 – Basics of Realistic Shading
To most people, the ability to put line and tone on a flat page and create a realistic drawing can seem almost like magic.
In this section, we’re going to demystify the shading process and show you exactly how it’s done, step-by-step.
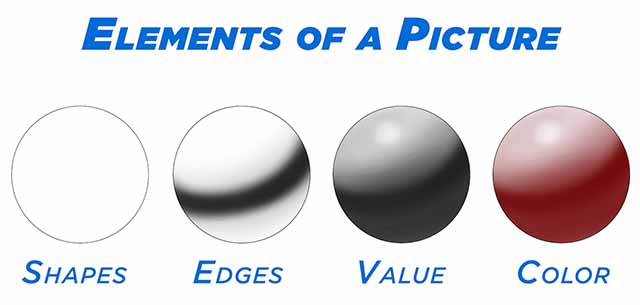
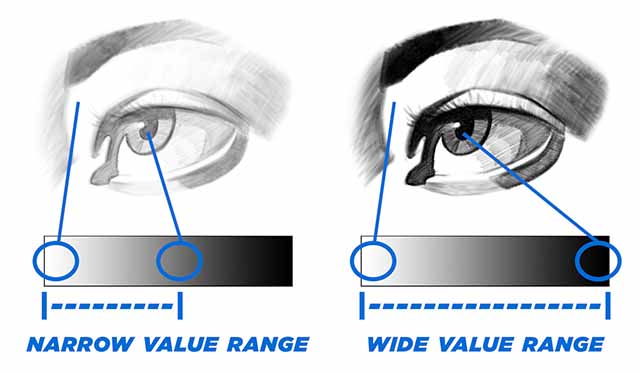
We’ll begin by breaking down the different elements of a drawing and how they come together to create the illusion of form. You’ll learn about the value scale and how to manipulate it to create different effects in your art.
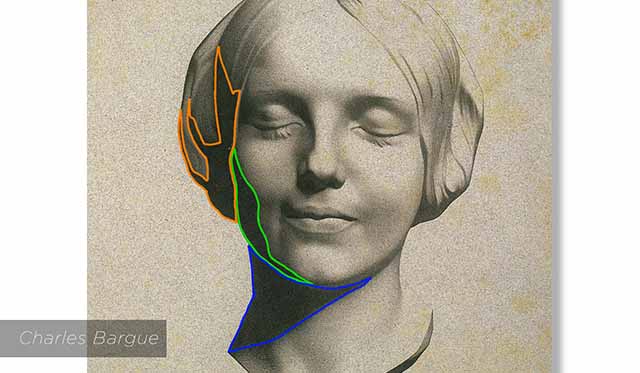
Then you’ll learn about the different types of edges and how to use them in a drawing.
We’ll analyze master artworks as well as go through hands-on exercises so you can see how to apply these concepts to your art.
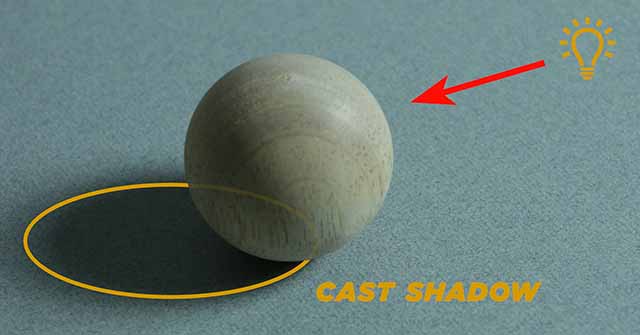
Next, you’ll learn all about how light works and how to use this knowledge to create dynamic drawings. We’ll use diagrams and animations to help illustrate the concepts and you’ll come away from this section with a deep understanding of the theories behind realistic shading.
Then, we’ll put all the principles and concepts into practice with step-by-step exercises. We’ll begin by drawing and shading basic forms like the box, cylinder, and sphere.

Once you’re comfortable with the basic forms, we’ll move on to drawing more complex still-life objects like a book, a cup, and an apple.
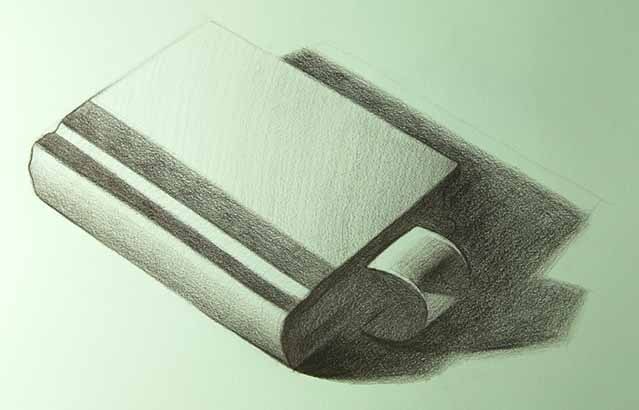
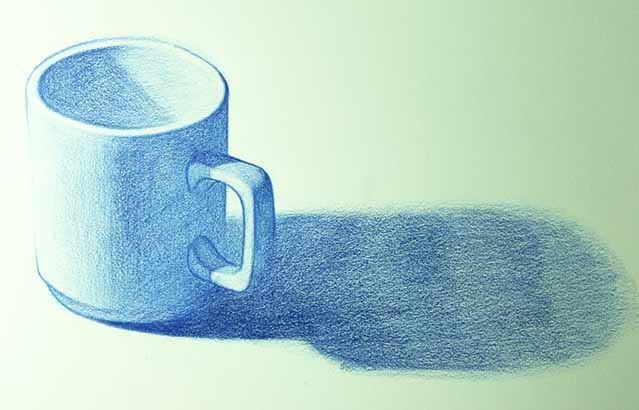
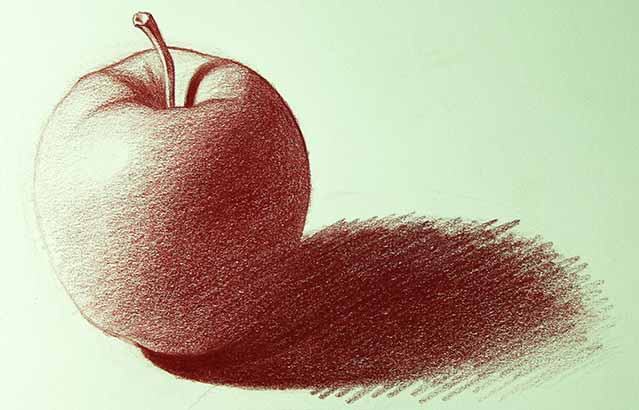
Don’t worry if these projects look intimidating, I’ll carefully walk you through the entire process of constructing the lay-in all the way through to a rendered finish.
Part 5 – Dynamic Shading on Toned Paper
Now that you’re comfortable with the basics of shading on white paper, the next section will build on this to take your rendering skills to the next level.
We’ll learn how to work with toned paper where you’ll use a white pencil to create the highlights.

Toned paper is my favorite method of drawing because it allows you to shade more quickly and with less work while still achieving the same level of realism as regular white paper.
And it also results in really high contrast dynamic drawings.
In this section, you’re going to learn the different ways to use toned paper to make your artworks more exciting.
We’ll begin by going over the materials you’ll need as well as some basic shading exercises to get you comfortable with this medium.
You’ll learn how to create a toned value scale and how to shade a basic 3D form.

Then we’ll progress to drawing a variety of still life and organic subjects. We’ll start with a simple wooden figure, then a porcelain teapot, and then a human eye.
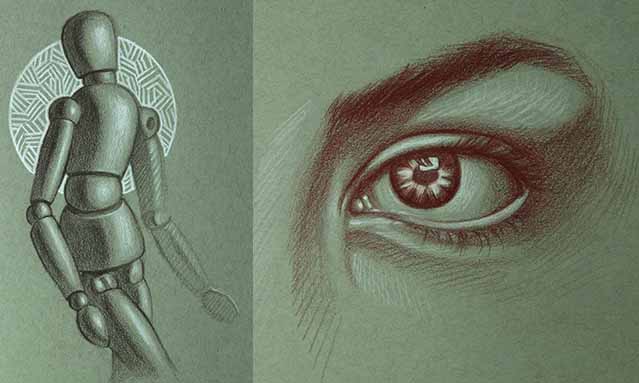
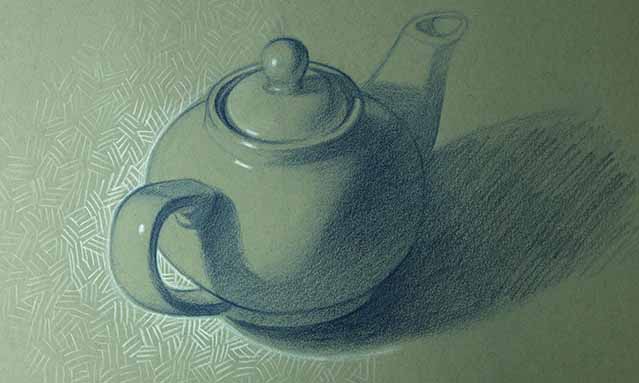
You’ll be able to see the entire process laid out in a step-by-step way, from the initial lay-in to applying all the shadows and highlights.
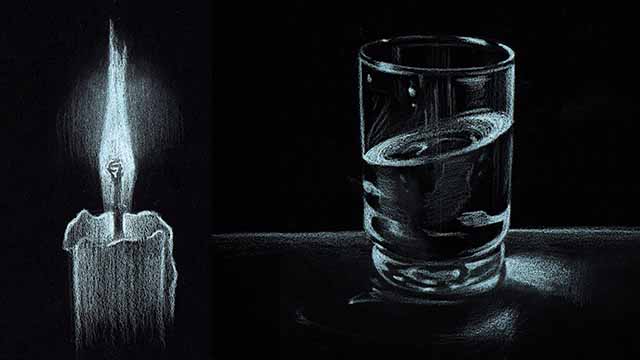
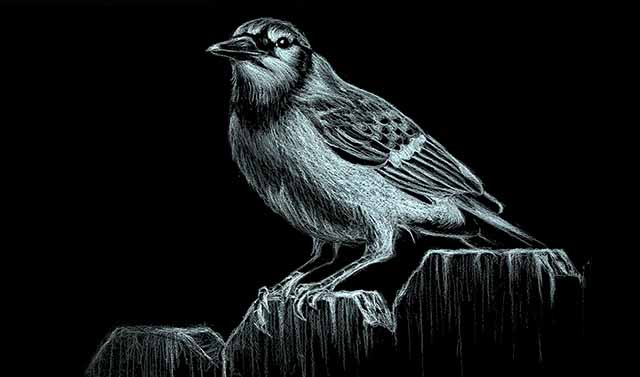
Once you’re comfortable with shading on grey toned paper, I’ll introduce you to drawing on black paper.
Here, we’ll only use the white pencil to create the highlights and allow the black of the paper to stand in for the shadows.

This style of drawing can create very high contrast and dynamic drawings (even more so than regular toned paper).
And by learning to shade on black paper, you’ll gain a deeper understanding of the principles of rendering.
Once again, we’ll learn through a series of easy-to-follow step by step exercises.
We’ll start with a simple drawing of a candle. Then we’ll move on to drawing a glass cup. And finally, we’ll end with a bird.
By the end of this course, you’ll know how to use toned paper to create awesome artworks and be well on your way to become a well-rounded and knowledgeable artist.
Key Things You’ll Learn in This Course
- The most common mistakes beginning artists make and how to avoid them
- How to spot proportional errors in your drawing and fix them
- How to use a variety of lines and marks to create dynamic drawings
- How to draw the boxes, cylinders, and spheres & combine them to create any objects you want
- How to analyze objects so you can understand their structure and draw them with ease
- Understand how light works and use this knowledge to create realistic drawings
- How to use hard and soft edges to make your drawings more three-dimensional even without using any shading
- The ONE most important rule to remember whenever you are shading a drawing
- What to look for when selecting photo references in order to make your drawing 10 times easier
- How to apply atmospheric perspective to add depths to your drawings
- How to design backgrounds that will make your subject leap from the page
- How to use cross-hatching to make your shading more exciting
- And a whole lot more!
Sample Lessons
Here are some sample lessons to give you a better idea of what the course is like.
How to See & Draw Accurately (Sample)
Basics of Perspective (Sample)
Understanding Value (Sample)
Who Is This Course For?
This course is designed for the complete beginner, so even if you’ve never picked up a pencil before, you’ll be able to follow along without being overwhelmed.
All the concepts are explained in a clear & easy to understand manner and you’ll get lots of step-by-step examples to help you deepen your understanding.
If you’re a beginner who wants to learn the fundamentals skills of drawing so you can jump start your artistic career the right way, then this course is for you!
Frequently Asked Questions
How long will I have access to the course?
Just by paying the one-time course enrollment fee, you’ll be given LIFETIME access to the course.
Is the price a monthly fee?
No. It’s just a one-time payment and you will get LIFETIME access to the course. You will NOT be charged a monthly fee.
Can I download the video lessons and watch them on my other devices?
Yes! All the lessons are downloadable in HD 1080p quality and they can be viewed on smart phones, tablets, laptops, or any other devices. Also, the online member’s area is mobile-responsive and can be viewed on any device. Take the course with you wherever you go!
Here’s What Other Students
Are Saying About This Course
“This was a FABULOUS class and it totally revolutionized my art. I love Ethan’s clear examples and the way it was organized was logical and broke down a subject that could be overwhelming into digestible pieces.
Highly recommended!“
“Best drawing class I have seen so far. Even if you have been drawing for a while, it helps to brush up your skills.”
“I really love this course! It’s very detailed, not too slow and not too fast, very simple, and easy to understand.
I’ll definitely be recommending this course to some friends.”
“I’ve learned a lot and developed my observational drawing skills through weeks of practice using the various worksheets supplied by the course.
I recommend this course for beginners before they move on to other more specialized drawing courses like portrait or gesture drawing.“
Try This Course 100% Risk-Free Today!

1-Year Money-Back Guarantee!
 This course comes with a 1-Year Money-Back Guarantee! So you have a full 365 days to check it out and if you’re not in love with it for any reason, just shoot me an email at [email protected] to let me know and I will give you a full refund. No questions asked!

